[left][/left]
It's a long time ago, but I seem to remember that when I did my D2, I undid the cap on the track frame pivot shaft and took off the securing nut inside. The final drive complete with sprocket still attached then came off along with the track frame. I do remember that I did not remove the sprocket from the final drive.
I lifted the front of the track frame up, pivoting on the cross bar. Once it is high enough it will clear the sprocket
Wish I knew about lifting enough to clear and slid off with the sprocket on - I used the plasma torch to notch out a semicircle in the back frame rail just enough to clear - not more than 3/4" +- or so. I did not have a stone guard
You may find that the sprocket is not that tight on the shaft. Undo the two locknuts and the big nut and see if it lightly taps off. If it does, you're golden. That was the case with mine which made it a bit easier to pull the track frame.
And I've just done my left final and steering so it's all fresh in my memory if you have any questions. I replaced all bearings, seals, hardware, gaskets etc. as well as the steering components.
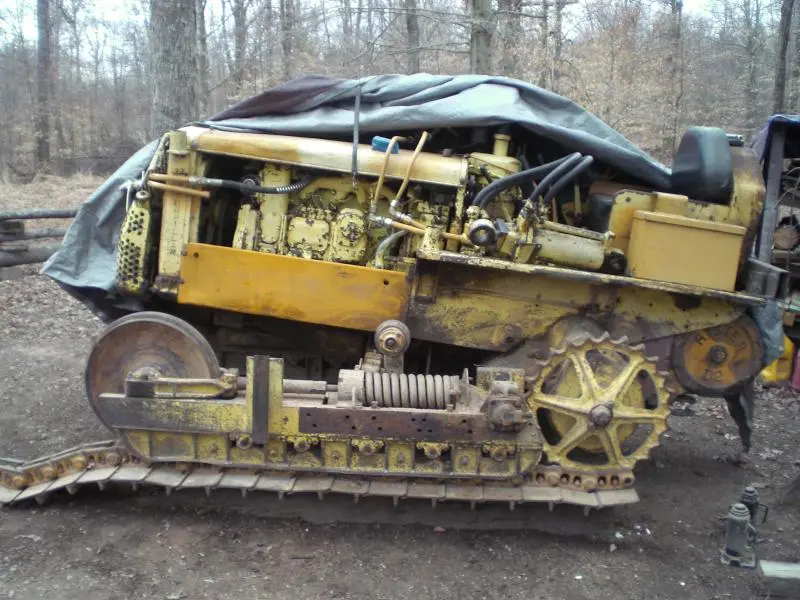
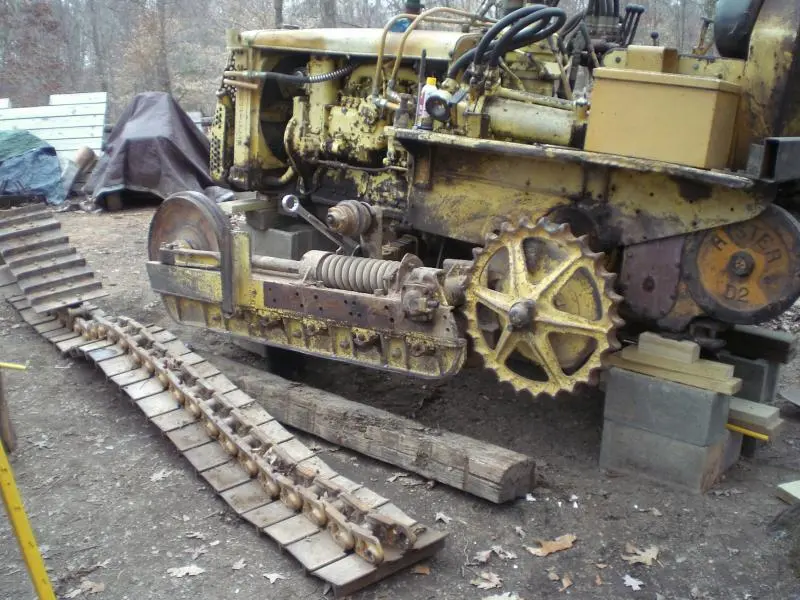
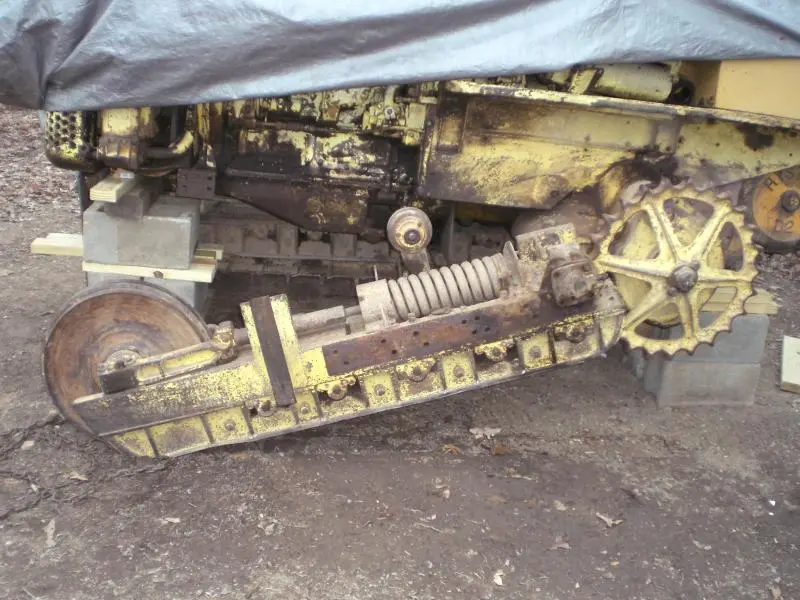
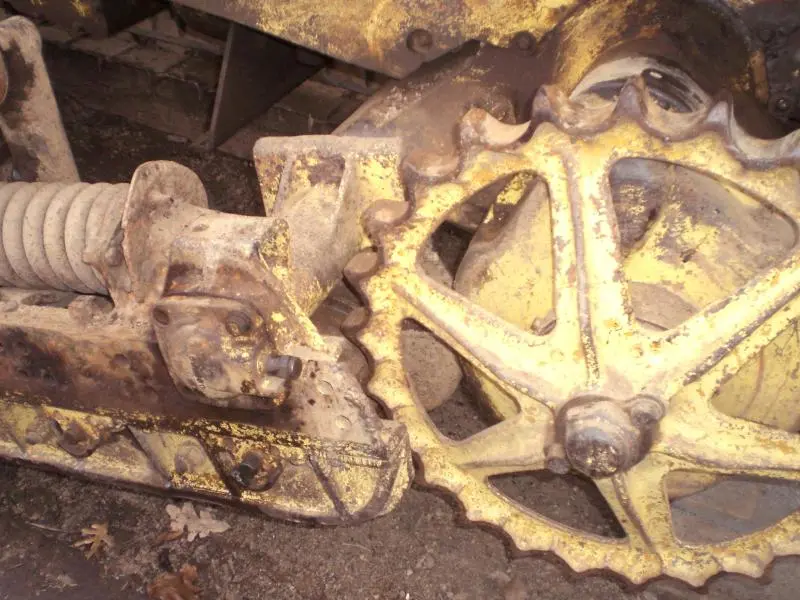
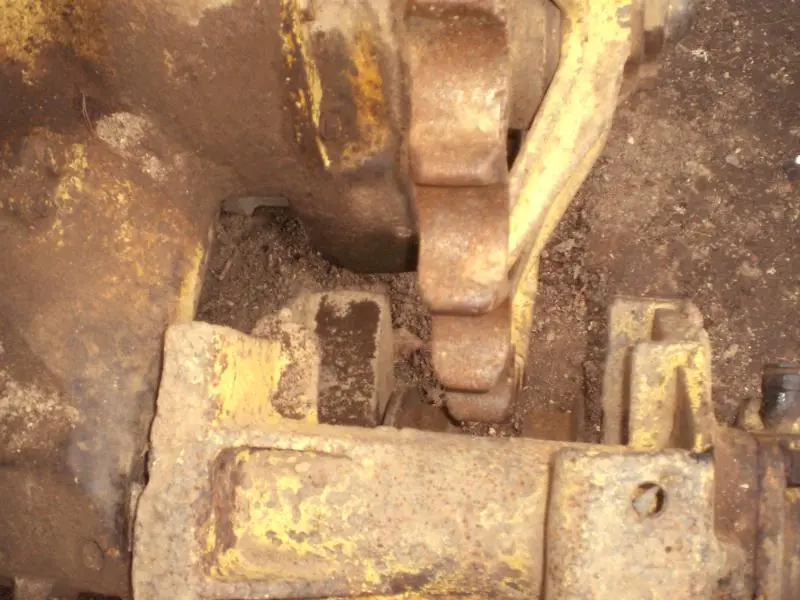
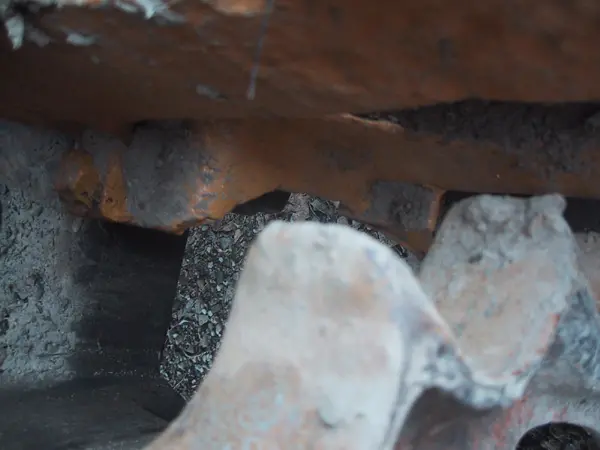
It looks like there's been a lot of extra metal added to the back end of the track frame inboard of the sprocket, metal that wasn't originally there when it left the factory. I also see the rock guards look like they have been welded to the frames too. The inside track frame channel should not extend much past the round tube that houses the pivot shaft, only the outer frame channel should extend back as far as both of yours do. I believe that is were your clearance problem came from.
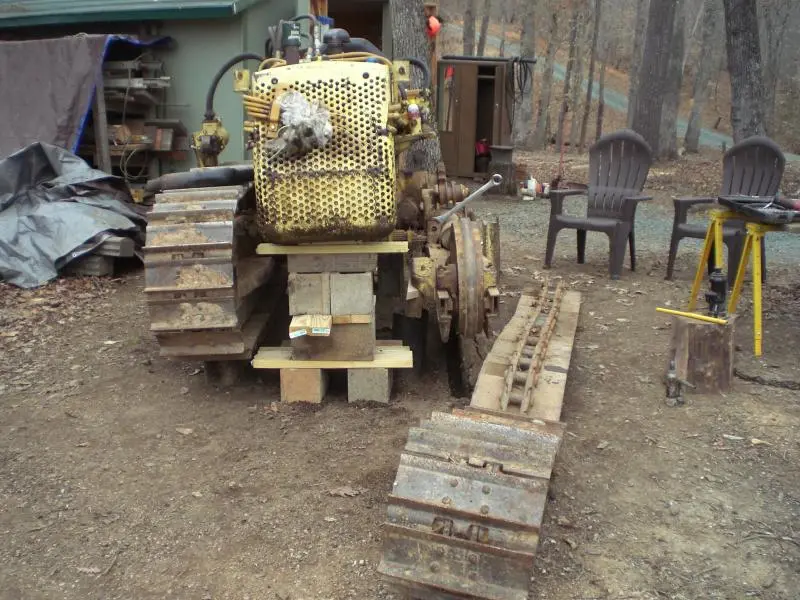
Also, just a friendly piece of advice - don't get too comfortable around those cinder blocks that are holding the Cat up, they are known to fracture and could cause the blocking to shift. I'm not trying to nitpick or be rude, and if they've held the Cat up thus far you are probably good. I just don't think I would crawl under it without solid blocking.
Is that extra metal added??? or how the 5-roller frame is constructed? That big square piece with gussets on the inside of the track frame looks like that used on the 933 loader which is probably the source for the 5-roller frame on the D2 although the 933 is fixed frame and the D2 is swing frame.
The roller guards shown in the parts book extend even further than what I see in the pictures. Looks like they need to be removed.
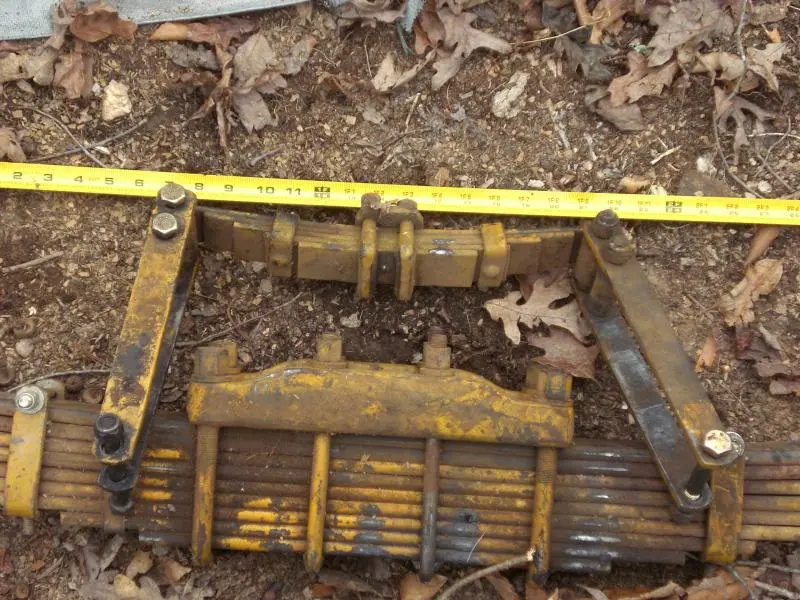
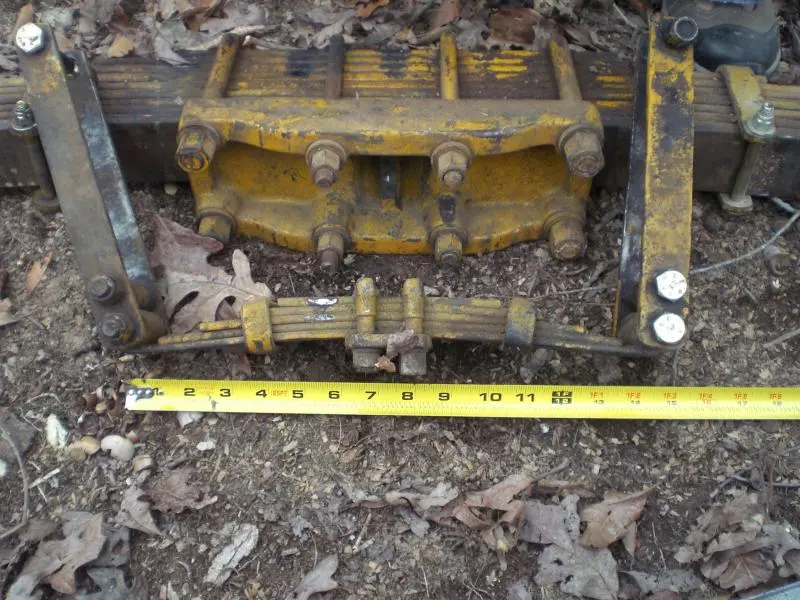
As for the spring/s the rebound spring is the same for either the curved main or straight version but the shackle links have a different part number.
When I did this I removed the caps holding the pivot shaft to the transmission case and jacked the Cat up off the shaft and rolled both track frames and shaft ahead far enough to clear.
When I did this I removed the caps holding the pivot shaft to the transmission case and jacked the Cat up off the shaft and rolled both track frames and shaft ahead far enough to clear.


Our channel highlights machines from the earliest Holt and Best track-type tractors, equipment from the start of Caterpillar in 1925, up to units built in the mid-1960s.
Antique Caterpillar
Machinery Owners Club
1115 Madison St NE # 1117
Salem, OR 97301
Terms & Privacy
Website developed by
AdCo
"I became a member recently because the wealth of knowledge here is priceless."
-Chris R