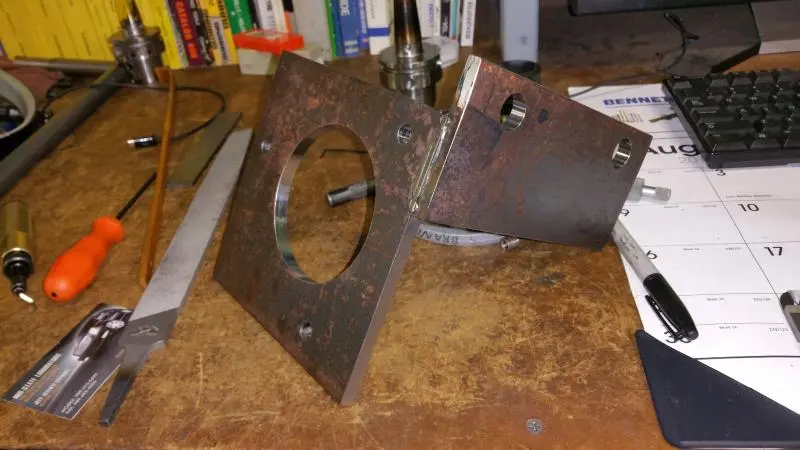
[quote="lghtspeed"]Last week my pony motor puked out. So after researching this and having a few extra 42mt starters lying around, I'm going to make it a direct electric. I found a page where oldmagnet detailed how to do it when the provision is not drilled like mine. Here is the fixture I made tonight to drill the holes in the bellhousing.
[/quote]
Nice looking fixture. Please post some action shots and let us know how it turns out.
Roger
To check the accuracy of the data I made my fixture from, I took the fixture to a friend who has a spare d318 and his casting has the starter provision hole machined. The fixture was off about .1 vertically. So I cut it apart and manually aligned it and rewelded it on the spot. So much for the precise machining oriinally.
Now to take it to the dozer and get cutting.
Heading out to get to work on the project.

Mounted the bracket onto the dozer, it was a fuzz tight which is exactly what I wanted.[attachment=30719]20150822_135108[1].jpg[/attachment]
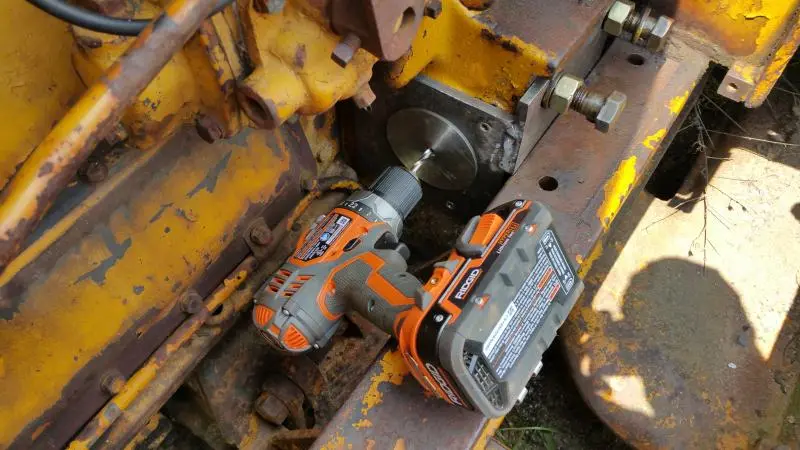
Drilled out the pilot hole for the main hole.[attachment=30716]20150822_135300.jpg[/attachment]
And after about an hour and a half of this (no this drill didnt do it, I used a half inch drive dewalt drill) [attachment=30717]20150822_140018.jpg[/attachment]
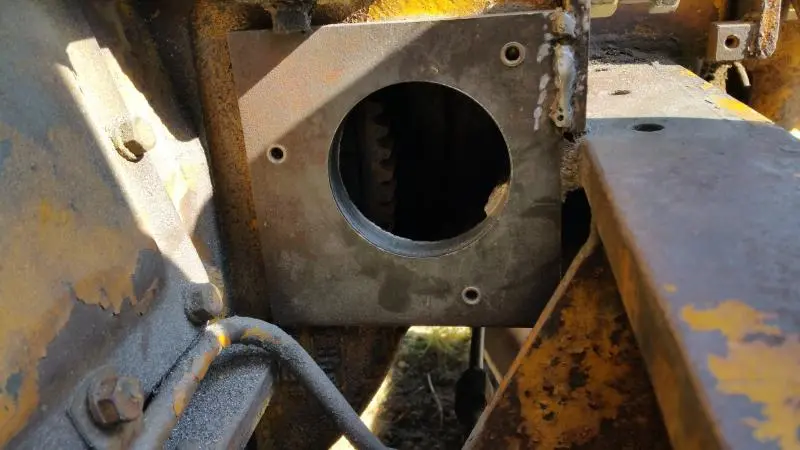
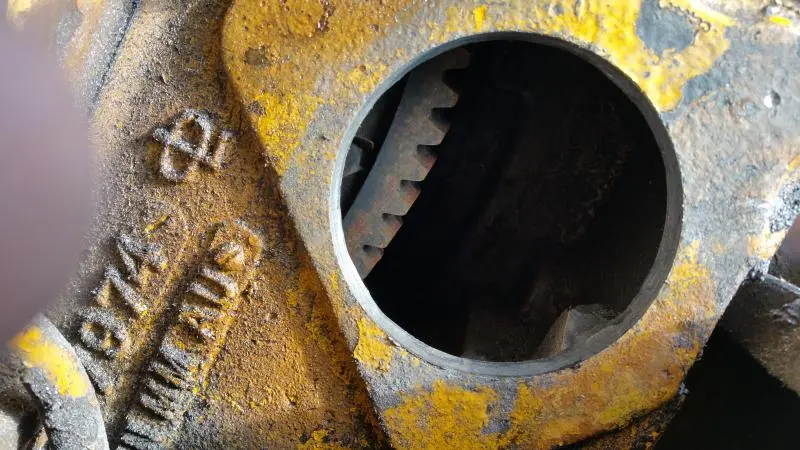
I got to this, notice in the lower right corner the hole appeared to be a fuzz low yet as it was into a casting boss[attachment=30718]20150823_100513.jpg[/attachment]
Running in to the boss is not unusual, just take the die grinder to it enough to be sure the drive end housing clears. What size hole did you do, the 3-5/8" or 3-3/4"?
Stuff some insulation wool in the hole so you don't get grinding dust in there.

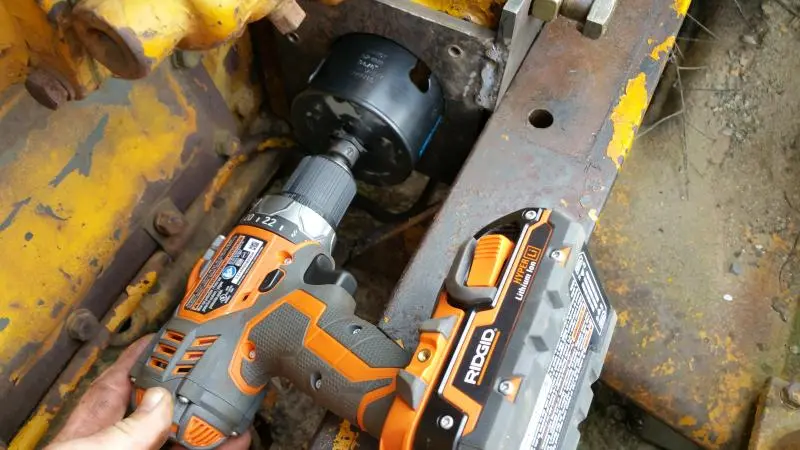
@oldmagnet, I used a 3 5/8 hole saw then used the die grinder to smooth out the boss. Something not shown in the pictures is the vacuum system for shavings and dust control [attachment=30720]20150823_104034.jpg[/attachment]
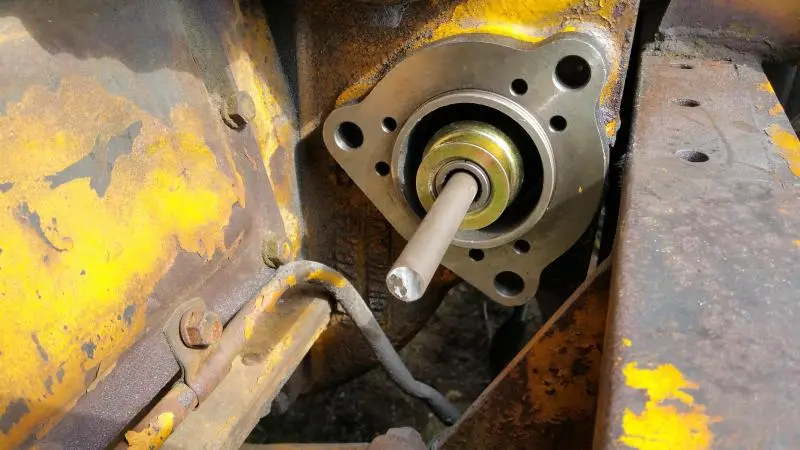
Then Checked to see that the alignment was good. I had about .010 gear clearance.[attachment=30721]20150823_104050.jpg[/attachment]
After I checked that I predrilled the 15/32 holes. I had to take off the cover to get the drill close enough to the engine.[attachment=30722]20150823_110321.jpg[/attachment]
In the next week Ill drill out the 5/8-11 taped holes to .531 and tap them, also I will be reassembling the starter and finishing any mods needed to it. I should be able to have it mounted this week if the rains hold out.
Looks like all is going well. Tapping the inside hole is a tight operation.
Are you going to do the alteration to the lever housing so that the solenoid fits vertically. Need the correct drive end housing to match.
Some folks hang the solenoid upside down but Delco does not recommend that.
For the alternator I will modify a one wire to hook up where the original alternator was. As for the starter solinoid, I will mount the starter so it is up.
I work in a machine shop and when something ends up being .100" off, it is because somebody used a .200" diameter edge finder to find an edge, zeroed their digital readout and forgot to travel .100" (half the edge finder diameter) and re-zero the DRO so the spindle is over the edge just picked up.
Brian


Our channel highlights machines from the earliest Holt and Best track-type tractors, equipment from the start of Caterpillar in 1925, up to units built in the mid-1960s.
Antique Caterpillar
Machinery Owners Club
1115 Madison St NE # 1117
Salem, OR 97301
Terms & Privacy
Website developed by
AdCo
"I became a member recently because the wealth of knowledge here is priceless."
-Chris R