Hi - seems my pump did not come with the blade float detent in the pump- is it possible to add this or too complicated? Or is there some hack way to do it so the blade can just drop by its own weight-
Also - can chevron seal tension make the blade go up/down at an angle? I keep having to make micro adjustments. Just put in new VEE seals and new hydraulic seals on the piston and wiper seals on main hydraulics.
Hi, CamaroMan.
The float position is in the control valve - raise, hold, lower, float is the usual order - check to make sure that your control lever linkage is not obstructed somewhere.
Re the blade not lifting evenly, I'm guessing that it izza straight blade as the C-frame of an angle would pretty prevent your problem form happening. The could be caused by leaking seal rings in a piston or by a restriction somewhere in the plumbing. What sort of blade is it and will it correct itself if you put it on the ground and apply down pressure or raise it ALL the way up?
Just my 0.02.
You have a wonderful day. Best wishes. Deas Plant.
if a straight blade is it adjusted evenly on the blade arms there is a rack system to adjust it. make sure the teeth on the rack are properly meshed in with each other. this is so you can pivot the corner of the blade up or down. and you can adjust the blade arm length so the material is pushed to the left or the right of the machine
also how much slop is in the pivots of the lift mechanism a little wear here there and every where can add up. new pins and bushes may be needed. if one side is worn more the the other it will naturally hang to that side.
the float position on type 44 hydraulic controls is hand lever all the way forward. and no the blade wont bite much its not supposed to. you might need to flip the cutting edges. or get replacement ones the edge should always be below the body of the blade itself.
one cylinder could also be more worn than the other. it will naturally creep down a little too.
"i reject your reality and substitute my own" - adam savage. i suspect my final words maybe "well shit, that didnt work"
instead of perfection some times we just have to accept practicality
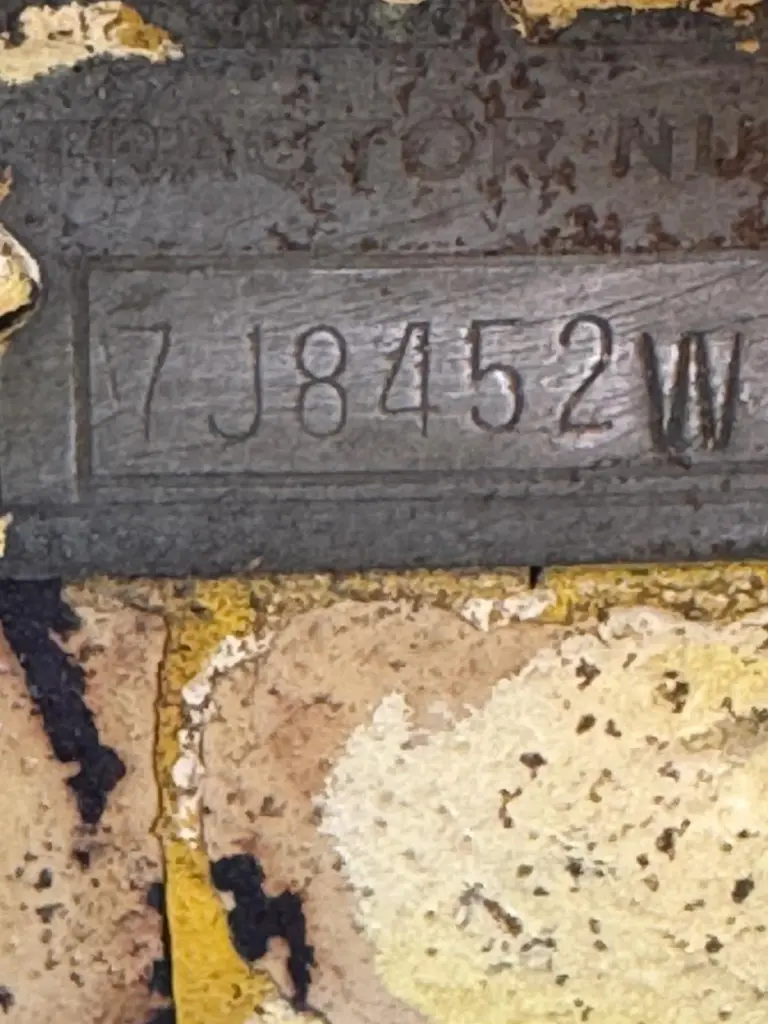
There were break points in the serial numbers that determined if the valve in the pump had the float option.
Should be a tag on the left side, bottom, rear.
On the D4's - Without float 7V5001 through 7V6747 and With float 7V6748 through 7V7809
Thanks all - Mine has some real slop. I was going to actually repair the sloppy pins- but i dont think mine has the float option. I did remove the linkage entirely and check on the pump lever- no float/detent :(
On the D4's - Without float 7V5001 through 7V6747 - yep mine is 7J8452, interesting - everything miraculously works fine otherwise, being a California girl she must have had it easy regarding rain and corrosion i guess.
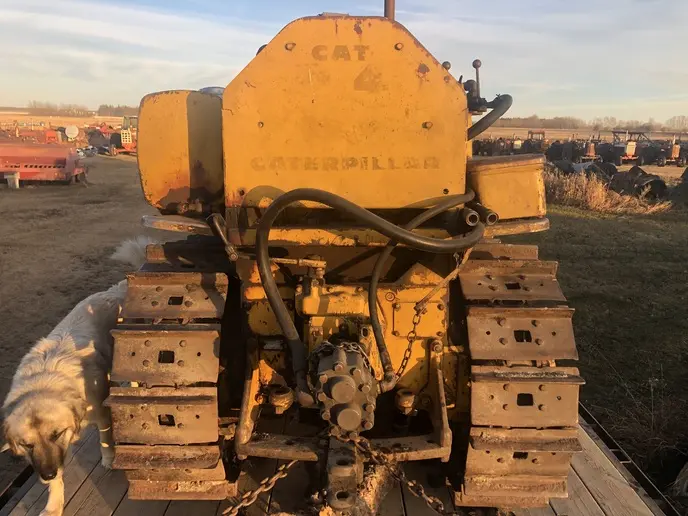
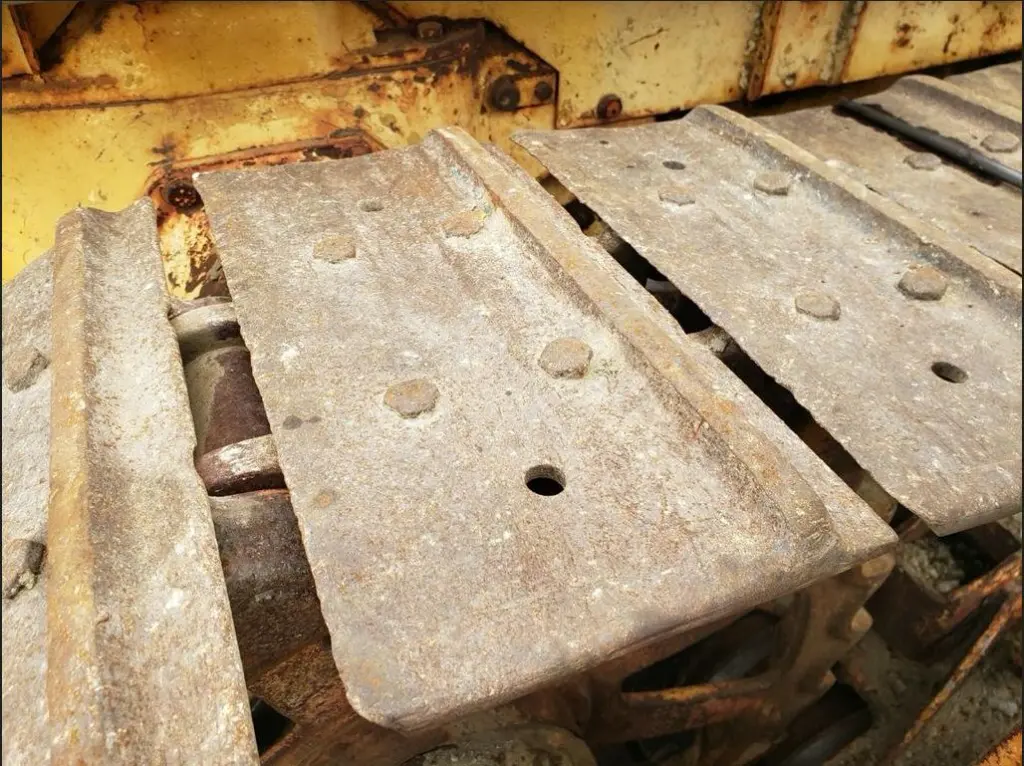
**What are your thoughts on adding weld on grousers? I need to push dirt on a mountain top and would really like traction to not be an issue lol. Its currently at my shop and I can weld them on easily here b4 hauling her 8 hours into no mans land-
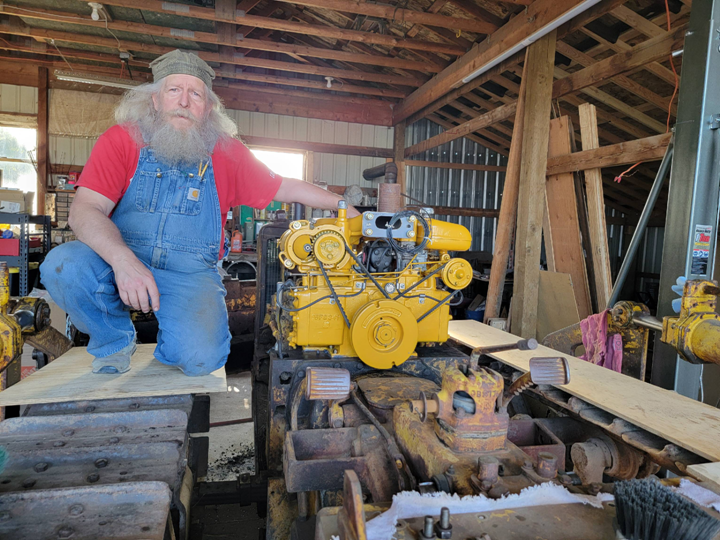
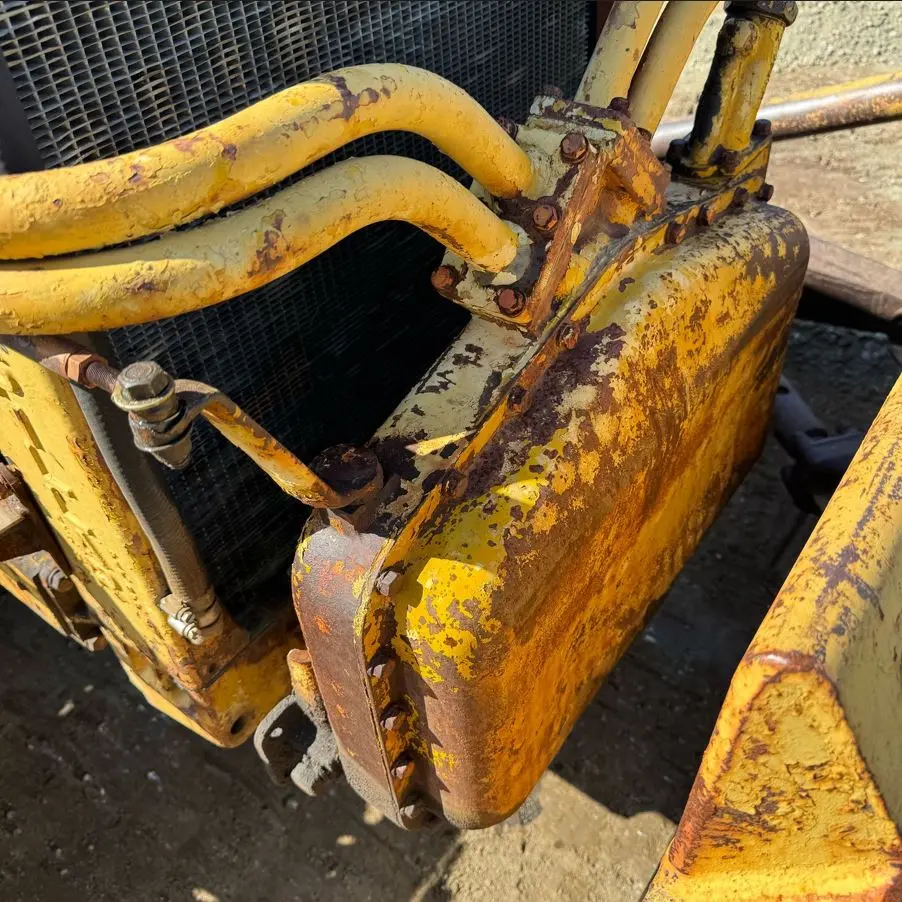
Here is a pic of the pump up front: mine has the optional tilt side cylinder which is superb for crowning- and the sloppy pins actually let me do some kind of moderate back blading long as i can keep the slop loose on both high and low - its an interesting method to say the least.
Maybe i need to work the pump lever some more? as mentions i disconnected it and used a wrench on the lever - back and forth, no sign of a detent unless im too careful?
I also need to make a new lever as the prev owner welded a piece of galv pipe off the back up on the right side..
Also - the main clutch lever is pointed forward- is it possible to flip it closer to me? its curved so im not sure itll clear the left brake pedal- what cool machines these are- im having a blast working on mine. like steppipng back in time!
I am all for customizing the pedals and levers to fit your body. It took me 30 years to learn that but at 6 foot tall raising the seat 3 inches on my D6's fit me much better. But then again I had to drive a friends IH TD 18, he is short. Added blocks to brake pedals. Had to have my knees touch my chin to get on the brake. Not being completely sure of what you want with the clutch lever, but thinking you want it closer to the seat to not have to reach so far. Maybe start with something you can bolt on to see where you want it before taking torch to the factor lever.
As for grouser height, be careful what ask for. With a dozer you need things to slip somewhere, or they will break. You need enough grouser bar to keep from bending the shoes if you get up on a rock that puts a large part of the machine weight on the one track shoe. But beyond that for general purpose work an inch to 1.5 is enough in most situations on a smaller machine. If mostly a loose dirt more could help, but in sticky clay you just add weight with more dirt stuck to the track the higher it is. So moderation as in most things.
But if you do add more grouser, the track shops (if you can find one today) had special steel bar pre tapered that was very easy to weld with 7018 rod. I did a D6 40 years ago (on clay with lots of limestone, so little abrasion) that has never peeled off a piece. And I am only the average farm welder. Depending how much you want added, I have seen rebar used that seem to hold up well for what it is.
Hi, CamaroMan.
If you only want to get the clutch lever handle closer to you, take the handle off the top of the lever, make up an extension to screw on the top of the lever to get it closer to you with a 1/2" UNF thread standing vertical that you can screw the handle back onto.
In an 'emergency', you can weld deformed concrete rebar to track grousers to rebuild them, doesn't last as long as the real rebuild bar but still does fairly well. I did this onna Cat 941 track loader using 5/8" rebar back in 1995 - the top 1/3 of the bar went fairly quickly, about 200 hours in mainly gravelly soils, until it wore the 'round' off and got down to wider sections of the bar, then stabilised and wore pretty well.
It sure did notice the extra 'grip' too. But it didn't help a whole lot when I started dam sinking with the same machine and encountered more clay soils which did built up on the shoes, as Ray said. That said though, these were double grouser track shoes where your D4 will likely only have single bar shoes.
Re that 'float' position, when trying to push it into 'float' with the lever on top of the tank, you would hafta push quite hard 'coz you won't have the leverage that the control lever would give you. There izza 'detent' between 'lower' and 'float' that does need a bit of a push to get past.
Just my 0.02.
You have a wonderful day. Best wishes. Deas Plant.
before i would weld on grouser bar check the height of a new grouser and how much new ones are which is while expensive the best option no fancy tools. if memory serves there has been previous topic about what grouser plates and track chains fit these old girls and d4c fits the earlier stuff. it may not be worth it also if the track slips a little is much harder to break things in the driveline that get spendy fast. welding grouser bar on needs a decent welder because your using large rods to do it manual arc or fairly heavy wire to do it with mig. must use hydrogen controlled rods or mig wire as it isnt mild steel and need to put the right amount of heat in or it wont work properly and its a slow labour intensive process. if memory serves from previous discussion on the forum d4c track fits these old girls.
actually even modern machines slip the tracks a little when pushing hard. you can take smaller bites you know. if it wont do a 6inch cut depth do a 3 inch depth of cut. how good you cutting edges are makes a difference too.
like deas says it a sharp snap to get into float.
i also concur with his idea of make a screw on extension for the control levers that way it can be easily changed back or it its not right be modified till it is.
"i reject your reality and substitute my own" - adam savage. i suspect my final words maybe "well shit, that didnt work"
instead of perfection some times we just have to accept practicality
When I got my D4 the grousers were so worn it would not make a cut in the hard 'dobe clay we have here. I recommend using real grouser bar for the job. For the labor involved in welding the cost is insignificant. Rebar is a sloppy way to do it and will always look sloppy and crude. It comes in two heights try to build up to original spec. I let the guy sell me the taller bar, it really tears up the yard. You definitely need to use 5/32" rod.
You probably have the older pump because it is a 7J machine. There should be a serial number on the back side of the pump facing the radiator. Compare with the numbers above.
hi - great replies. as for the float - i did remove the link bar and operated the pump lever with a wrench - back and forth, could not feel a detent at all for float //
As for grousers, i only really wanna flatten the top of our rural 6 acre plot of which about 1/2 acre is usable - rest is very steep.. so will only use this round 200 hours initially for my personal purpose.
Yes i read about welding and bought a mig wire that is comparable to a high tensile rod 7018 - we dont have anything to sink into but it will be dirt and id really like to not be slipping and taking light cuts as we have to potentially make a rough driveway 140ft long as well (just basically dirt with small rocks in between).. so i think welding grousers would work.
Another old time told me rebar works- i saw in the grouser weld pdf to leave a small gap between the track and bars so when the weld cools and shrinks it doesnt stress the weld.. mine are around 1/2 on the back and around 5/8 on the front right now and i think original maybe 1.5 inches but ill check the spec - and there are one per plate..


Our channel highlights machines from the earliest Holt and Best track-type tractors, equipment from the start of Caterpillar in 1925, up to units built in the mid-1960s.
Antique Caterpillar
Machinery Owners Club
1115 Madison St NE # 1117
Salem, OR 97301
Terms & Privacy
Website developed by
AdCo
"I also joined a year ago. had been on here a couple of times as a non-member and found the info very helpful so I got a one year subscription (not very expensive at all) to try it out. I really like all the resources on here so I just got a three year. I think its a very small price for what you can get out of this site."
-Jason N