
looks good but OSHA would not approve. Make sure your wife has your life insurance paid up in-case some of your blocks fall out..HAHA
It looks pretty good to go there once you got it blocked up the 12". At least we know tou have 'suitable lifting arrangements" even if it is orange.
I need to leave the bucket up on the HT4. It is all unexplored territory under there. It looks like vast changes in the crossmenber department with the 12 A. I know I have an oil leak under there but it is not too much, she runs on a lot more than she leaks.
Go for it and be blessed
Tom
Things you need to check before ordering parts:
With the pan off, remove the oil pump for inspection, particularly the pressure control valve which limits suction intake and the shear pin in the drive gear.
Check rods for side movement on the crank journals. Should be some.
Remove bearing cap/s for those that don't.
Visually check then mic rod journals for size, clearance, taper and round.
Determine whether crank will need to be ground undersize.
Determine whether bearings are standard or undersize.
Check crankshaft end play/movement....minimum 0.009 in / max. 0.030 in.
If crank has to come out and ground the mains may also need replacement, otherwise at least pull the caps and do a plastigage check. You will have to jack up the crank to take the load off the main bearing caps to get meaningful data.
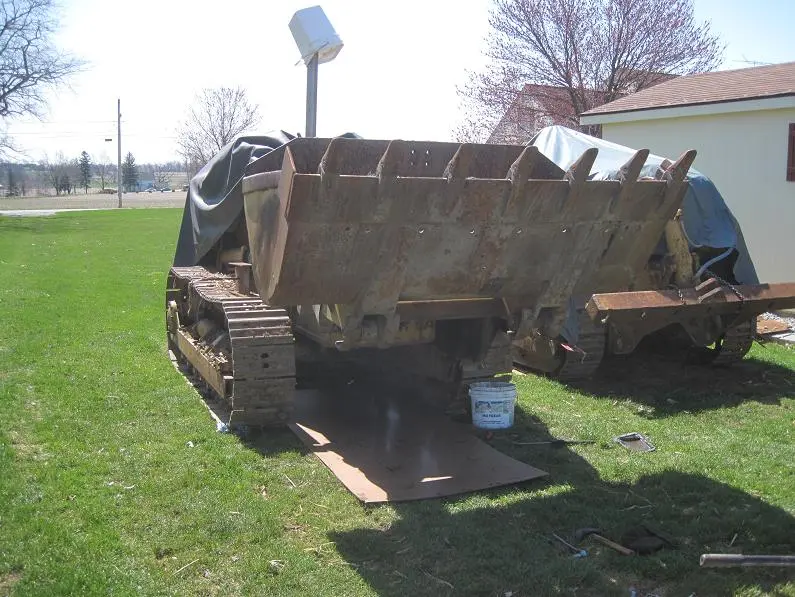
On your blocking....I'd add a serious beam across the trunnion arms well towards the back (a log would probably work). At the angle you have it jacked up to it would be fairly easy to have one of the blocks (especially steel on steel) squirt out of the stack.
The success of your efforts will pretty much be determined by how well specifications are adhered to and what degree of contamination has occurred. Be sure to clean/flush all the oil passages.
If I missed items, readers please feel free to add their comments😊 😊
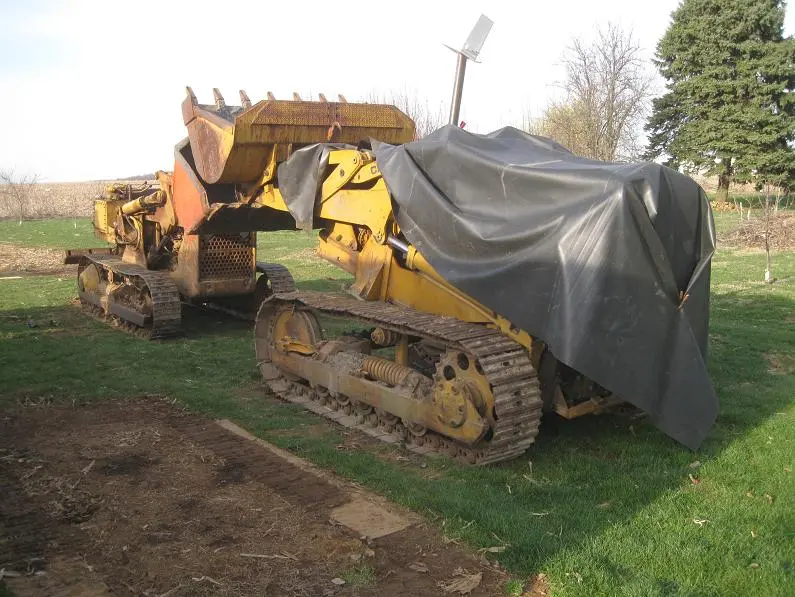
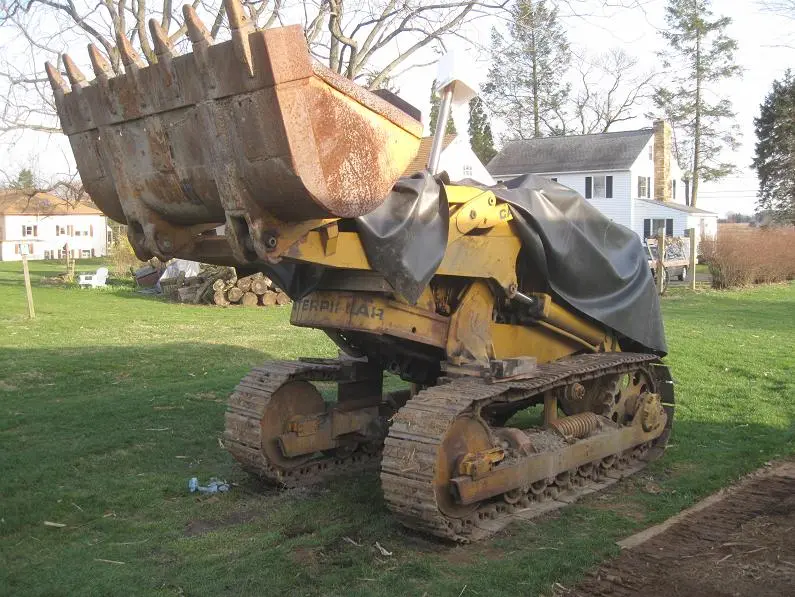
Looking at the good condition of the undercarraige and bucket edge, I would guess that the previous owner new something about the low oil pressure problem before parking the old girl up.
I agree with Old Magnet on the blocking, those loader arms should be supported on pins which go through the radiator surround, the angles are a bit steep and I would prefer to see something under the front end, maybe a beam across the tracks over the idlers (although this may be too close to the oil pan) or at least something under the bucket as it exerts a lot of leverage on those blocks and should they skid out you will have some secondary support.
The blocking doesn't appear to be too bad, as we many times used that type of setup to jack and block bridge beams when replacing the support bearings,
however Pete and Catsiver have a point and its alwats prudent to have a secondary support system in case of a failure of the primary. especially when a human is under the supported load!! 😉
This is what I did this past winter while working under my 2T. The main beam is 3 X 4 X .375 rectangular tube the other pieces are 2 x 2 X .250 that was tack welded to the main tube to give clearance for the main bearing bolt heads.
Warning this worked on my bare D4 2T, I don't know how much additional weight the loader adds to this equation.
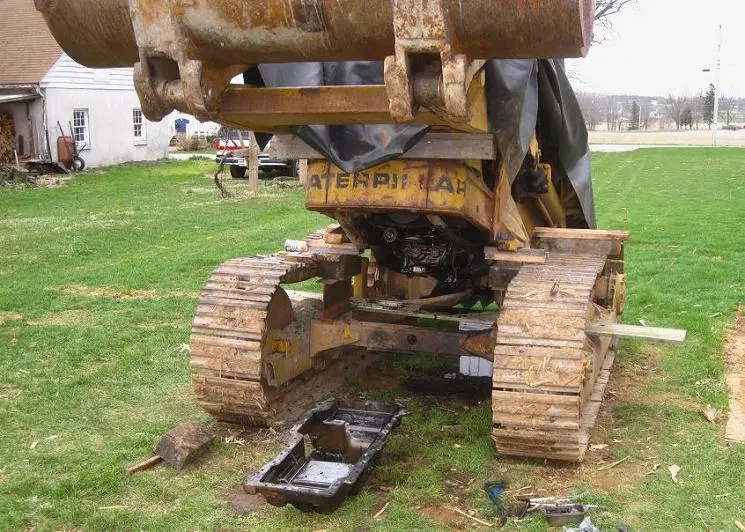
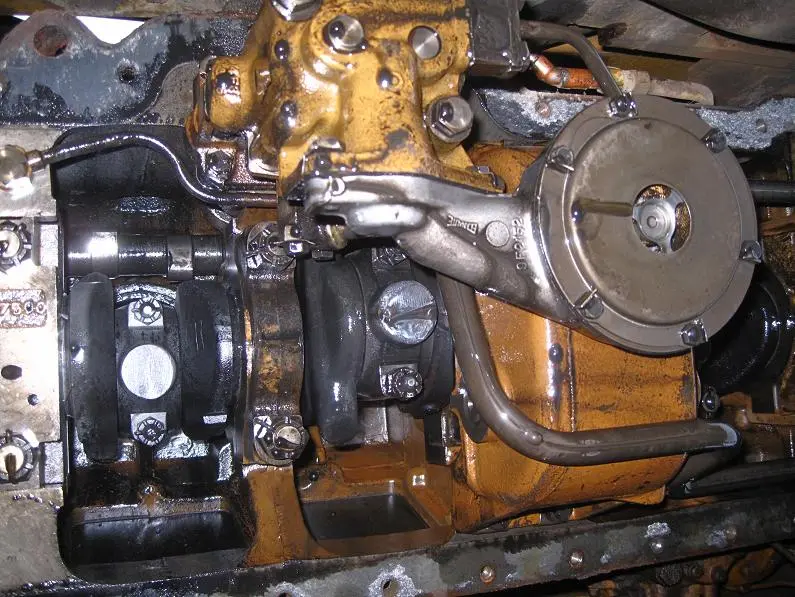

Oil pan is off
All I got accomplished today was dropping the oil pan and investigating what is going wrong in the crank case.
I had lots of canine help (see last picture) and my neighbor Paul lent a hand.
Here is what we have – and – don’t have.
1) I found a 1/8” diameter steel pin in the oil pan that had a broken end / had been broken off. No idea what or where that goes.
2) The cam shaft is in good (looks new) shape.
3) I can feel the skirts of the two pistons that are BDC and then are not scored.
4) From the front to the back – 1, 2 & 3 connecting rods wiggle side to side with clean oil squishing from between the rod & crank. Obviously these are free and show no aluminum residue.
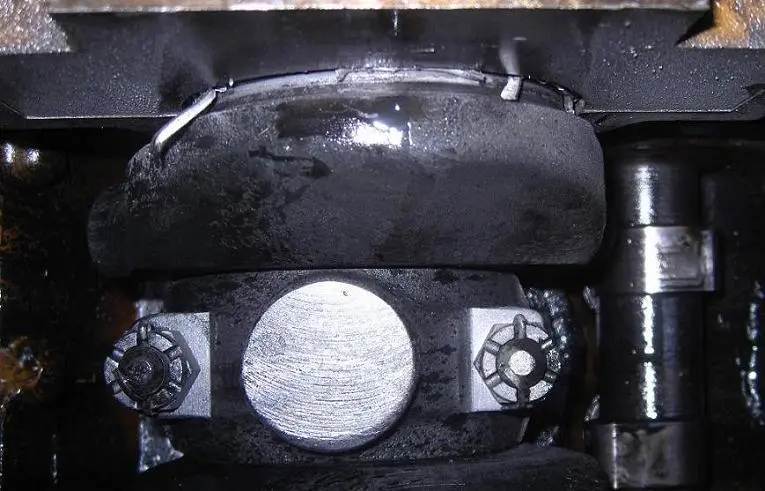
5) The last connecting rod and main bearing are tight. (see picture) Note the strands of aluminum hanging outside of the main bearing cap. Is this what is know as a “spun bearing”? The connecting rod doesn’t wiggle like the others – it seems tight.
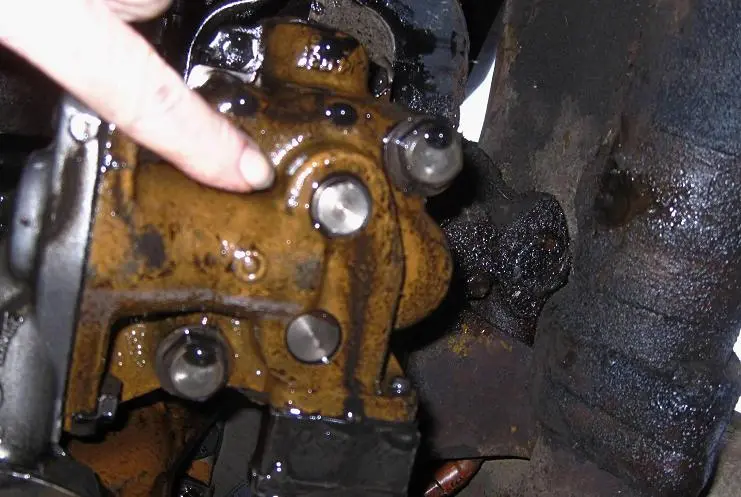
6) See the picture with my finger pointing to the oil pump… that shaft can be turned by hand. I think that shaft is in direct line with the pump drive shaft – coming down from the cam shaft.
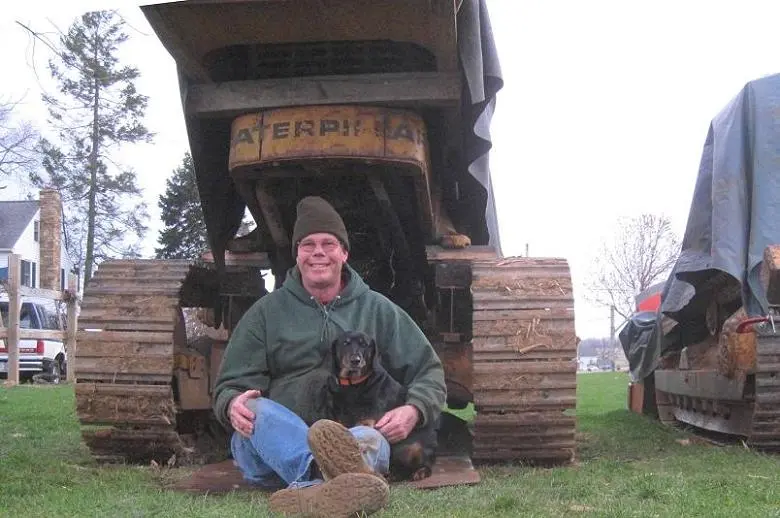
7) That’s my faithful dachshund Reggie in the last picture – he is in charge of spirit lifting during difficult tasks.
Next step I’ll start pulling off the bearing caps.
After I measure all this stuff up - can I order bearing inserts online? Or must I make a trip to the cat dealer.
Here is another bit of information on the machines past… when the pony motor became troublesome for the previous owner – he would pull start this machine. Could this “pull starting” cause this trouble? Just a thought…
While I am under the machine I keep looking at that 95% + Berco undercarriage and think to myself “it may be worth fixing this machine”.
And don’t worry a lot about the way I have it jacked up – it seems rock solid on both sides. Just the same... I'll bring a steel tube home from work this week.
Bill Glenn
That's a good days work😊 😊
1/8 in. diameter is the diameter of the shear pin for the drive gear on the oil pump. If you can spin the shaft you are pointing to you are disconnected from the drive. The shear pin is to protect the drive gear on the cam shaft so that still needs inspection. According to the service manual the pin should be brass, not steel. A steel pin would exert considerably more force before shearing. The drive shaft you are turning is actually two piece with tang and slot between the two pieces.
Sort of looks like a spun bearing but I can't make out the ends of the bearing shells to see if they have clearly rotated.
When it comes to parts there are a couple of on line sources to check when you know what you need...Florin tractor....and machinerytrader parts search are a couple of good sources....undoubtedly there will be some items best sourced from Cat.
Could you tell if someone had been in there recently?
Old Magnet,
You wrote:
Could you tell if someone had been in there recently?
Reply:
I would say it has never been opened up. The main clue is the six bolts that hold the loader frame to the cross member - they were the originals as they were badly rusted and had to be burnt off. The nut hexes were disintegrated from having a layer of wet dirt on them for decades. It’s probably the original (standard) sizes on the crank - but I'll will check.
Bill Glenn


Our channel highlights machines from the earliest Holt and Best track-type tractors, equipment from the start of Caterpillar in 1925, up to units built in the mid-1960s.
Chapter Two
| Faulkner Farm, West Drove, Wisbech, Cambridgeshire, PE14 7DP, UKChapter Nineteen
| Cnr Hiller Lane and Ballarat Road, Hamilton, Vic, 3300Chapter Two
| Pitt Farm, Little Paxton, St Neots, Cambridgeshire, PE19 6HD, UKChapter Fifteen
| Historic Santa Margarita Ranch, 20000 El Camino Real, Santa Margarita, CA 93453, USA
Antique Caterpillar
Machinery Owners Club
1115 Madison St NE # 1117
Salem, OR 97301
Terms & Privacy
Website developed by
AdCo
"I also joined a year ago. had been on here a couple of times as a non-member and found the info very helpful so I got a one year subscription (not very expensive at all) to try it out. I really like all the resources on here so I just got a three year. I think its a very small price for what you can get out of this site."
-Jason N
