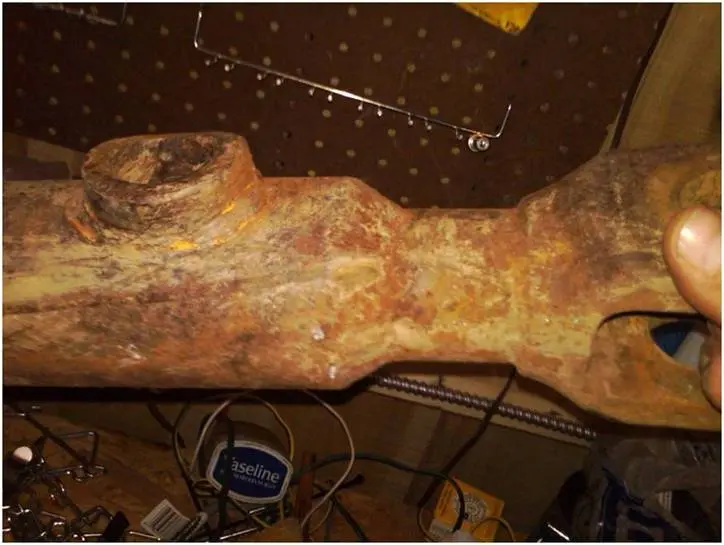
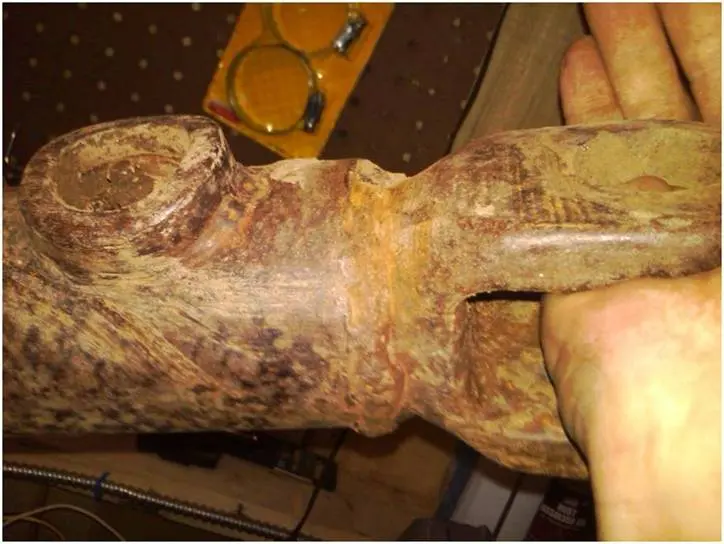
hello Barely Smokin' ,looking at one pic of a arm that i have they look like they maybe threaded all the way through ,you could try cut through the outer pipe just behind the weld ,cut down to the threaded inner thread and see if they will turn ,then clean it up ,bruce oz
I would have to disagree.........The threads are most likely stripped out on one or both ends. Frozen up would be a great thing to find! Lots of heat and pumping grease in there plus a big pipe wrench and you can take care of frozen up after you remove the welds.
I know on the 6S blade, the braces are adjustable, only one end is a ball in the socket on the back of the blade. I have seen several which were welded up like that.
Wishful thinking....last set I tried that they were cross threaded and the more you turned the tighter it got. The tube adjuster can be salvaged by cutting the ends off and welding on a threaded section of tubing (some are originally built that way). I wound up buying some new threaded eyes....they weren't to pricey aftermarket.
OM, you got a lead on where to get those guys and about what it'd cost? Just checked my quote....B&W Dozer Salvage quoted me $675/each for the whole ass'y.
They way I figure it, that's a decent downpayment towards a 4S blade with hydraulic tilt....
The source was either Regal or Heavyquip, can't remember which. I'm equally fuzzy on the price but seems like it was $40- $50 each.
Takes two part numbers.
Blade end is 2J848
Other end is 2J847
Just tried Heavyquip....didn't like the numbers.
Try these (later sr. # blade)
Blade end 8J6643
Other end 8J6642
What is the serial number on your blade?
OM, yeah, those numbers didn't come up either.
You're going to make put on my overalls and go outside and look to see if I can find that serial number in the dark....😉
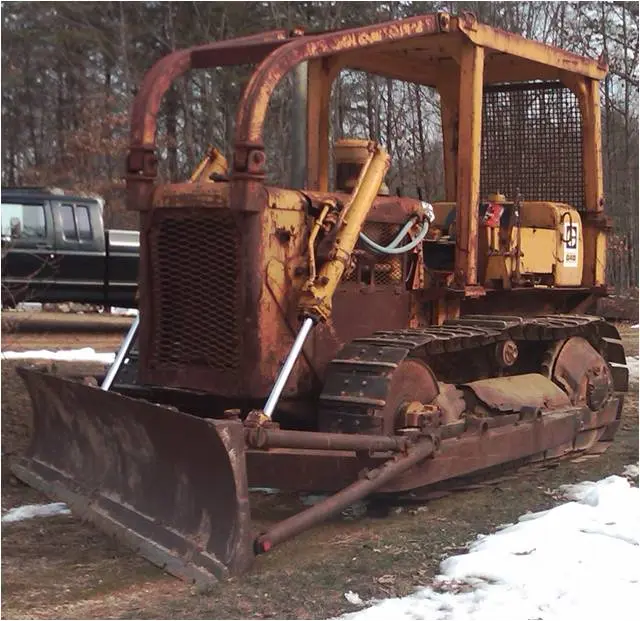
OK, got two numbers. The first one is off the plate attached to the back of the blade in the center where it connects to the C frame. It's 2J1070. It also has a number above it that reads YOKL. I get the feeling that's not it.
The other number is on top of the blade on the operator's left side, right in front of where the threaded rod attaches. It's pretty well worn off. The numbers that are easiest to read are H98. However, if I squint, I could possibly read it as 1H0984. The number is about clear worn off the machine.
I attached a picture, if that helps...thanks again.


Our channel highlights machines from the earliest Holt and Best track-type tractors, equipment from the start of Caterpillar in 1925, up to units built in the mid-1960s.
Chapter Nineteen
| 1234 Carngham - Lake Goldsmith Road Lake Goldsmith VIC 3373Chapter Two
| Folds Farm, Godshillwood, Fordingbridge, Hampshire, SP6 2LU
Antique Caterpillar
Machinery Owners Club
1115 Madison St NE # 1117
Salem, OR 97301
Terms & Privacy
Website developed by
AdCo
"I also joined a year ago. had been on here a couple of times as a non-member and found the info very helpful so I got a one year subscription (not very expensive at all) to try it out. I really like all the resources on here so I just got a three year. I think its a very small price for what you can get out of this site."
-Jason N