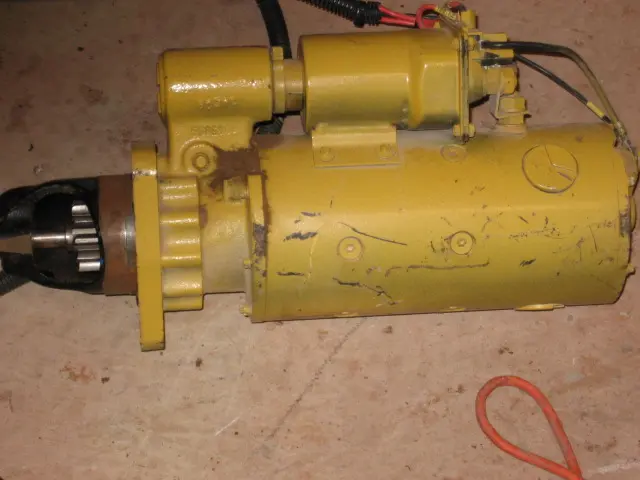
Worked some more on it today, now to relocate the fuel line and clock the selonoid up, played around with it to see if I could make it fit without moving the fuel line, but this is the only position I could get it, and still get in all 3 bolts in. Quite a chore to get the starter in place by myself. Now I will try to let my aching body recover until next weekend, and try to get it finished. Still a few things to pick up this week so I will have everything ready to finish up.
[attachment=8274]003.JPG[/attachment][attachment=8275]002.JPG[/attachment]
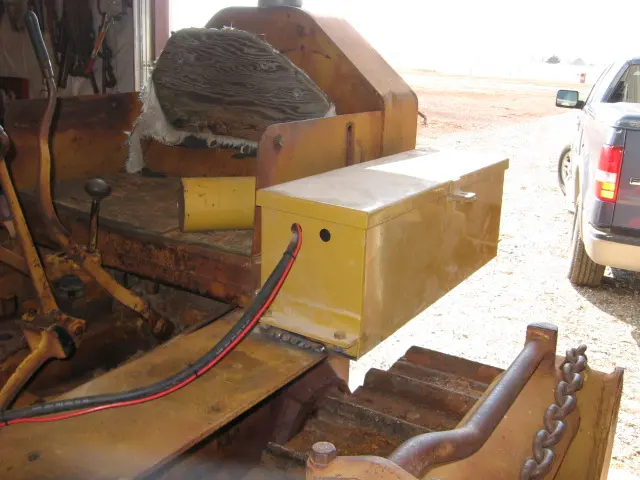
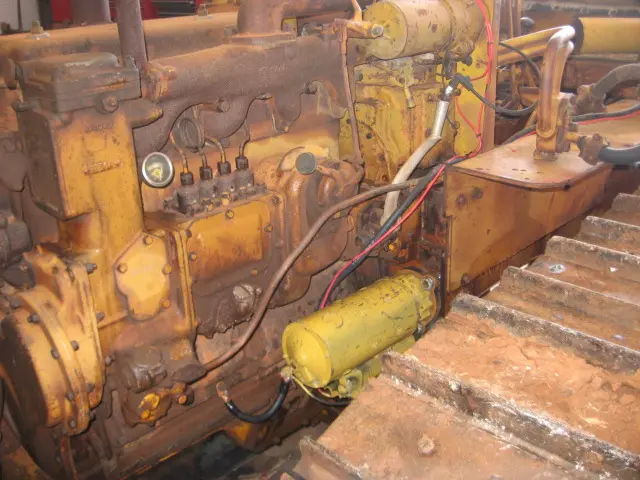
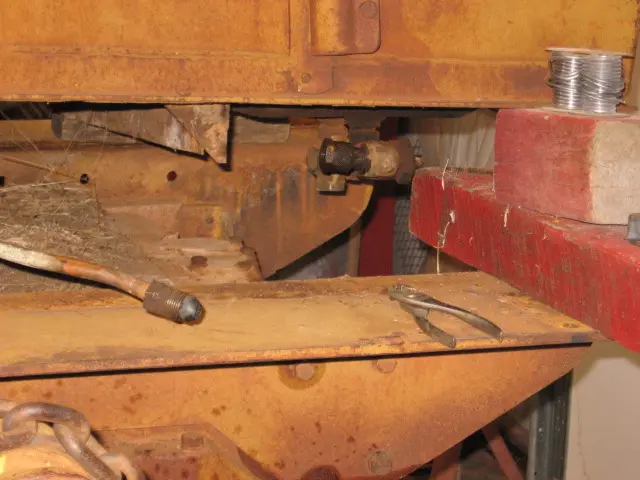

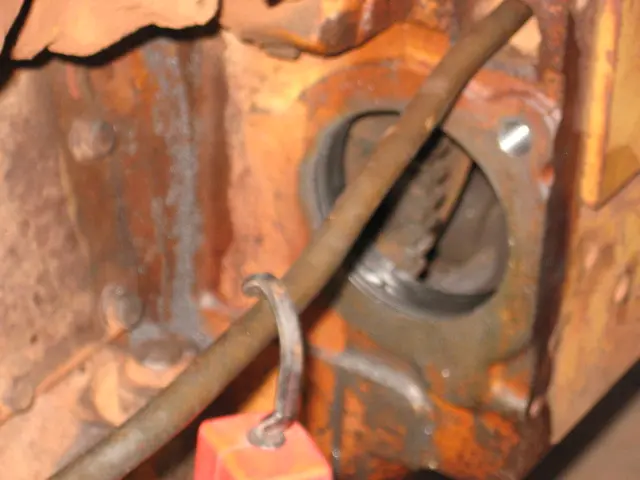
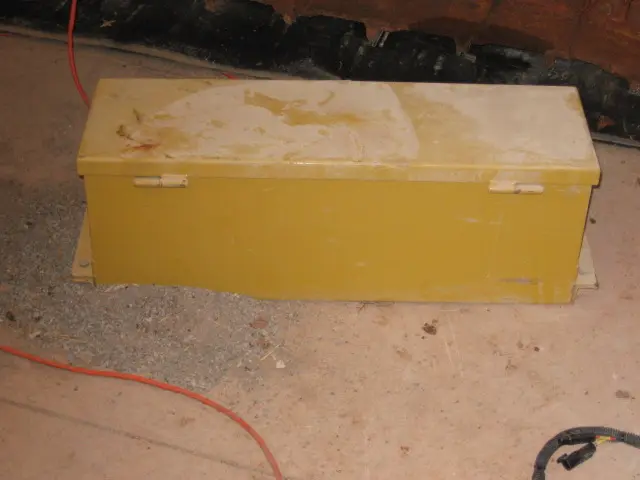
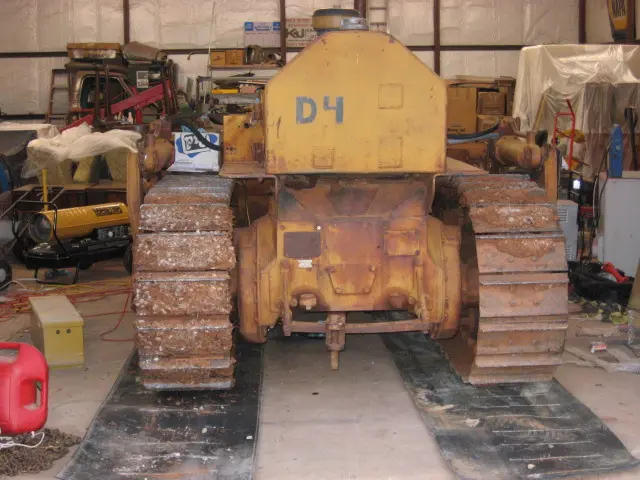
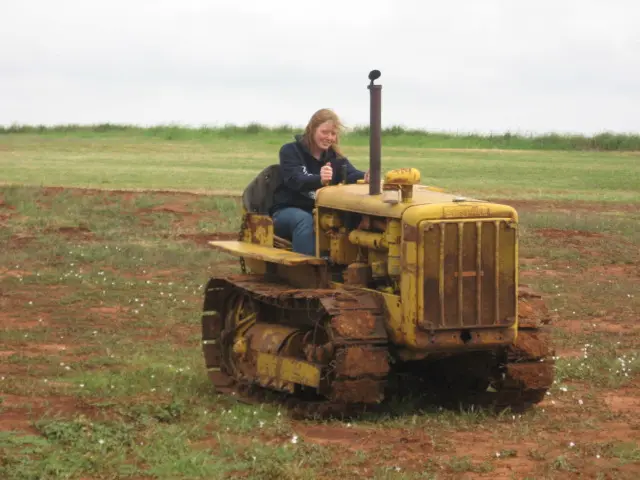
I got back on the d4 this weekend, first re-routing the fuel line, had to un soilder the end on the line to get it through the holes it was routed through, then resoilder it. Had to take the seat tank loose and lift it to get access to the line. After getting everything (seat tank) back in place and bolted down, the line leaked, so back apart, and found the soilder did not stick to the steek end. Resoildered it, but it did not stick again, so got out the brass and braised the end on, leak fixed. Ended up, I would not have had to re-route the fuel line, because I ended up clocking the selenoid down, for the best fit, but did not pay attention to what Ol Grump said about putting in the bolt before putting on the nose cone, so had to take it apart and do that. Made up 2-0 battery cables, mounted the battery box, wired up the batteries and new starter switch. Pushed the button, and she started cranking. Spun it for a couple minutes, then added fuel, and she fired up pretty easy. Now to replace the hydraulic hoses, fuel filters, and oil, and re-attach the cutting edge on the blade. Almost ready for the Fling in May!!!!
I got back on the d4 this weekend, first re-routing the fuel line, had to un soilder the end on the line to get it through the holes it was routed through, then resoilder it. Had to take the seat tank loose and lift it to get access to the line. After getting everything (seat tank) back in place and bolted down, the line leaked, so back apart, and found the soilder did not stick to the steek end. Resoildered it, but it did not stick again, so got out the brass and braised the end on, leak fixed. Ended up, I would not have had to re-route the fuel line, because I ended up clocking the selenoid down, for the best fit, but did not pay attention to what Ol Grump said about putting in the bolt before putting on the nose cone, so had to take it apart and do that. Made up 2-0 battery cables, mounted the battery box, wired up the batteries and new starter switch. Pushed the button, and she started cranking. Spun it for a couple minutes, then added fuel, and she fired up pretty easy. Now to replace the hydraulic hoses, fuel filters, and oil, and re-attach the cutting edge on the blade. Almost ready for the Fling in May!!!!
A few volts Working the starter 12 or 24
How ignition in the morning when it's cold
How long the starter turn the engine before ignition
Why not install Dynustrter on the The little engine
What auxiliary heating system you are using the estate ignition
tnx
itzik
A few volts Working the starter 12 or 24
How ignition in the morning when it's cold
How long the starter turn the engine before ignition
Why not install Dynustrter on the The little engine
What auxiliary heating system you are using the estate ignition
tnx
itzik
O M, I was a bit concerned at first about the solenoid being down too but after a year of being out in the woods and brush with mine, I've found no problem with it. My main problems have been with the occasional limb slapping me or jillpokes trying to come in the canopy with me. Guess it's time to add side and front screens to it. Yup, nothing brings ya back to reality faster'n a branch slapping the safety glasses and tin lid off 😆
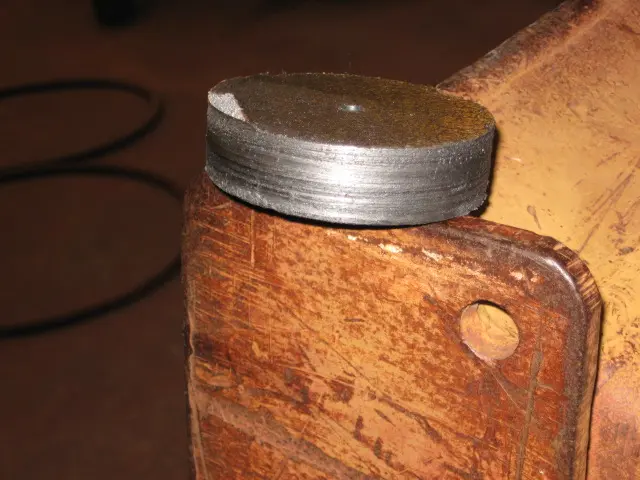
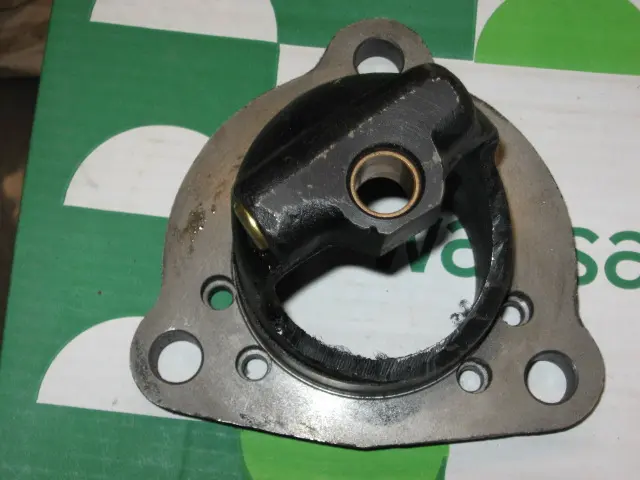
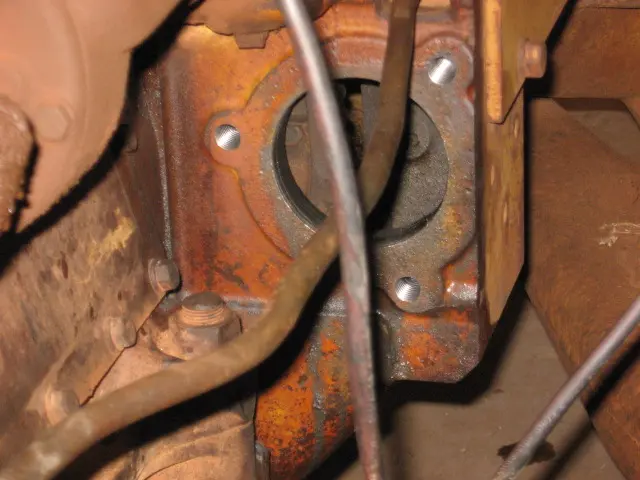
Yup, no problem at all.......until ya knock the solenoid housing clean off the starter.....seen it happen. Being of the fussy sort it would bother me no end to have it mounted upside down.....especially when it is not that difficult to mount it verticle like factory Cat. The picture of the nose housing did remind me that some additional indexing holes are required to get the required indexing though. A good starter rebuild shop should have and indexed drill jig for this purpose although I made my own...pretty critical tolerances to get the correct hole alignment.
Next time I have it off I will see if I can get it drilled so I can set it up the other way. I ran out of time, and had to get it out of the shop, as paying customers are wanting stuff done.
Never enough time to do it right.....always enough time to do it over. But I understand, you got to pay to play so paying clients come first.


Our channel highlights machines from the earliest Holt and Best track-type tractors, equipment from the start of Caterpillar in 1925, up to units built in the mid-1960s.
Antique Caterpillar
Machinery Owners Club
1115 Madison St NE # 1117
Salem, OR 97301
Terms & Privacy
Website developed by
AdCo
"I became a member recently because the wealth of knowledge here is priceless."
-Chris R