
Great description with simplified Instructions!
My brother has done 4 John Deere tractors and he strips everything with electrolysis.
Its been on my list of processes to try but I usually end up sandblasting everything.
Welcome to ACMOC jstandle, thanks for the excellent post and photos.
Welcome to ACMOC jstandle, thanks for the excellent post and photos.
Thanks! I've been thoroughly enjoying this site so far, lots of very good information.
Jordan
Thanks! I've been thoroughly enjoying this site so far, lots of very good information.
Jordan
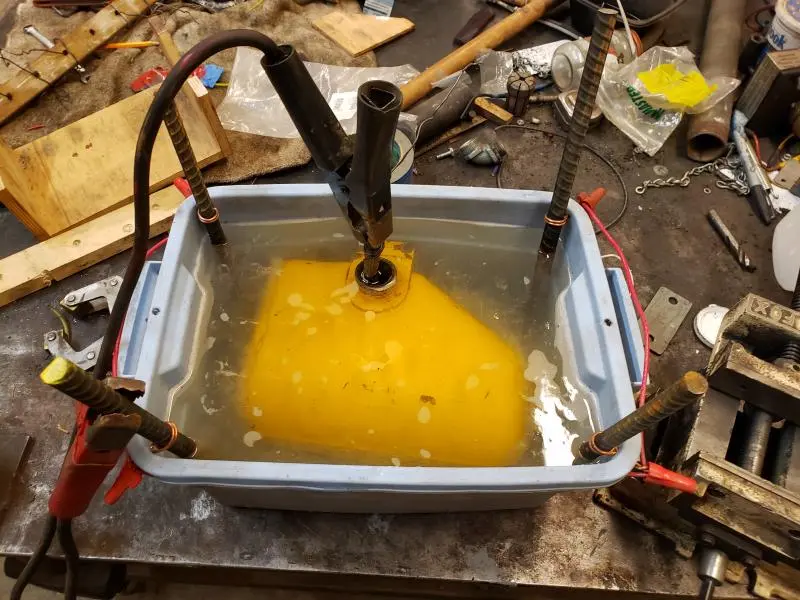

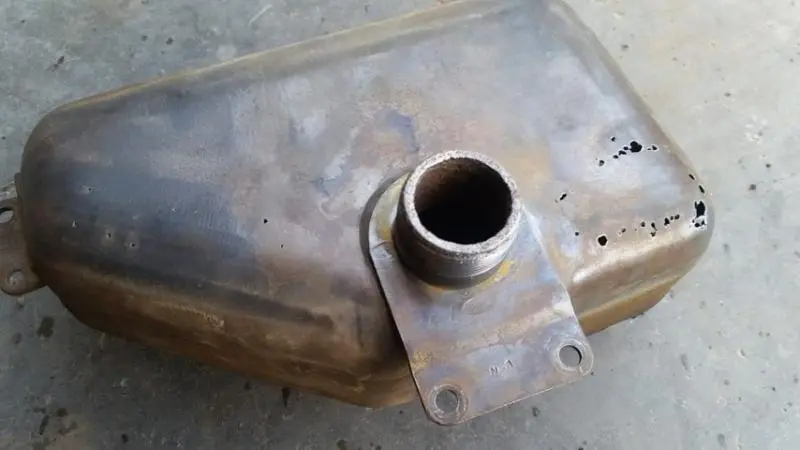
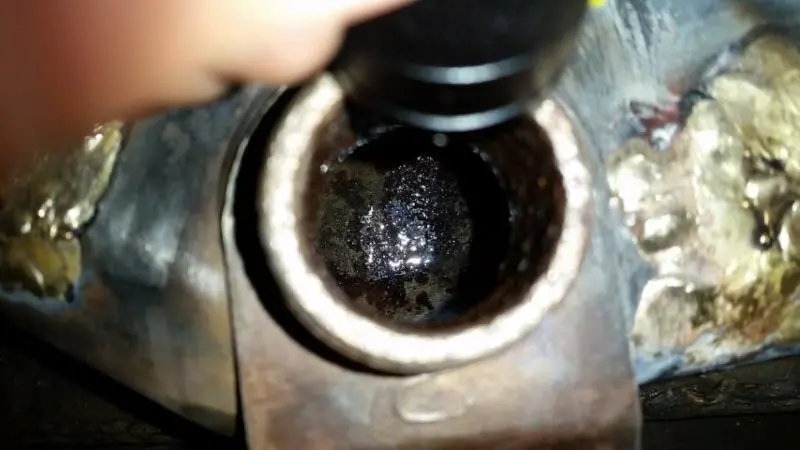
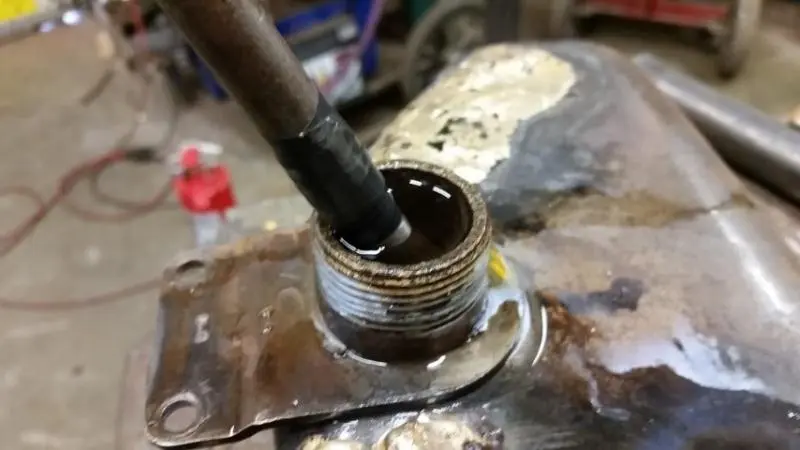
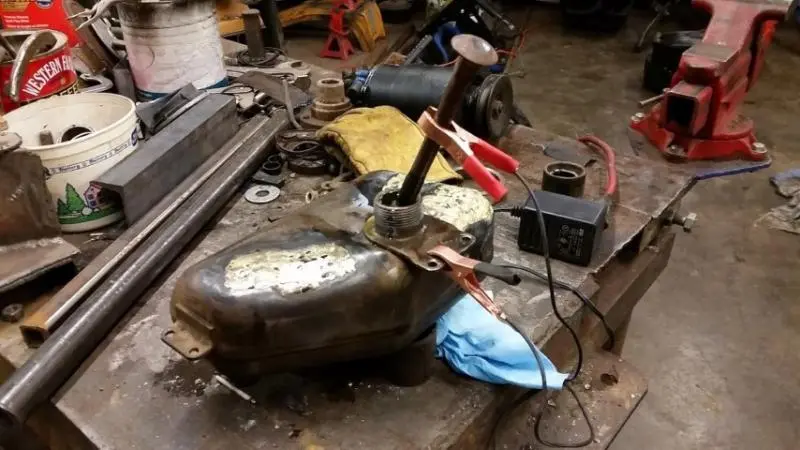
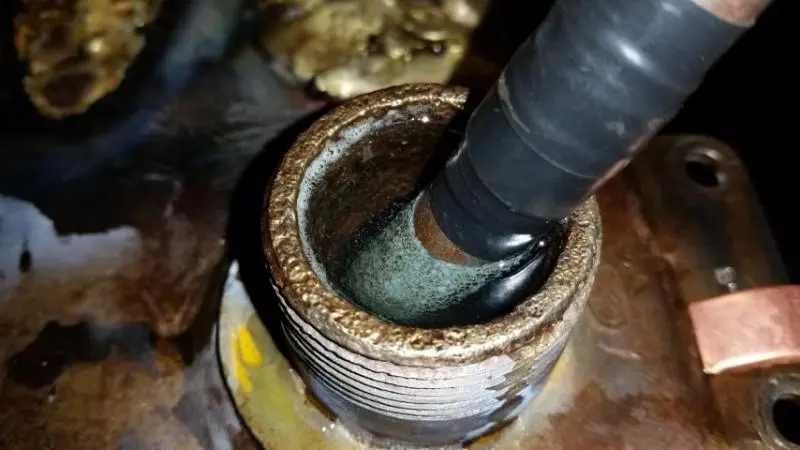
I think you want the negative clamp on the tall bolt you have tightened in the flange surrounding the filler neck instead of to the rebars. Then the positive clamp attaches to the sacrificial anode that is suspended in the filler neck without touching metal to metal. That way you get line of sight INSIDE the tank between the rusty tank surface and the anode.
I remember to "Ground the part" which to me means negative attached to part since most everything is negative ground these days.
Cats Forever
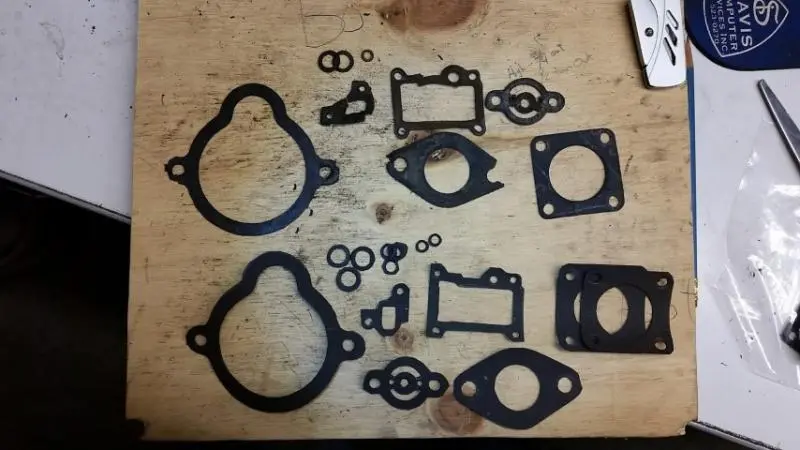
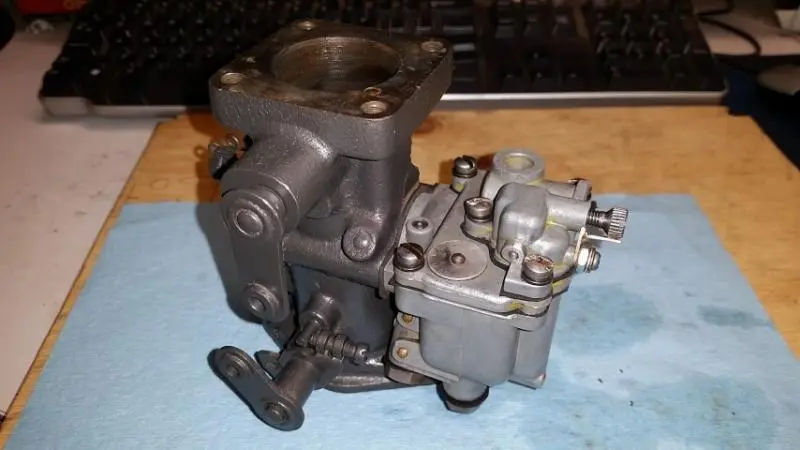
Jordan, you must have the patience of Job to cut those gaskets.😄 Looks like you did a great job.
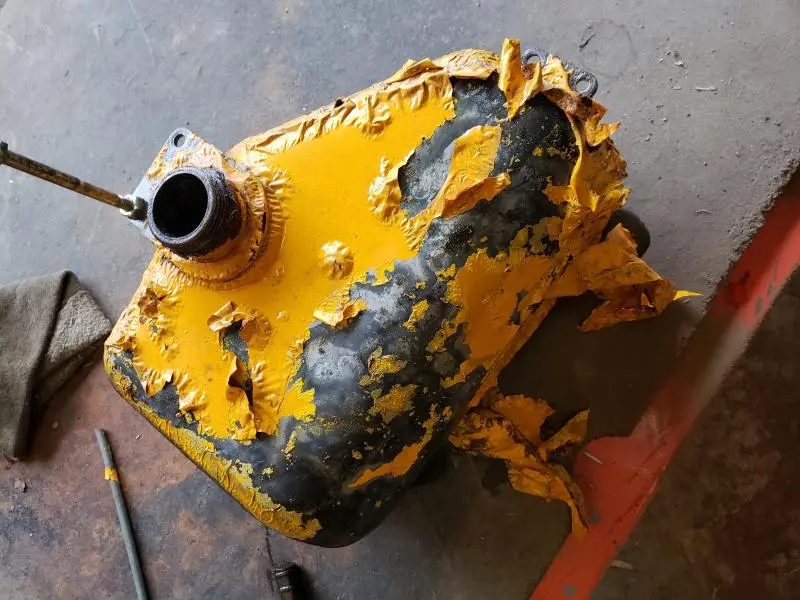
I never considered electrolysis when I coated a pony tank, just grabbed a gal of Evapo-Rust and used that. Looks like the electrolysis gives a much cleaner result. Chemicals like Evapo-Rust can be used until it stops working although it may be really black.
[quote="ccjersey"]I think you want the negative clamp on the tall bolt you have tightened in the flange surrounding the filler neck instead of to the rebars. Then the positive clamp attaches to the sacrificial anode that is suspended in the filler neck without touching metal to metal. That way you get line of sight INSIDE the tank between the rusty tank surface and the anode.
I remember to "Ground the part" which to me means negative attached to part since most everything is negative ground these days.[/quote]
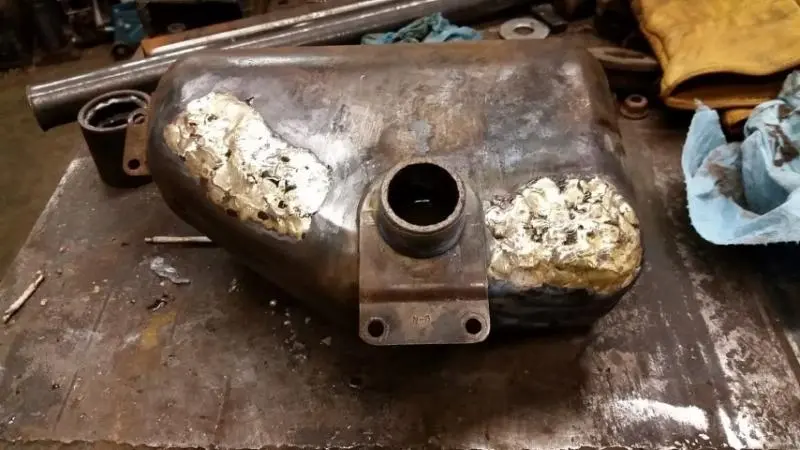
This is correct, the tank needs to have the negative attached to it and be completely insulated from the positive that is connected to all of the anodes. All of your anodes can be wired together but none of them can touch the metal on the tank. If the area with rust doesn't have direct line of site to an anode it will greatly reduce effectiveness. I cleaned the anode at least once a day and then continued the process until the anodes were no longer collecting much of anything.
[quote="D4Jim"]Jordan, you must have the patience of Job to cut those gaskets.😄 Looks like you did a great job.
[/quote]
Thanks! It really wasn't too bad, just traced the old gaskets and used a nice sharp razor to run over the lines. The bolt holes were made with a hollow punch set.
Jordan


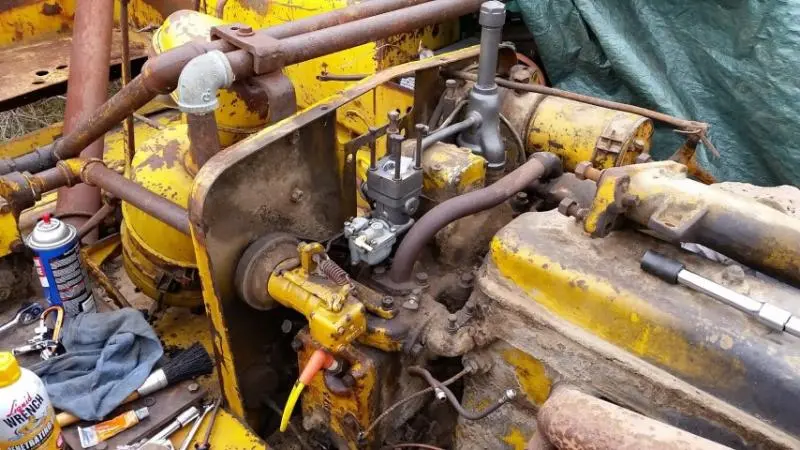
Our channel highlights machines from the earliest Holt and Best track-type tractors, equipment from the start of Caterpillar in 1925, up to units built in the mid-1960s.
Chapter Two
| Highacres Farm, Dewey Lane, Brackenfield, Derbyshire DE55 6DB, UKChapter Nineteen
| 2 Winkleigh Rd, Exeter TAS 7275
Antique Caterpillar
Machinery Owners Club
1115 Madison St NE # 1117
Salem, OR 97301
Terms & Privacy
Website developed by
AdCo
"I became a member recently because the wealth of knowledge here is priceless."
-Chris R