
Dynamite!, well after you spend three days working on them you will be ready to blow it to hell. You should try driving them back in with a sledge hammer, just the vibrations will help break up the rust. Even if you get them started out with the screws, keep tapping the face with a hammer alternating with the extracting screws. Failing all else you could drill and tap the center for a large screw and attach a puller. Or weld a 1" bolt on center and pull that way. I just got my pins out three days ago with the hammer technique.
Dynamite!, well after you spend three days working on them you will be ready to blow it to hell. You should try driving them back in with a sledge hammer, just the vibrations will help break up the rust. Even if you get them started out with the screws, keep tapping the face with a hammer alternating with the extracting screws. Failing all else you could drill and tap the center for a large screw and attach a puller. Or weld a 1" bolt on center and pull that way. I just got my pins out three days ago with the hammer technique.
Looks like a big air hammer or large hammer drill (just shy of a full blown jack hammer), with a chisel bit, might help. Work it in from the side to spread it (essentially what you were doing, but on steroids), rotate it, etc. They're cheap to rent if you can't find one to borrow.
Not sure what kind of time frame you're looking at, but you could possibly custom cut something like a 1 gallon plastic jug to use as a soaking tub. Cut the top off and cut the remaining part in half vertically (and a notch where the blade arm is), then use some good caulking to secure it to the machine and around the blade arm. After that cures, fill it with your favorite loose juice (acetone/atf, etc) and let it think about it for a while.
On the threads that are messed up, tap them oversize, you can weld them up and fix them later, on the bolts that are broken, extract them, chase with a tap. In all cases, when using threaded holes & jacking bolts make sure that the threads are clean, and apply antisieze to the threads liberally. It will keep the bolts from seizing and wringing off. It goes without saying that you need to use a grade 8 bolt, or higher.


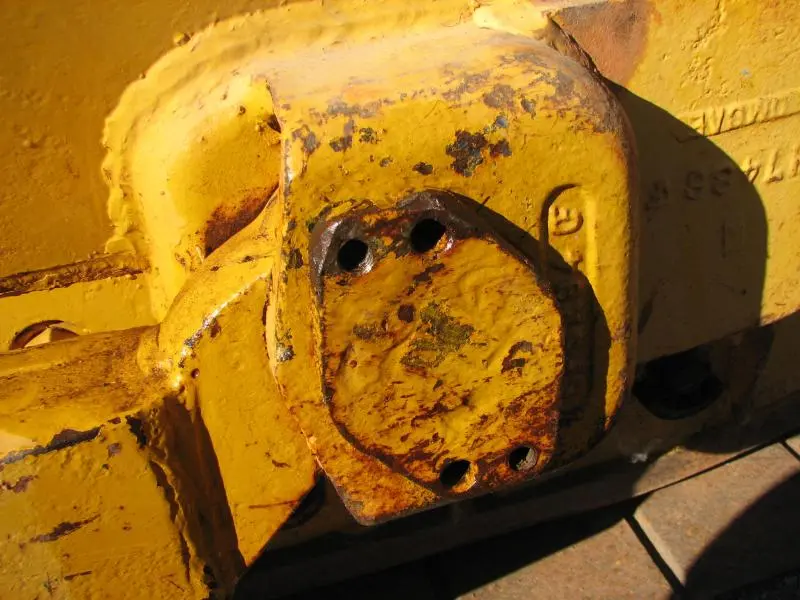
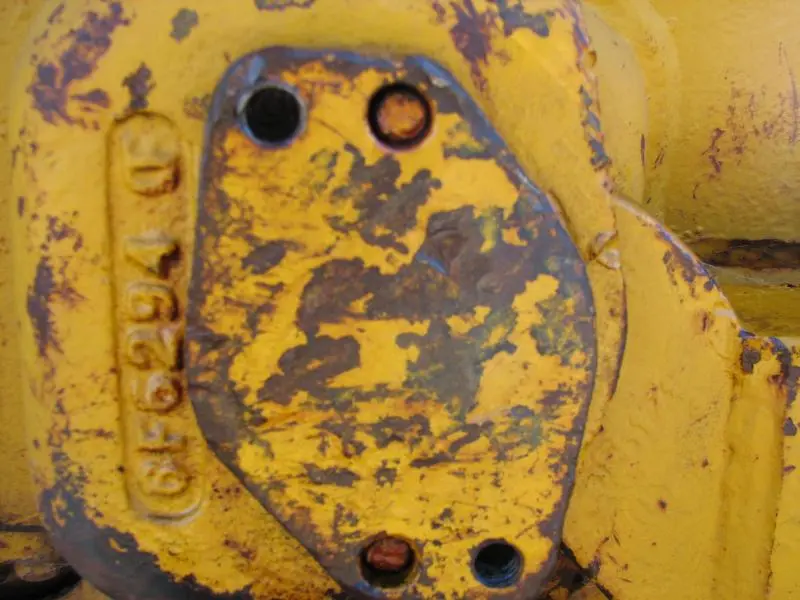
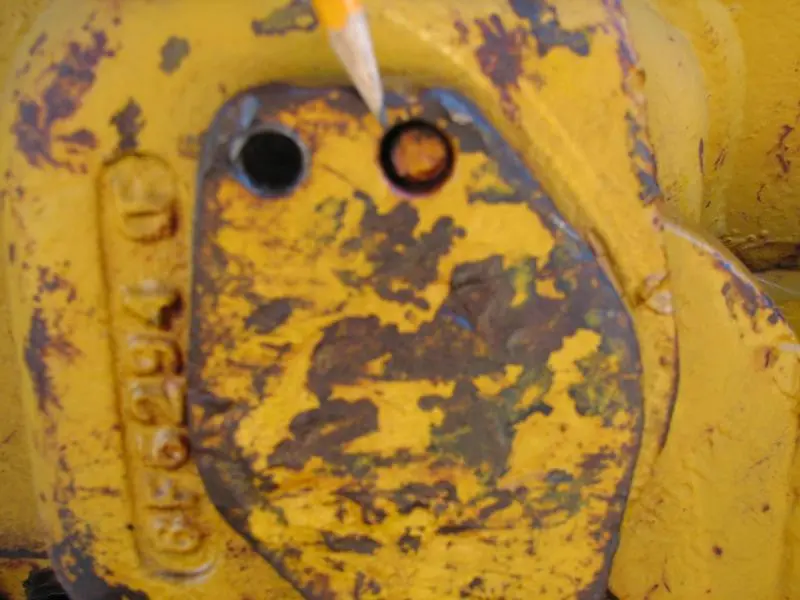
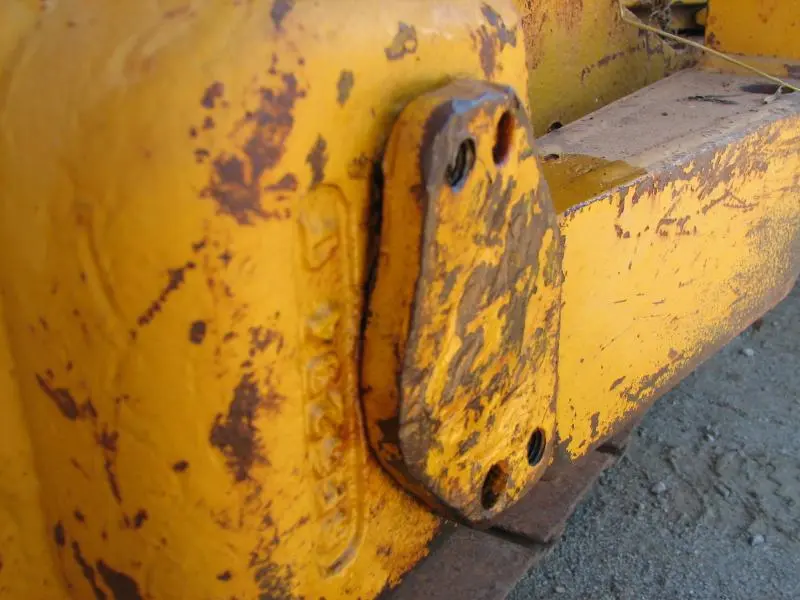
Thought I would post a couple picture of what it looks like behind the flange when I got my pins out. I found an awful lot of dry, hard packed grease,dirt and rust when I finally pried one side out. The other side , which had the broke bushing, came out easily. I had new bushings made and all is good now. Good luck with your project.
Have a good day......Bill
Well, this is very strange, at least to me!
When I inherited my D2 one trunion pin was held in place by a chunk of rebar that was welded over it, as the bolts were stripped out; on the other side only two bolts were left. Both sides popped right out, and I don't recall a time when Grandpa ever had the blade off. One of the pins appeared to be the wrong size, and I ended up having a machine shop build a duplicate of the correct one. I re-threaded the holes and re-installed them with grade 8 bolts and loctite. They slipped right in and I have no idea what could be holding them so firmly in place on your machine. But, it sounds like my experience is the exception and not the norm...
G
Fire up Ol' Blue Rosie, get it cherry red, let it cool off...repeat as necessary, with applications of the loose juice in between.
weld a big bolt to the middle and make a puller out if it slide a piece of RHS over the lot pin and bolt and some thick steel with a hole int the middle for the bolt and pull it out that way grind the bolt off repeat on the other side
It all sounds so simple hey LOL
Paul
Thanks for the ideas....I had thought of welding a large nut to it and then a piece of all thread rod and a 25 pound barbell weight to create a monster slide hammer... maybe that and heat & loose juice will get it done.


Our channel highlights machines from the earliest Holt and Best track-type tractors, equipment from the start of Caterpillar in 1925, up to units built in the mid-1960s.
Antique Caterpillar
Machinery Owners Club
1115 Madison St NE # 1117
Salem, OR 97301
Terms & Privacy
Website developed by
AdCo
"I also joined a year ago. had been on here a couple of times as a non-member and found the info very helpful so I got a one year subscription (not very expensive at all) to try it out. I really like all the resources on here so I just got a three year. I think its a very small price for what you can get out of this site."
-Jason N