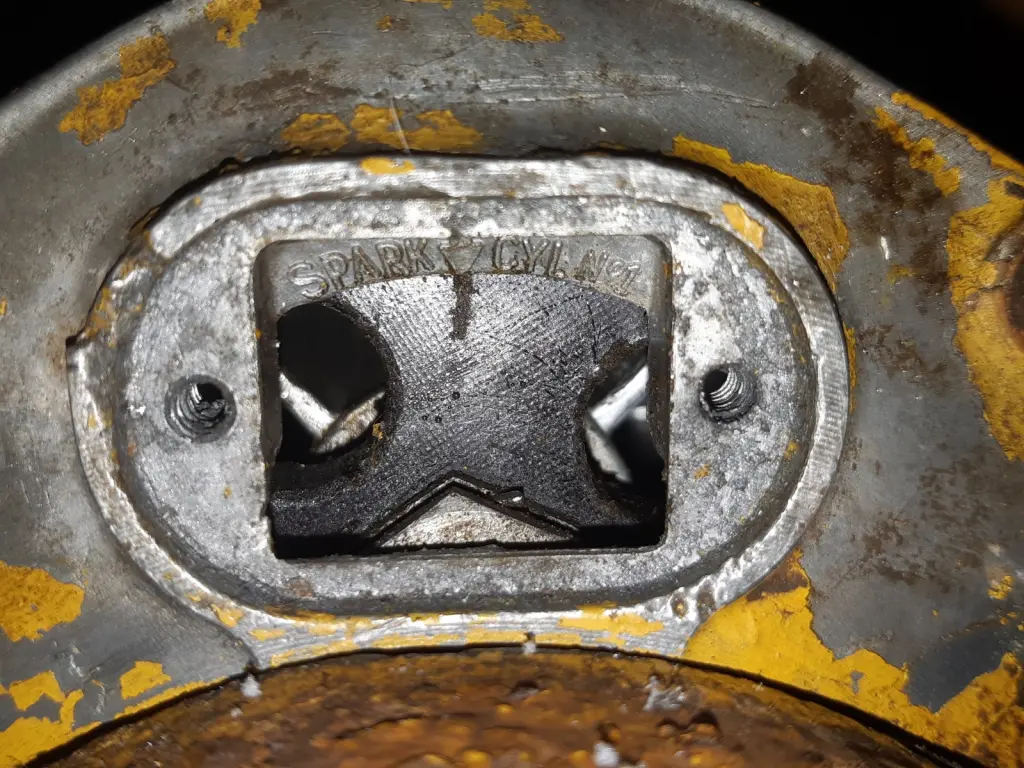
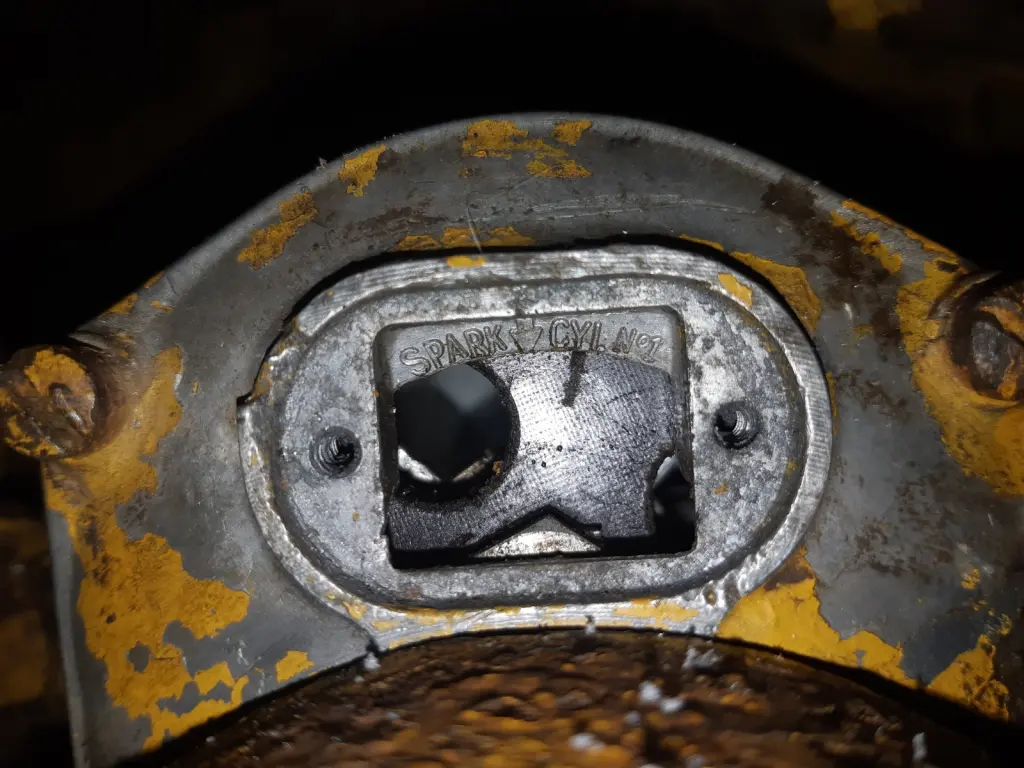
Backfires out of carb often means you need to swap the plug leads on the magneto cap. It is firing a the end of the exhaust stroke when the inlet valve has opened. Simply swapping the leads will rectify the problem, best part is it is easy to do. cheeers WF
Backfires out of carb often means you need to swap the plug leads on the magneto cap. It is firing a the end of the exhaust stroke when the inlet valve has opened. Simply swapping the leads will rectify the problem, best part is it is easy to do. cheeers WF
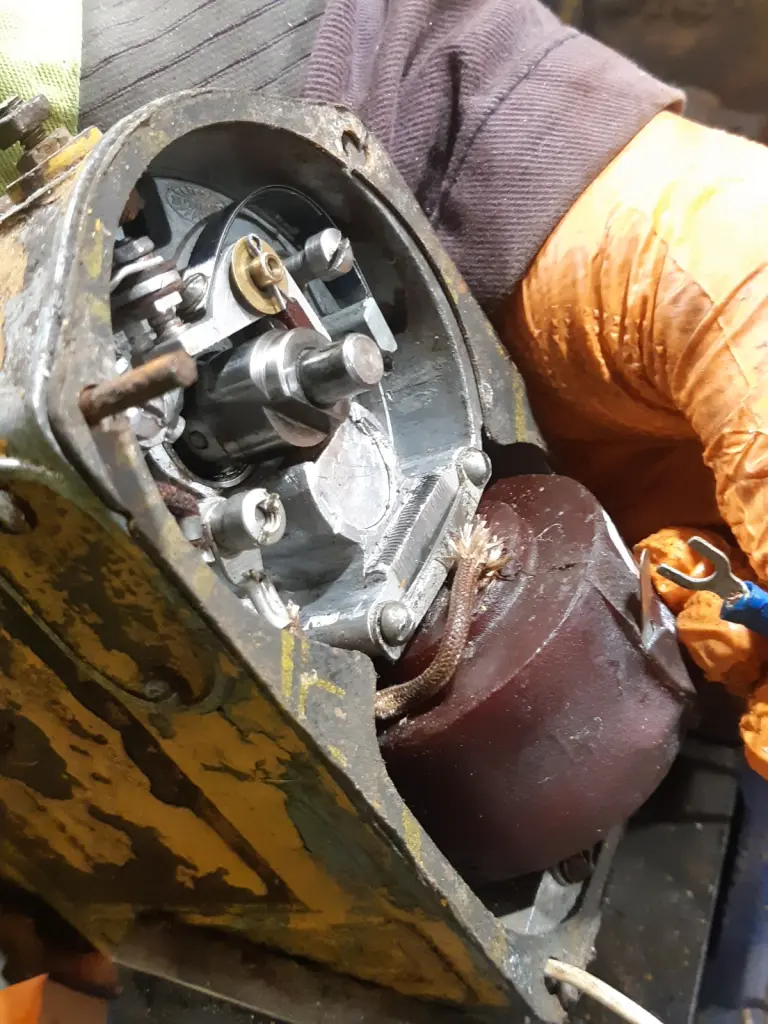
Hi Team,to get the best out of an Eisemann I take the mag cap off and set a piece of 1/16 oxy welding wire for example by a loop in one end of the wire via one of the mag cap screws to the mag body so the free end is 1/8" or so away from the coil tang to watch the quality of spark as I slowly turn the mag.I then proceed to simply turn the drive back and forth at the position where the points open--just before the points open you will feel a resistance of the magnetic field being cut by the armature and short few degrees later the points should open--the edge gap you adjusted with the spacer drill sets this gap--I proceed to adjust the points plate adjuster(edge gap adjuster) and watch how slow I can turn the mag to get a spark to jump from the wire to the coil tag.I adjust the edge gap until I get the best spark at the slowest speed in the direction of rotation and lock it up and retest.Taught to me by an older Tradesman when I was an Apprentice at the Dealer in the early 1960's.If you have a later model carby on your pony then be aware of the trap that with the main jet adjust screw it works via a 90* bell crank that gets bent if the main jet screw is over tightened inwards to do the initial main jet setting and so causes the main jet to be lean so requiring some choke to run the pony at full tilt.Cheers,Eddie B.
Thank you all for the pointers. Ed, I am impressed by all these tricks of the trade that you've accumulated and share here. I will try to figure that out. I also have a Bosch mag off my 7U that works. I have to trade one brush back and forth as one broke. My 5T carb does not use the bell crank style main jet screw. I do remember you sharing that recently and I do keep it in mind. I have two other carbs like that. I find that style a PITA. The little fork never wants to let the needle go and of course the bending issue. Why did they go that direction? Just curious...Is it actually a superior design?
I figured that the 90 degree part was to make it easier to reach in there to adjust. If you need Eisemann parts, I used Mainely Magnetos - he had everything needed for my mag on my 5U, and it works perfectly (and looks brand new).
"i reject your reality and substitute my own" - adam savage. i suspect my final words maybe "well shit, that didnt work"
instead of perfection some times we just have to accept practicality


Our channel highlights machines from the earliest Holt and Best track-type tractors, equipment from the start of Caterpillar in 1925, up to units built in the mid-1960s.
Antique Caterpillar
Machinery Owners Club
1115 Madison St NE # 1117
Salem, OR 97301
Terms & Privacy
Website developed by
AdCo
"I became a member recently because the wealth of knowledge here is priceless."
-Chris R