First, shake the flywheel around and see if you can feel slack in the bearings. Check up and down as well as in and out (if you can barely detect any slack in the bearings, you might be OK to just replace the seal or keep adding oil. The most common severe problem is the crankshaft will move in and out of the engine about a quarter inch. You cannot ignore that for long wiithout taking the chance that it may break the crankshaft. This problem results when the front bearing in the block (toward the main engine) has lost it's dowel pin and moved in the block. Might not even have to replace the bearing if it doesn't have too much clearance when you lift up on the crankshaft, but you do need to fix the dowel pin.
Max permissible bearing clearance is 0.015" and end clearance max is 0.025". These are from CAT literature, but seem quite liberal to me since spec for new bearings is 0.005-0.0085 and 0.010-0.015" respectively
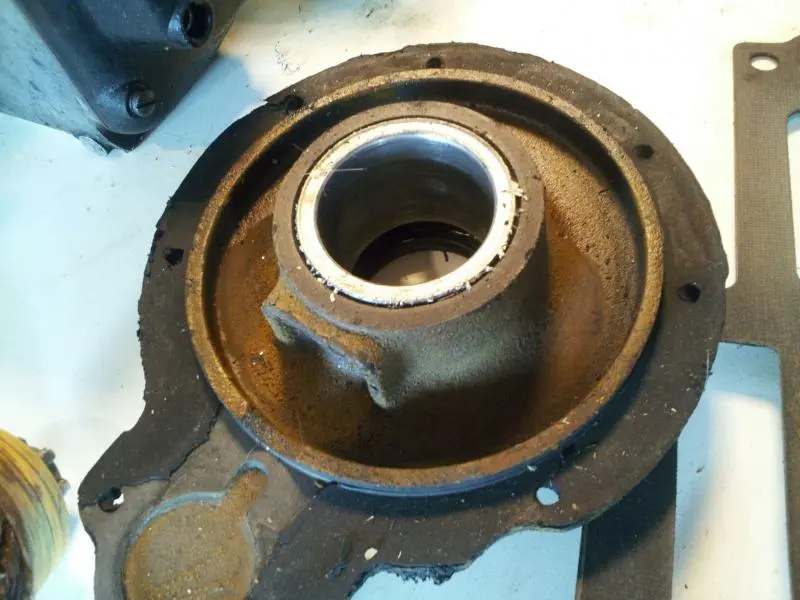
The seal and rear main bearing......not a big deal, just have to remove the flywheel and then the rear main bearing housing/rear engine cover plate. NOTE...I"m using "front" and "rear" to refer to the engine as it sits in the tractor......... Probably could pick just the old seal out if you're careful and never disturb the rear cover plate if you are not wanting to change the rear main bearing. If you go that route, be careful not to scratch the crankshaft surface as you are pulling the seal. This can be accomplished by carefully punching and then drilling the seal in a couple places and screwing sheetmetal screws through it to pull on with a crowbar etc. If you remove the rear plate, then you will need to replace the gasket behind it as well as the seal. If replacing the rear main bearing, the cover plate has to come off.
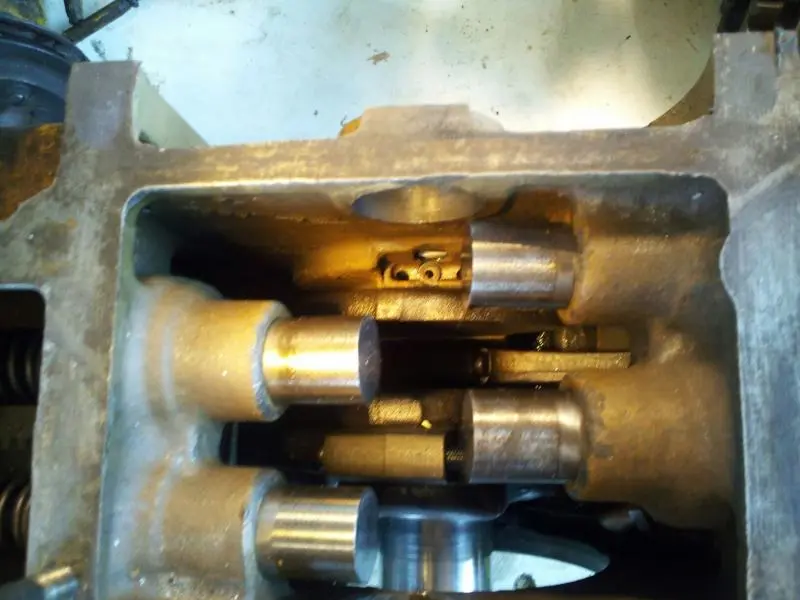
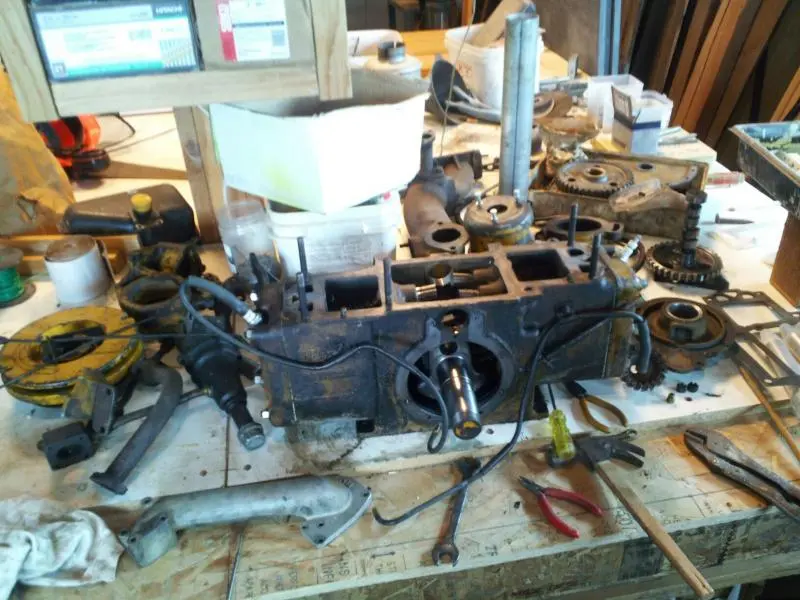
The front bearing is more involved. The pony motor must be removed from the tractor and the top cover/manifold, valve and lifter assemblies, camshaft and front gearcase cover removed to access the connecting rod bearing caps. They are removed and then the gear on the front of the crankshaft must be removed and then the crankshaft can be pulled out the back of the block. To remove the front bearing, a dowel pin which locates it in the block must be removed (if it hasn't already fallen out) and then the bearing can be removed from it's bore with a puller. The dowel pin falling out results in a crankshaft that will move as much as 3/16" fore and aft as the front bearing moves in the bore in the block. I've never done one, I've heard they are a pain(and painful) to do! Just working down in that tight space to remove the connecting rod caps is supposed to be quite a challenge.
The pinion end main bearing's hardest part for me was removing the big ends - there's little room in there for average size hands. If you do end up doing that bearing, then do the seal on that end. The washer that that seal rides on is 60 clams and I'd recommend replacing it if it's in any way less than 100%. You don't want oil leaking out of there because low oil is fatal to this crappy engine design.
Only other thing to look for is making sure you've removed all the base mounting nuts. There's a couple wedged in between the pony and the main engine, and some have broken the casting when levering the pony up to break free from the gasket. Lot of guys grease up one side of the base gasket so the pony comes off easier "next time" : )
Thanks ccjersy and Neil, I will be shaking the flywheel and go from there, I might try to replace the bearing and seal behind the flywheel but thanks to your info that will probably as far as I will go.
1canoeman1
That crankshaft bouncing around in there has been known to take out the cam bearing and then the magneto shaft too. I've seen it, I don't know if it's common. It gets expensive.
Canoeman, don't let me put you off doing the pinion end bearing. It's not that hard; it's a small engine which is why it's a bit fiddly to get your hands inside it, but it's not actually hard to pull it apart, and you don't need any special tools. Resetting the dowel or replacing that bearing if it needs doing is definitely the right thing to do, because it will self-destruct if that bearing is not top-notch.


Our channel highlights machines from the earliest Holt and Best track-type tractors, equipment from the start of Caterpillar in 1925, up to units built in the mid-1960s.
Chapter Nineteen
| 1234 Carngham - Lake Goldsmith Road Lake Goldsmith VIC 3373Chapter Two
| Folds Farm, Godshillwood, Fordingbridge, Hampshire, SP6 2LU
Antique Caterpillar
Machinery Owners Club
1115 Madison St NE # 1117
Salem, OR 97301
Terms & Privacy
Website developed by
AdCo
"I became a member recently because the wealth of knowledge here is priceless."
-Chris R