

Looking good Roby - only the "Best" for your baby : )
Roby You must be happy today it’s like Christmas came early 😁
Could you please enlighten me on the source of the castings ?
The rad mount comes from Brewser correct?
Thanks

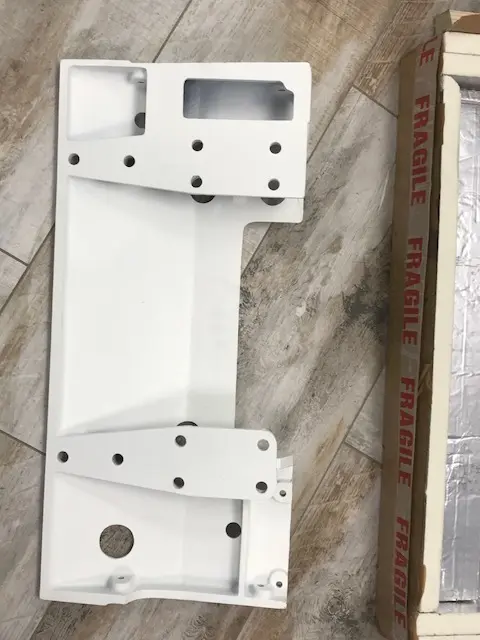
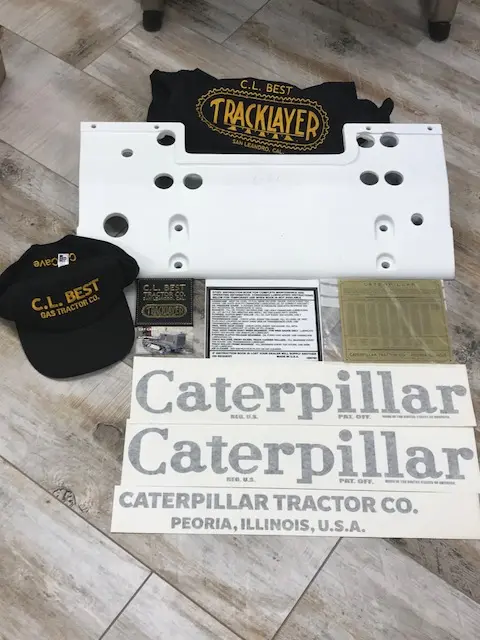
[attachment=49177]IMG_1800.jpg[/attachment][attachment=49178]IMG_1801.jpg[/attachment][attachment=49179]IMG_1672.jpg[/attachment]
Herb, Try Wally (Brewzer) for contact on these parts. He should be able to help you.
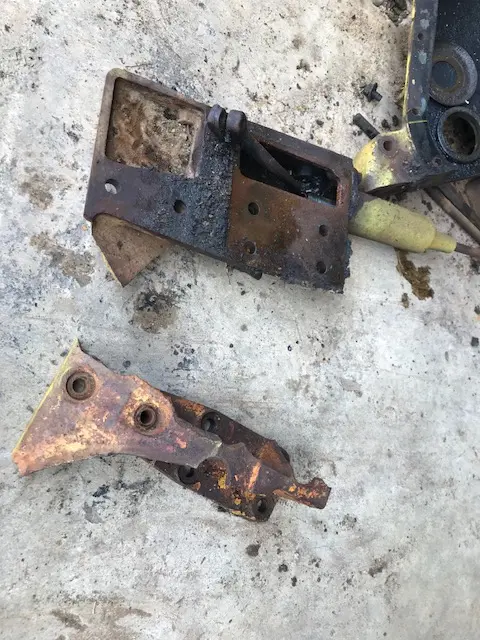
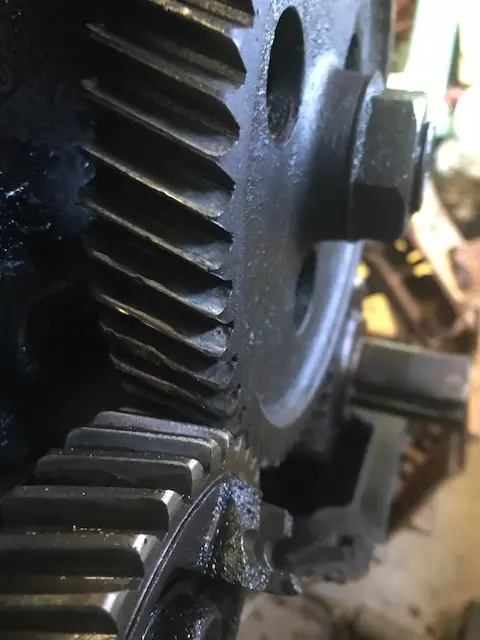
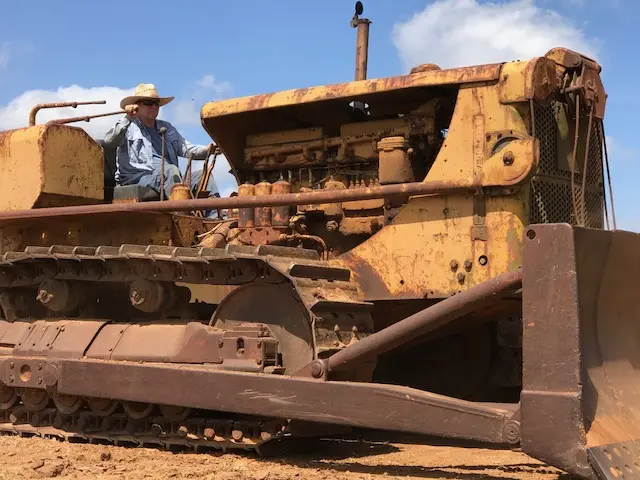
As you can see in the pictures I didn't have much left to work with on my original one.
I do have a repair piece that I got from Sandman years ago for my tailseat 15.
I need about 3 more years to get ready for the National show this October !
We are covered up at work and I'm worn out when I get home in the evenings.
Finally got my Wide Tailseat 22 blasted and painted on Memorial Day.
That was a bit of a moral boost. Need to get front idlers and tracks blasted and painted.
We've officially hit summer...
Nice nice nice !! Just struck me the R2 will look the same, but in OD green.
The heatbox and manifolds were sourced where ?
Thanks

Herb,
I will have to double check in some of my books, but if I remember correctly your 5E series R2 (very few built) was similar or identical to the model 22.
Which is a different casting from this PV-15 / 8C-20 model. Mainly in the fact the governor doesn't run through the casting.
The later model R2's were similar to the J series D2 and they were beefier with Fins on them.
The Intake and Exhaust I sourced through Rosewood Machine and Tool in Ohio under Cat 15 parts, the heatbox you may touch base with Brewzer and see if he can hook you up.
I picked up this Little 20 off one of the Craiglist ads threads that chriscokid posted on here last year. It was up by Lubbock, Tx. Thanks Again, Erik !
Roby Whitehead
[attachment=49189]IMG_1715.jpg[/attachment][attachment=49190]IMG_1802.jpg[/attachment][attachment=49191]Little 20.jpg[/attachment]
I was looking for the Rosewood Machine info. The pic is very similar to about where I am in the reconstruction process.
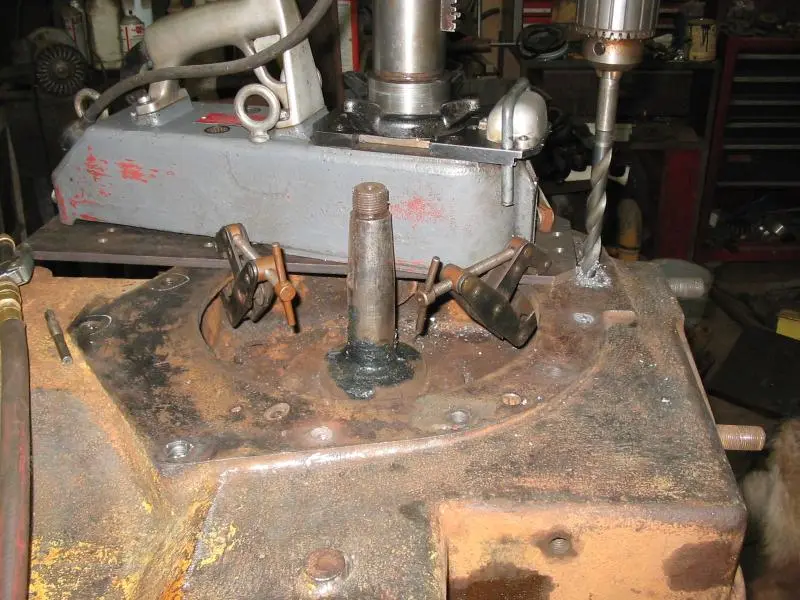
Fabricating new track frames at this time. Here is the back half.
[attachment=49208]27 May 18 002.jpg[/attachment]
[attachment=49209]27 May 18 001.jpg[/attachment]
Not trying to hijack your post.
Thanks

Herb, I like it! Much easier to work on these above ground level. My belly sure seems to get more in the way every year and it's a lot harder to get back up when you need something.
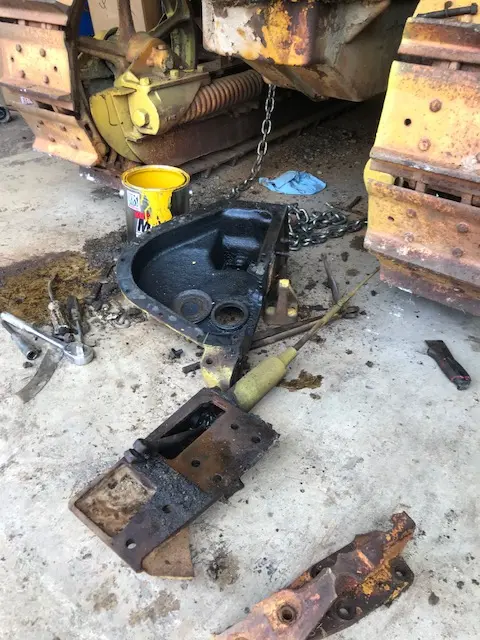
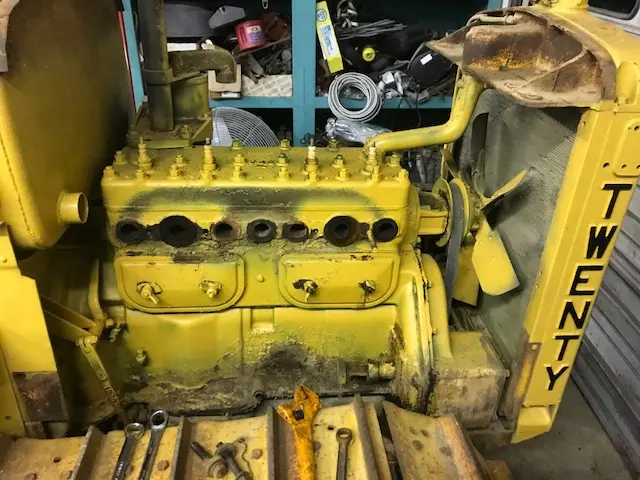
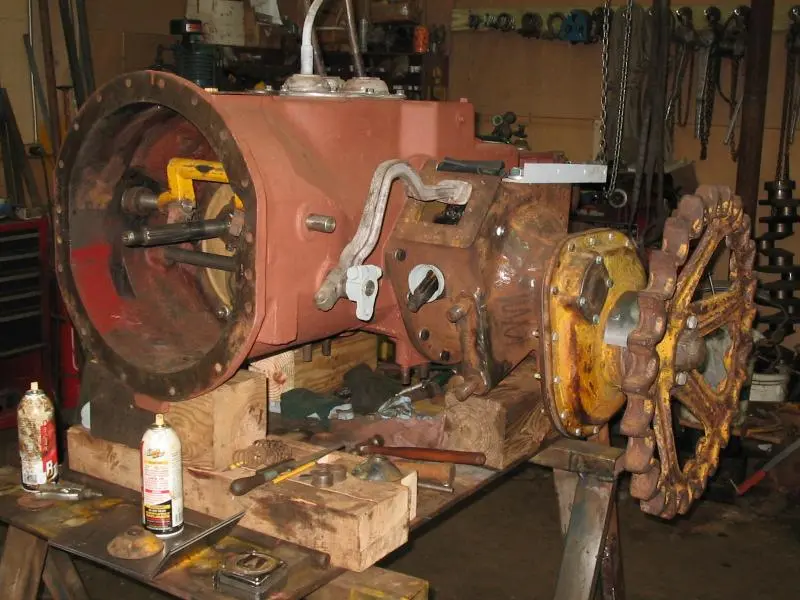
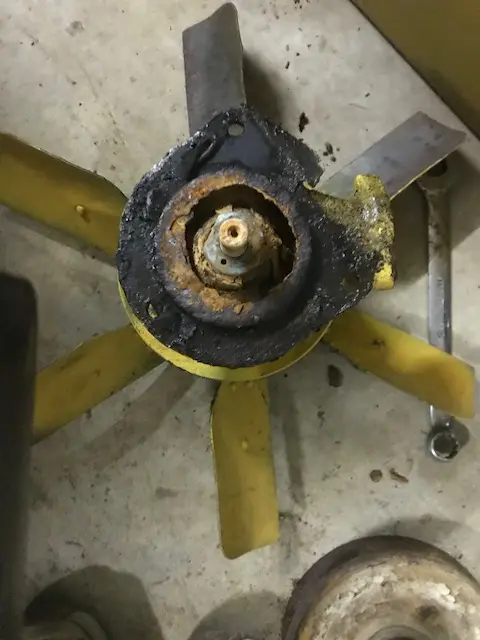
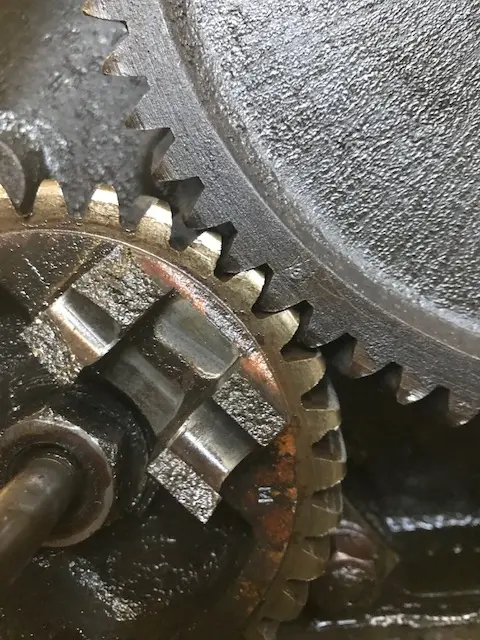
I'm not sure what I'm going to find inside the motor when I drop the pan. Motor was loose when I got it but there sure was a lot of slack in the crank pulley when I started looking closer.
Pulley was loose, crank key was really worn, popped the governor cover off and both weights were laying in the bottom of the timing cover... Governor gear has broken pin bosses, all of the balls were gone out of the governor follower bearing.
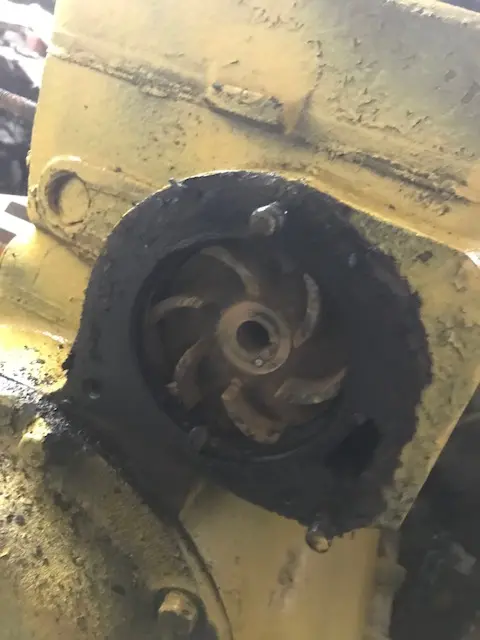
Water pump came off but the impeller was still in the block.
Got the head unbolted but it's being stubborn so far. Hopefully pop it off the next chance I get to work on it.
Just hope that there is no damage to the block itself. I have access to some parts engines.
This won't be an inexpensive restoration but hopefully it will turn out to be a good little tractor. Undercarriage is in darn good shape.
[attachment=49219]IMG_1747.jpg[/attachment][attachment=49220]IMG_1748.jpg[/attachment][attachment=49221]IMG_1753.jpg[/attachment][attachment=49222]IMG_1754.jpg[/attachment][attachment=49223]IMG_1752.jpg[/attachment]
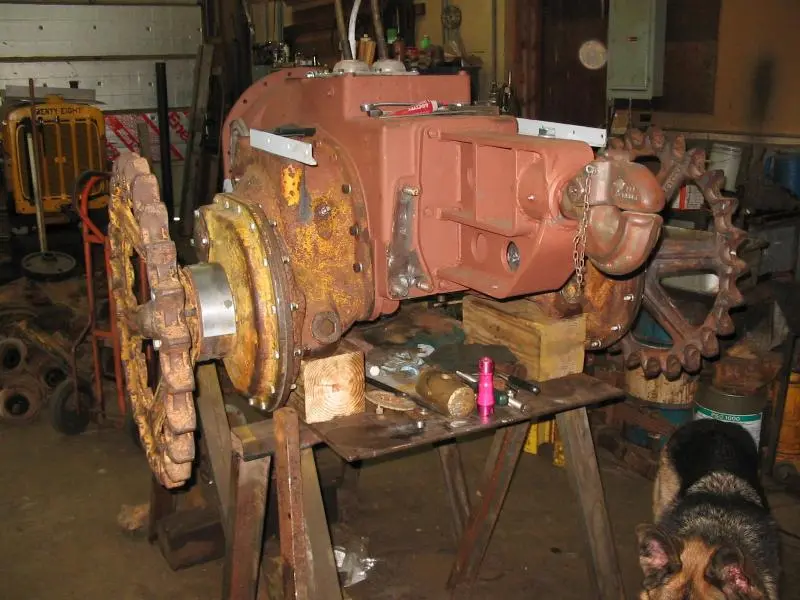
Boy oh boy. Another tractor that got thrashed to an inch of its life. I started with 2, maybe got 1 I can put together.
The M2 wide, someone put a blade on it, and just thrashed it. Bent the pivot shaft, everything on the track frames had oversize bolts and welded together. Sprockets were junk, one final drive case was falling off held by 4 bolts on the bottom. Both engines already were .040 over, had one set of jugs bored and sleeved BACK to .040 over. Also fabbing up all new fenders and seatbox.
Like you say lot more work involved to bring the machine back but will be extra nice when done. I will continue to follow your progress with interest. Keep up the good work !
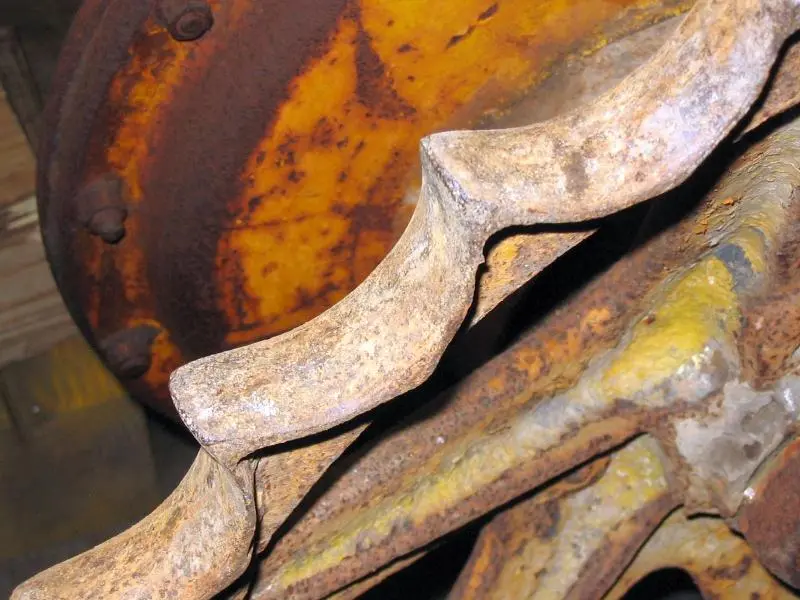
[attachment=49229]R2 case repair 001.jpg[/attachment]
repairing the final drive bolt holes.
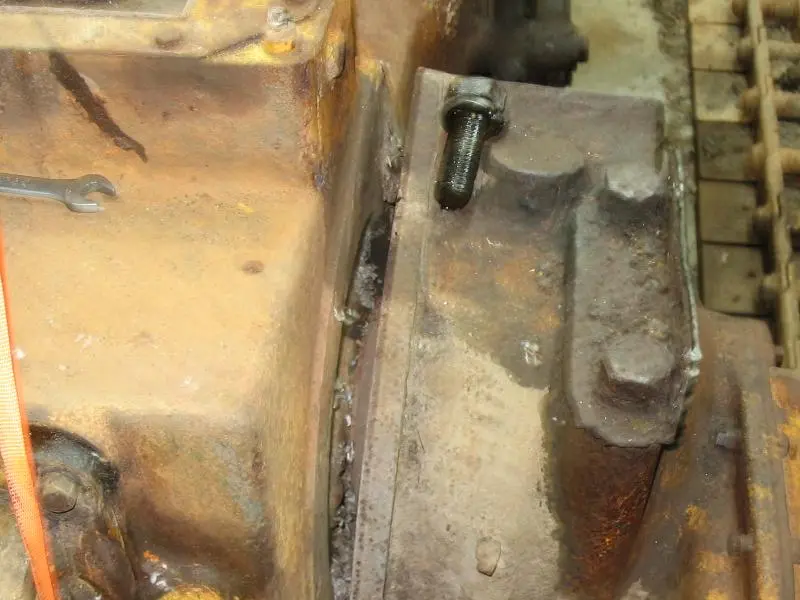
[attachment=49230]R2 discovery 005.jpg[/attachment]
I have seen worse but not by much !
[attachment=49231]R2 discovery 013.jpg[/attachment]
case hanging on 4 bolts, 1 in gap on top.


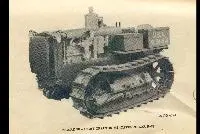
Our channel highlights machines from the earliest Holt and Best track-type tractors, equipment from the start of Caterpillar in 1925, up to units built in the mid-1960s.
Antique Caterpillar
Machinery Owners Club
1115 Madison St NE # 1117
Salem, OR 97301
Terms & Privacy
Website developed by
AdCo
"I also joined a year ago. had been on here a couple of times as a non-member and found the info very helpful so I got a one year subscription (not very expensive at all) to try it out. I really like all the resources on here so I just got a three year. I think its a very small price for what you can get out of this site."
-Jason N