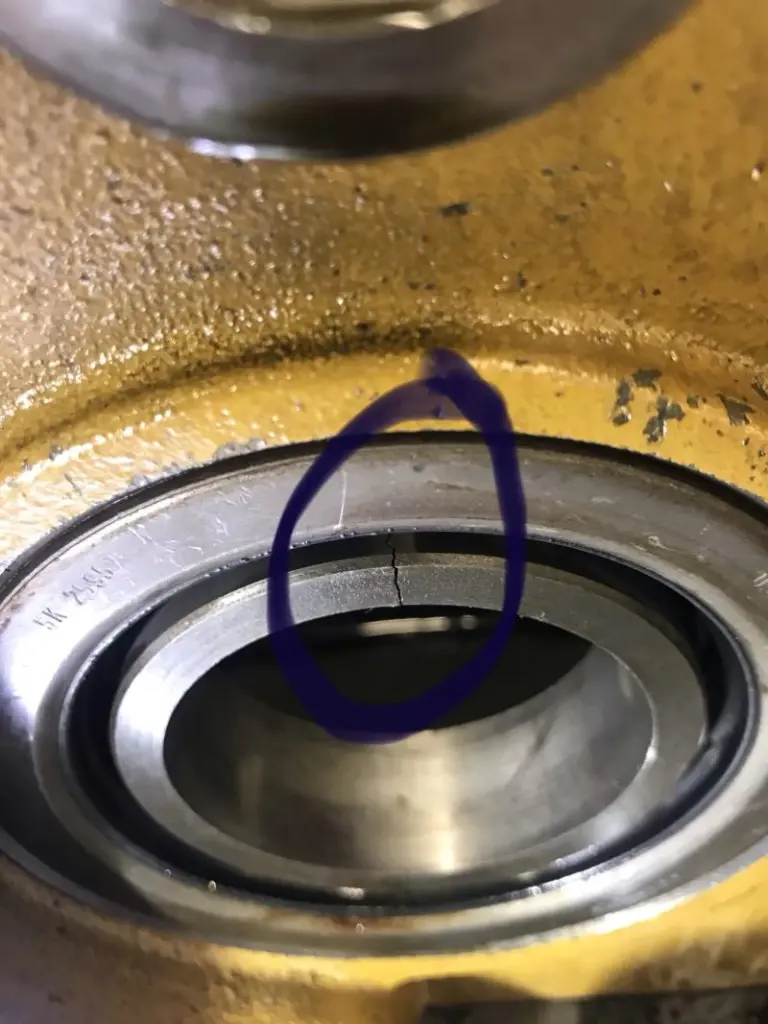
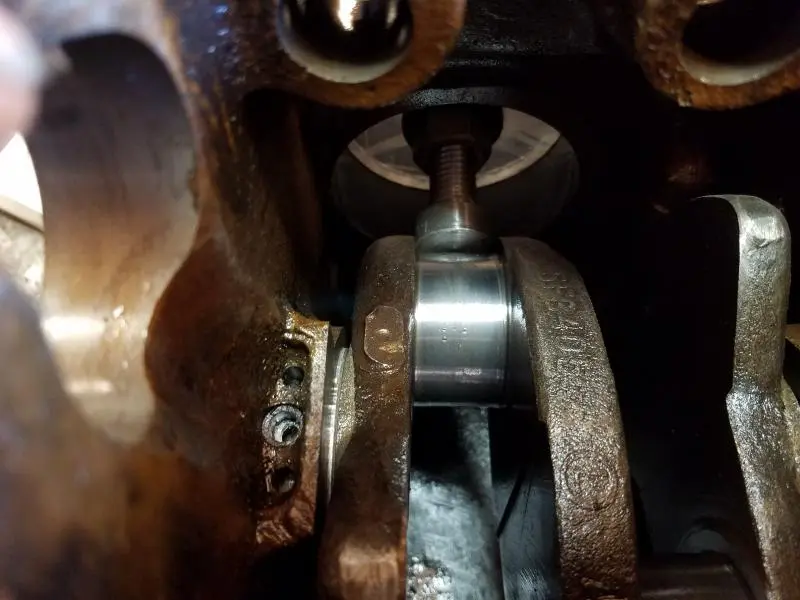
Is that in the bearing? Cracks in the actual block casting.also happen where the pin locates.
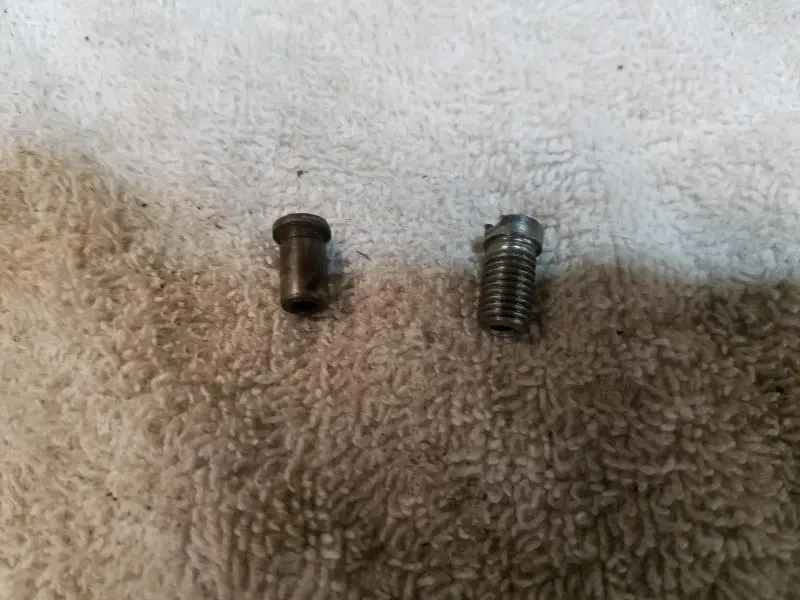
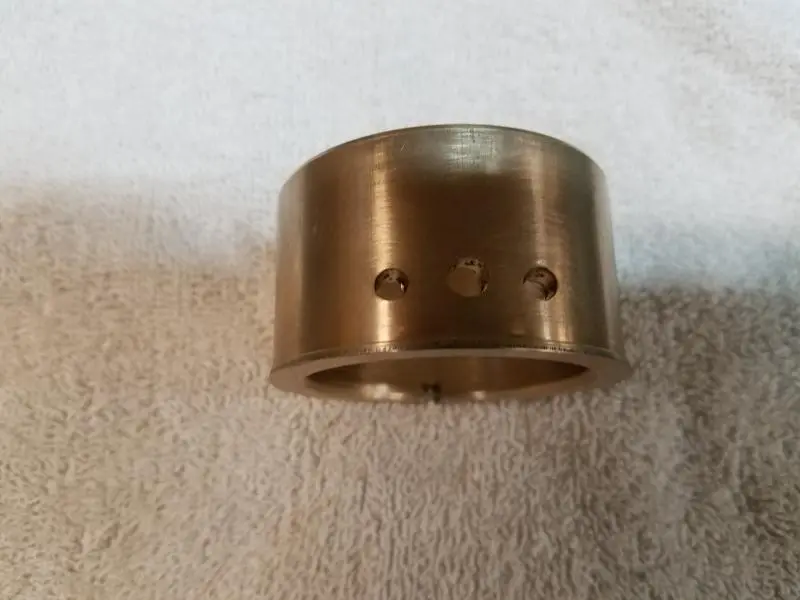
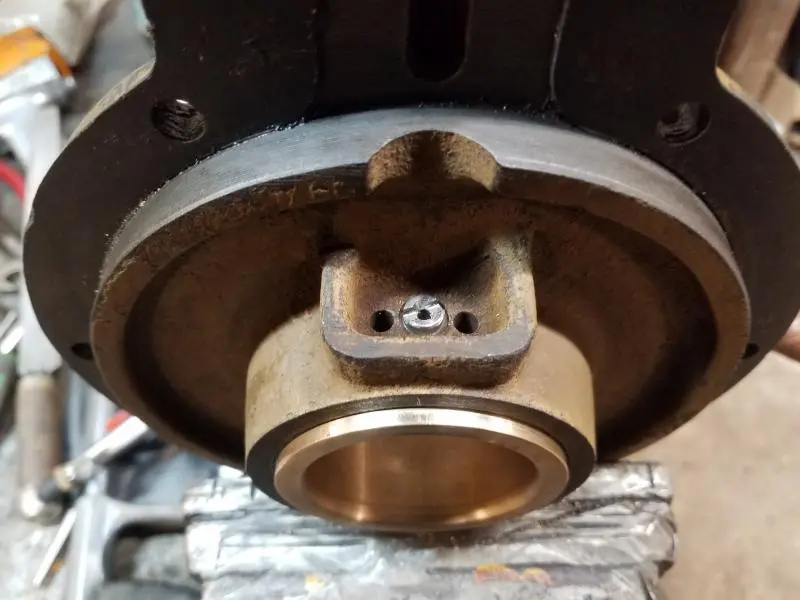
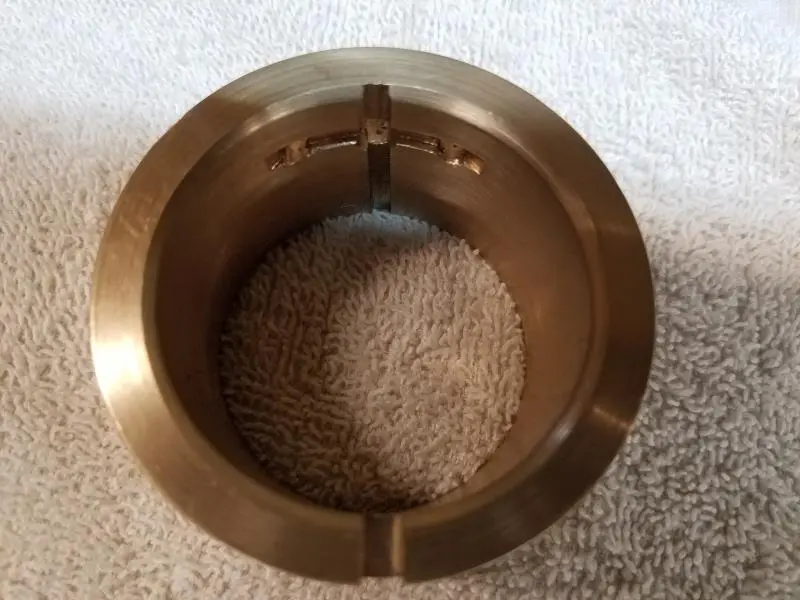
I repaired the pony main bearings which move in the block because the dowel is worn and lets the bearing move in and out creating excessive end play in the crank. I made press fit main bearings out of brass with a .060 flange on the inside of the bearing so it would seat against the inside of the block and keep the bearing from moving in and out. The .060 flange on the inside of the bearing on both the front and rear bearing holds the crankshaft centered in the block and maintains a .006 endplay in the crankshaft. This can also be adjusted by the thickness of the gasket on the flywheel side of the block holding the flange assembly in place. The dowels holes which hold the bearings in place were worn out of round and the dowels just wobbled around in the hole. To fix that the hole was threaded and a new threaded dowel was made to screw in the hole and tighten up. In my case I used a 7mm tap to thread the hole because that was the next size larger than the .250 dowel. Both the bearings and the dowels were secured with bearing mount to keep them from moving. After the bearing mount had cured I tried to move the bearing and unscrew the dowel. Neither one would move. I don't think the crack would be a problem using a fix like this. The motor is back together and installed on a machine. Starts and runs excellent with the correct end play in the crankshaft.
[attachment=59370]20190424_111256.jpg[/attachment][attachment=59368]20190424_111249.jpg[/attachment][attachment=59367]20190425_142425.jpg[/attachment][attachment=59369]20190425_142306.jpg[/attachment]
That’s a nice fix. I was concerned with the block cracked when it warmed up the bearing could move where ever it wanted. I will get serious about finding a crank and other stuff now.

sf1066, in another thread, 9U d6 pony motor main bearings, started by me and referencing Uncle Riches fix of the pony motor bearings and end play, you will see what I did to determine the amount of flange on the inside of the bearing boss's for the bearings I made. I used the contraption pictured in the first photo to determine the thickness of the flanges on the bearings for the front and rear bearings. The second picture shows the contraption in place positioning the crankshaft so it is centered on the cylinders. I don't remember what the thickness of the flanges were but I was able to adjust the thickness of the flanges so crankshaft stayed center and still had an acceptable end play clearance. In my previous reply I said the flanges were .060 but I think that is what I started off with and once the crankshaft was centered on the cylinders, I made adjustments to this thickness. This repair was made to a D6 pony motor but I think the same thing could be used on your D2 motor.
[attachment=59378]20190420_140937.jpg[/attachment] [attachment=59379]20190420_140652.jpg[/attachment]


Our channel highlights machines from the earliest Holt and Best track-type tractors, equipment from the start of Caterpillar in 1925, up to units built in the mid-1960s.
Antique Caterpillar
Machinery Owners Club
1115 Madison St NE # 1117
Salem, OR 97301
Terms & Privacy
Website developed by
AdCo
"I became a member recently because the wealth of knowledge here is priceless."
-Chris R