You have a wonderful day. Best wishes. Deas Plant.
I agree, go after it with the pipe wrench and cheater pipe. Heating it wouldn't hurt if that doesn't get it pretty easily.
I have had good luck getting brake parts at my local NAPA autoparts. I take the old cylinders in with all casting numbers brushed off and the cups etc out of the inside and they look them up. They have all been standard parts made by brake hardware manufacturers active at the time.
40 tons press fit ........DRY !
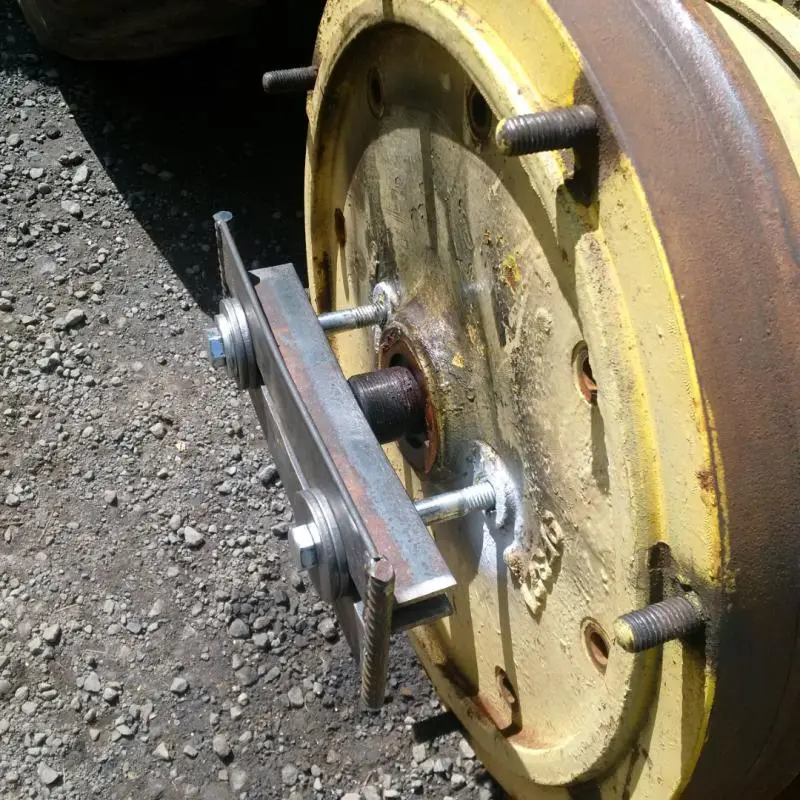
It SHOULD take more than that to get it off. Before the puller really gives up the ghost, you could try whacking the end of the spindle and see if it might pop off. I had to resort to that trick when I was pulling the one off my 212 with a much more substantial puller. That trick is also used on farm tractor axles that the adjustable tread wheels are frozen up solid. Worst case you might mushroom the end of the spindle a little and need to work on it to get the nut started again.
You have a wonderful day. Best wishes. Deas Plant.
Hi, Brian Hart.
Unless you want to cause yourself a LOTTT of grief down the track, I would suggest having your local Cat dealer or somebody with the necessary equipment come out and press those hubs back on. The reason they are pressed on at that 40 tons pressure is to make sure that they never come loose while working. The nut is NOT there to hold them on but only as an 'insurance policy' if a wheel does come loose to stop it falling completely off.
I sometimes think that it might be better if it did fall completely off 'cos then you would really KNOW about it and it would not be flopping around on there and wearing the axle and hub while you keep working unaware that there is a problem.
Just my 0.02.
It SHOULD take more than that to get it off. Before the puller really gives up the ghost, you could try whacking the end of the spindle and see if it might pop off. I had to resort to that trick when I was pulling the one off my 212 with a much more substantial puller. That trick is also used on farm tractor axles that the adjustable tread wheels are frozen up solid. Worst case you might mushroom the end of the spindle a little and need to work on it to get the nut started again.
Brian.Hart,
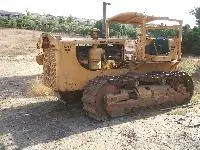
Sprocket71 and I will be doing this to the museum's 1957 71D-219 Cat 12 that we just picked up tires for last week in AZ. We have 4 of the 6 mounted and next time over there will be taking the rear wheels off to do the brakes. We have no idea what we will find inside. We did bring back an almost new master cylinder from AZ. We are in process of fabricating our puller. Our advantage is Sprocket71 retired from the local CAT dealer and hopes the 40ton press and tooling is still in the tool room for him to check out!
Yesterday we were able to give it a pull and she started right up! We were very happy driving it around (without brakes except for the 12 foot one hanging underneath.)
JanM
[quote="janmeermans"]Brian.Hart,
Sprocket71 and I will be doing this to the museum's 1957 71D-219 Cat 12 that we just picked up tires for last week in AZ. We have 4 of the 6 mounted and next time over there will be taking the rear wheels off to do the brakes. We have no idea what we will find inside. We did bring back an almost new master cylinder from AZ. We are in process of fabricating our puller. Our advantage is Sprocket71 retired from the local CAT dealer and hopes the 40ton press and tooling is still in the tool room for him to check out!
Yesterday we were able to give it a pull and she started right up! We were very happy driving it around (without brakes except for the 12 foot one hanging underneath.)
JanM[/quote]
My 12 was sitting for 20 years. It had no brakes. I filled the reservoir and pumped it patiently. It got good brakes. I adjusted them and have watched for leakage at the drums for 2 years now. Don't buy work you don't need.


Our channel highlights machines from the earliest Holt and Best track-type tractors, equipment from the start of Caterpillar in 1925, up to units built in the mid-1960s.
Chapter Nineteen
| Wheatlands Warracknabeal Agricultural Museum 34 Henty Highway, Warracknabeal 3393Chapter Nineteen
| 1234 Carngham - Lake Goldsmith Road Lake Goldsmith VIC 3373Chapter Two
| Folds Farm, Godshillwood, Fordingbridge, Hampshire, SP6 2LU
Antique Caterpillar
Machinery Owners Club
1115 Madison St NE # 1117
Salem, OR 97301
Terms & Privacy
Website developed by
AdCo
"I also joined a year ago. had been on here a couple of times as a non-member and found the info very helpful so I got a one year subscription (not very expensive at all) to try it out. I really like all the resources on here so I just got a three year. I think its a very small price for what you can get out of this site."
-Jason N