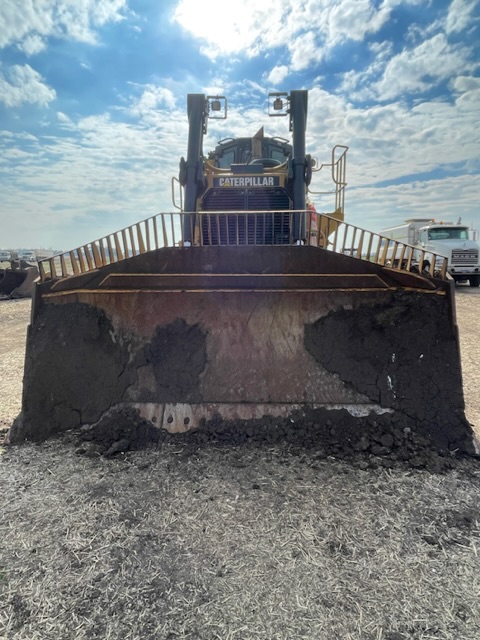
I was finally able to remove the stuck piston/liner in my 1953 D7 3T. I have started gathering parts for the reassembly but am seeking some advice on installing the new liner and cylinder heads. I’m leaving the other 3 piston/sleeves alone as they look to be in good shape. I have new o-rings and the copper seal for the new liner. The book mentions lubing the o-rings with soap and pressing or driving the liner in. Wanted to check with folks to see if it’s as straight forward as that or if there was anything recommended from experience that I should do differently.
With the heads the book says install and torque to specs. I have new head gaskets but didn’t know if folks recommended any kind of sealer or just install them dry. The torque specs seemed kinda low for how much effort was needed to break the nuts loose originally but I’ll follow what it says

Also was considering putting some diesel in a weed sprayer and using it as a cleaner to flush dirt, rust and oil residue down into the oil pan where it could be drained. With the heads off outside for a few weeks, even with everything covered, I’m sure there’s dirt internally in the engine and not sure of another method to clean it out otherwise.
This is my first and only piece of large equipment so if anyone has advice, tips or things to inspect/lookout for while putting this thing back together, I welcome the reply’s. Thanks in advance.
Hi Larry B, I would double check the liner you have removed for corrosion on the outside to make sure it is pretty clean from pitting due to rust/corrosion, washing out with diesel is good plan and will leave oily film over it internally to prevent rust if it takes a while to assemble it, it also can grab dust as well so try to keep well covered up, oil the head bolts/nuts to aid in less friction while torquing them up, the last head I replaced I use Hylomar spray on sealer to slow the oil seeping from Cam area on a 3406B
as busso said dip the head bolts in a mix of 50/50 diesel and oil give em a shake to remove excess and install.
there is a tool for setting the liners. and you use shims to adjust this.
you need the service reference for the engine. the service ref for the d7 tractor may not have all the engine info. if your a financial member of acmoc you can probably find a copy in the members library.
and my 2 cents is this, change all the sleeves and big end bearings,main bearings and main seals as you have it apart this far already. do the job properly becuase half jobs tend to bite you on the arse. do it properly do it once.
"i reject your reality and substitute my own" - adam savage. i suspect my final words maybe "well shit, that didnt work"
instead of perfection some times we just have to accept practicality
Put the sleeve in without the o rings to check the height. 1 to 4 thou above the deck. If this is correct then fit o rings and fit the sleeve. I put Hylomar on all head gaskets. Tension the head in stages don’t set your tension wrench to the top torque and tighten. Start in the middle and i prefer the Criss cross pattern of tightening working from the centre out.
Busso - The old liner is severely rusted and corroded. I have a new one going in so it should be nice and clean. I will look for hylomar, never used that before.
Trainzkid88 - I will make sure to lube the head bolts when installing like you and Busso mentioned. I don’t disagree that it would probably be best to do all liners and bearings. The rest of the liners still have cross hatching in them so I think they were fairly new before the dozer was parked and got water in the cylinder that stuck. The rod bearing shows very little sign of wear. I don’t know if there’s any other issues with the rest of the dozer so I’m trying to do the minimum to start the engine to check the rest of the machine out. I may regret my decision to not replace all the other liners later.
ChrisE - Another mention of hylomar, I’ll get some ordered. Also thanks for the tips about installing the liner without seals to check height above the deck. I thought the copper shim was a seal so I hadn’t considered it was a shim and needed to be a specific height.
I already had the engine book on order so hopefully that aids in the reassembly also. Gotta get a ring compressor for these large pistons. I don’t have the install tool for the liner but was hoping I could get it in with a block of wood and hammer. Maybe that’s not a great idea. Thanks for the tips so for from folks. If anyone has more, I’m all ears.
Also, clean the o-ring sealing surfaces in the block and sand the top edge that introduces the o-ring to avoid marking them. Not sure if you can see the outside of the adjacent liner but if you can, check what its pitting looks like. If it's "deep" (you need to ask the team what deep is), that might indicate a need to swap them out
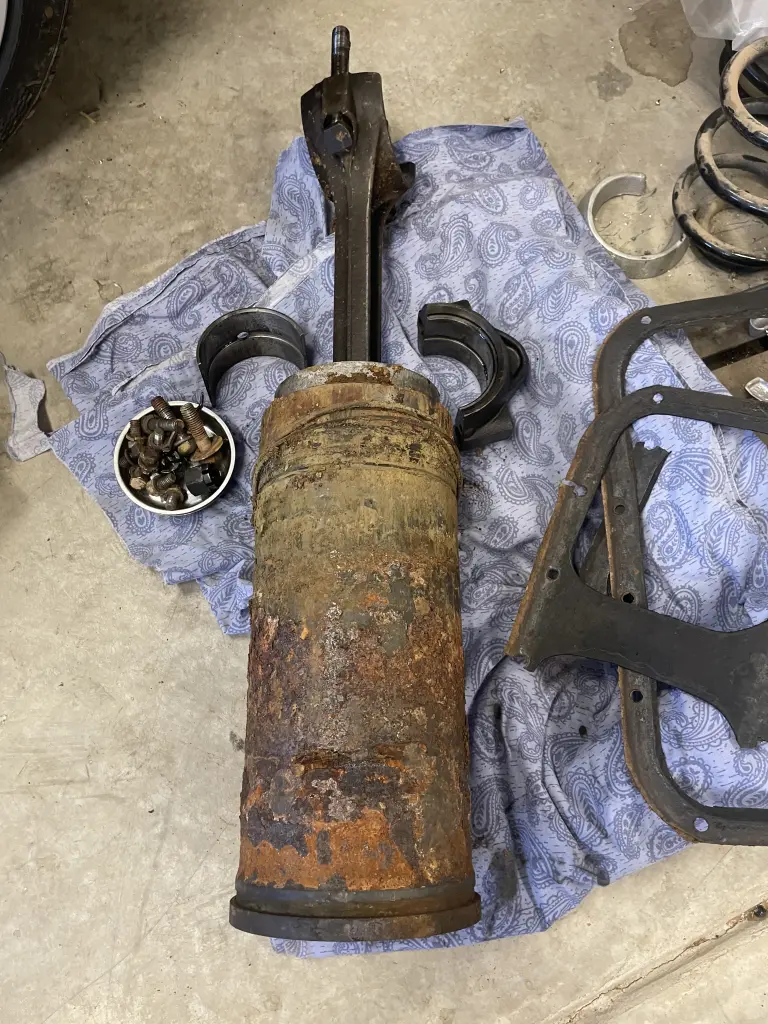
Neil - I’ll make sure to clean the o-ring surface really well. Thanks for the tip on sanding the edge so it doesn’t damage the o-rings when sliding in. I attached a picture of the liner I removed. It’s definitely very rusty. Not really deeply pitted though. The rust is more like layers or sheets along the outside of the liner. Kinda like other material is attached to the outside of the liner rather than eating into it. If the other liners look the same way, does that mean they’re no good.
Hi Larry B, I would dig around the rust scale you have on the old one, basically your looking for pin holes in the outside of liner or groups of pin holes that grow to eroded section of metal if it is only scale you should be ok with the others hopefully, I used 515 loctite product on the seal when I put them in so to help seal if any uneven surface the seal sits on and helps lube the seals to slide in, you will find it later in the pan when excess comes off the bottom seal and sometimes end up in coolant side, it will be 515 colour in a bead of length, the lead into the seal area should be smooth to the full width of the seal sitting on the liner, if pitted there you can use metal putty to fill in and sand back or body filler if really at a push, as this was water stuck just make sure crank is clean and smooth also if needed 1200 wet and dry paper to rub out the water marks if required
Another thing i always do is chase the threads on head studs and bolts so the threads are good and you get even tension. If you have a tight thread you’re tension wrench will click but it won’t have the same tension as the other bolts.
Since you are only doing one piston and the 5 3/4 bore is getting on the large size for piston ring compressors. I don't imagen an auto parts store would have one to rent that is big enough , the red neck bush mechanic trick is use a worm gear hose clamps. You don't even need to find a 6 inch one, you can put 2 or 3 smaller ones together. It is much slower as you need to do it one ring at a time rather than compress all at once. But with luck you will only have one use for one.


Our channel highlights machines from the earliest Holt and Best track-type tractors, equipment from the start of Caterpillar in 1925, up to units built in the mid-1960s.
Chapter Nineteen
| Wheatlands Warracknabeal Agricultural Museum 34 Henty Highway, Warracknabeal 3393Chapter Nineteen
| 1234 Carngham - Lake Goldsmith Road Lake Goldsmith VIC 3373Chapter Two
| Folds Farm, Godshillwood, Fordingbridge, Hampshire, SP6 2LU
Antique Caterpillar
Machinery Owners Club
1115 Madison St NE # 1117
Salem, OR 97301
Terms & Privacy
Website developed by
AdCo
"I became a member recently because the wealth of knowledge here is priceless."
-Chris R