If there is pitting I'd definitely use some sealer.
We usually use hi temp red permatex,I dont think the spray copper will give you enough squish out to seal pits of corrosion.
Although I do use it lightly on head gaskets I think u will be better off with hi temp rtv.
Hi Team,
if it is possible, going by the studs that my R5, Thirty-Five & Forty Tractor OMI pictures show, I would fit the manifolds and riser separately for ease, BUT, do not tighten any nuts until all components are in place.
Then I would start by very lightly tightening the manifolds and heat riser nuts a little at a time so as all components can come together without stresses. If you tighten one manifold and then another the first and second one and the heat riser may not come together without stressing a joint, flange, stud etc.
Your manifold maybe cracked due to the high heat encountered during hard running or because they were not tightened in small steps to allow the gaskets to crush and the parts to slide over one another to try and achieve as stress free a working condition/position as possible during the tightening sequence. I usually start at the centre of a manifold and work my way towards the ends in small increments of torque as is done when tensioning a cylinder head for example.
If it were mine I would likely loosen everything and do the sequence a second time after the gaskets have crushed to try and ensure minimum stresses are at play.
Others experience may vary.
Cheers,
Eddie B.
Thanks for advice on red rtv - I bought some tubes this weekend.
Thanks also for advice regarding sequence of installation. I really wanted to avoid starting bolting up parts with a bunch of rtv everywhere and discover its not going to work. Your sequence makes sense and I will work to leave parts loose initially and then tighten gradually over the network of studs. I had to do this with some water pipes on the R5 that I had to pull and fill in with some brass - they had started corroding through. Bolted them up loose and then tightened them down.
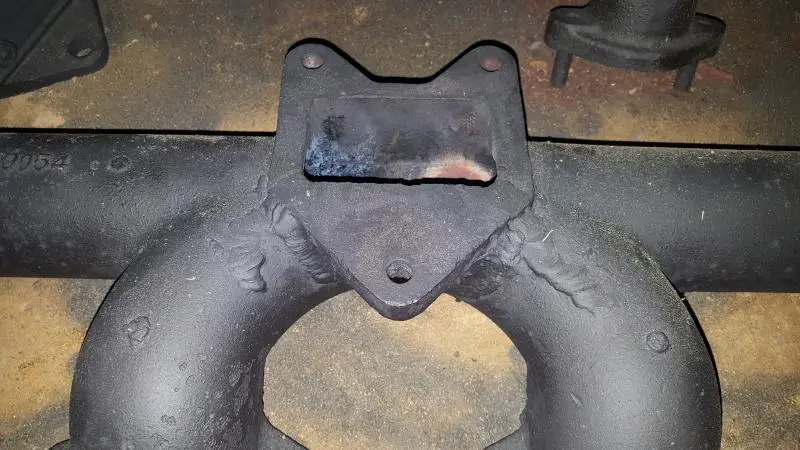
I attached a picture of the exhaust cracks - may be a combination of stress and heat given it is at the base of where heat riser bolts up. You can see where the welds are that I added
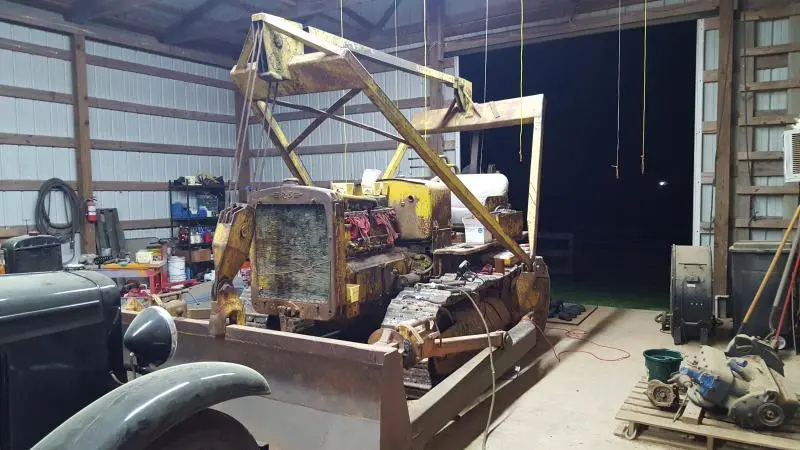
Also attached a picture of the R5 - a work in progress but a fun machine to run and work.
One other question on these manifolds - any experience and/or recommendations for torque setting when tightening the nuts? I assume less is more in this situation - no more than 20 pounds? I have some concern given the age, type of material and stresses that too much torque could stimulate additional cracking.
Thanks for the help to date!! 😊
Ross


Our channel highlights machines from the earliest Holt and Best track-type tractors, equipment from the start of Caterpillar in 1925, up to units built in the mid-1960s.
Chapter Thirty
| Booleroo Centre, 54 Arthur St, Booleroo Centre SA 5482, AustraliaChapter Nineteen
| Wheatlands Warracknabeal Agricultural Museum 34 Henty Highway, Warracknabeal 3393Chapter Nineteen
| 1234 Carngham - Lake Goldsmith Road Lake Goldsmith VIC 3373
Antique Caterpillar
Machinery Owners Club
1115 Madison St NE # 1117
Salem, OR 97301
Terms & Privacy
Website developed by
AdCo
"I also joined a year ago. had been on here a couple of times as a non-member and found the info very helpful so I got a one year subscription (not very expensive at all) to try it out. I really like all the resources on here so I just got a three year. I think its a very small price for what you can get out of this site."
-Jason N