Yes you have to adjusted the yoke nut until 4 3/8 inchs clearance is obtained between the control lever and the top metal plate on front of the seat and the brake pedal depressed approximately 5 1/2 inchs
Yes you have to adjusted the yoke nut until 4 3/8 inchs clearance is obtained between the control lever and the top metal plate on front of the seat and the brake pedal depressed approximately 5 1/2 inchs
Hello. Thanks for the speedy response! So with levers in the relaxed position I should have 4-3/8 or with levers pulled to omit the free play? I should say this is a dry deck. Don’t know if that changes anything.
Thanks a million guys. Going to go and adjust this unit right now and hope i don’t have to pull clutches. I will let you know how it goes.
Does the 13A have the serated tooth adjustment at the bottom of the steering clutch yoke as seen in the 2U and earlier series?? If so this could be your problem.
I have a 13a that I robbed the undercarriage and track frames off of and Didn’t look to close as to how the clutches are adjusted. Although I see that there are inspection covers on the back of the dozer instead of on the top of the back deck like the 14a. Mine unit is a 14A3373. I think that’s just a few numbers off from being a wet deck.
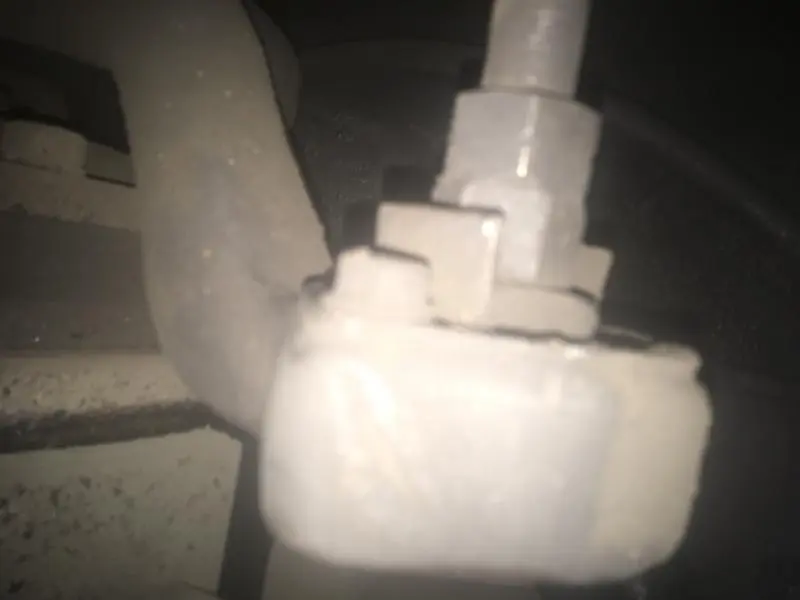
I went out and had to remove the ccu off the tractor in order to get enough room to work on in those little holes. Found that the yokes were adjusted as far as the adjustment rods would take them and then some! Looks like I will be replacing steering clutches.

I have a 13a that I robbed the undercarriage and track frames off of and Didn’t look to close as to how the clutches are adjusted. Although I see that there are inspection covers on the back of the dozer instead of on the top of the back deck like the 14a. Mine unit is a 14A3373. I think that’s just a few numbers off from being a wet deck.
I went out and had to remove the ccu off the tractor in order to get enough room to work on in those little holes. Found that the yokes were adjusted as far as the adjustment rods would take them and then some! Looks like I will be replacing steering clutches.
Went to wet deck at s/n 14A3861
Try www.steeringclutch.com for parts.
Thanks old magnet. Have a complete parts dozer here with a stuck engine and stuck pup engine. The clutches still look like they have plenty of adjustment on the rods left. Going to pull them and see what they have left. Hoping for the best. I will post some pics of the changeout. Going to start tomorrow.


Our channel highlights machines from the earliest Holt and Best track-type tractors, equipment from the start of Caterpillar in 1925, up to units built in the mid-1960s.
Antique Caterpillar
Machinery Owners Club
1115 Madison St NE # 1117
Salem, OR 97301
Terms & Privacy
Website developed by
AdCo
"I also joined a year ago. had been on here a couple of times as a non-member and found the info very helpful so I got a one year subscription (not very expensive at all) to try it out. I really like all the resources on here so I just got a three year. I think its a very small price for what you can get out of this site."
-Jason N