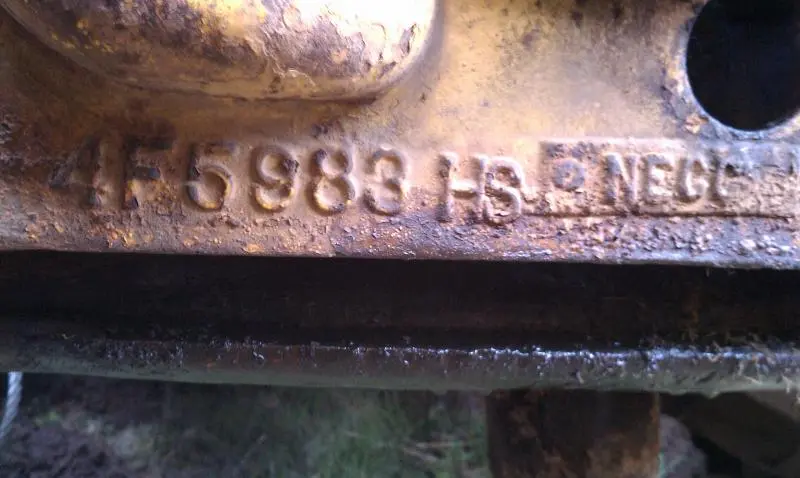
you will need to acquire a cable control manual. it should be on a tag if there is one left. my guess is its a number 24.
It has been well over 30+ years since I did this so I may be wrong... but here goes anyway. With the cover off, just release the brake band and UNadjust the CCU drum(unscrew the adjustment of cable spool/drum) until you can remove it. All the seals and how to continue the disassembly will be revealed then.
That should get me started, thanks!
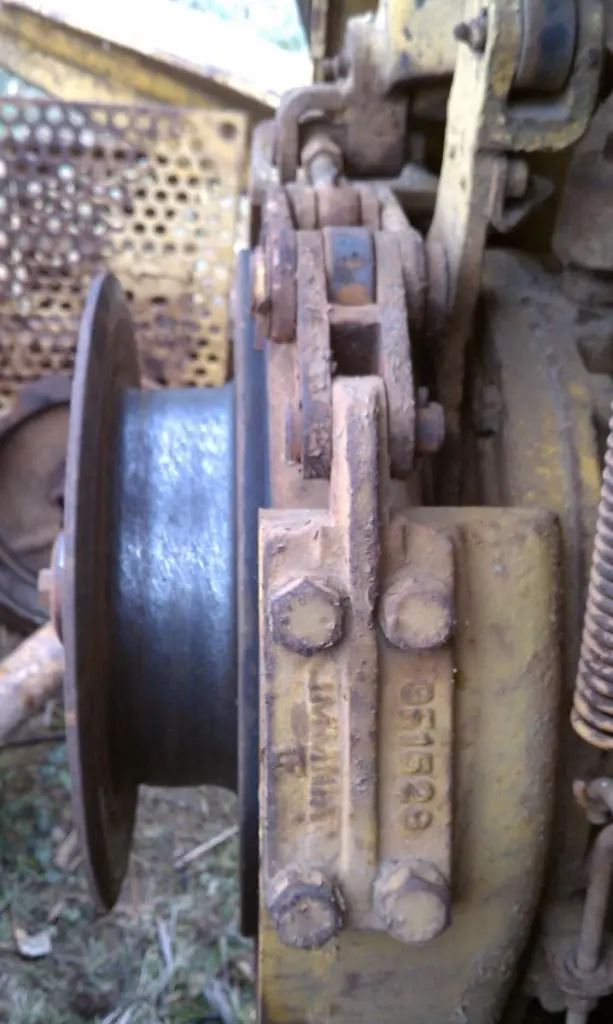
The #24 manual recommends separating the cable drum from the brake drum as next step (unscrew the adjusting sleeve until you can lift it off). Can be removed as an assembly but your going to have to separate to access the seal on the back of the cable drum anyway.
Service manual for the #27, 25, 24, 23 and 21 Cable Controls is Form #10088
Look on ebay we found one at a good price.
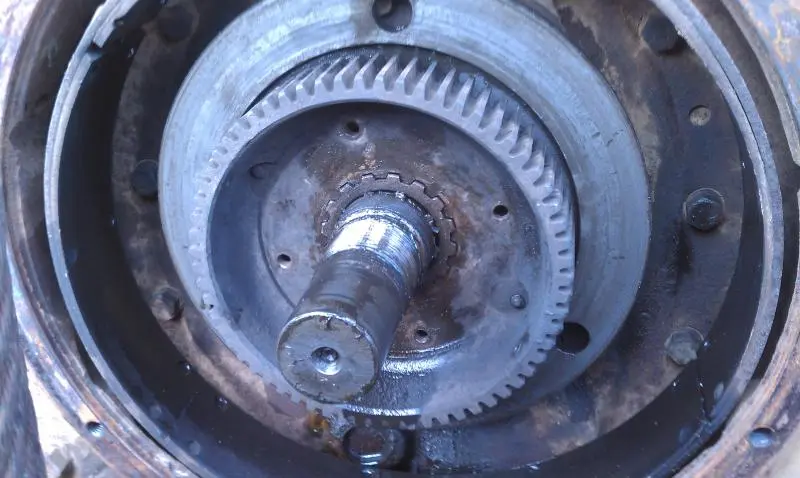
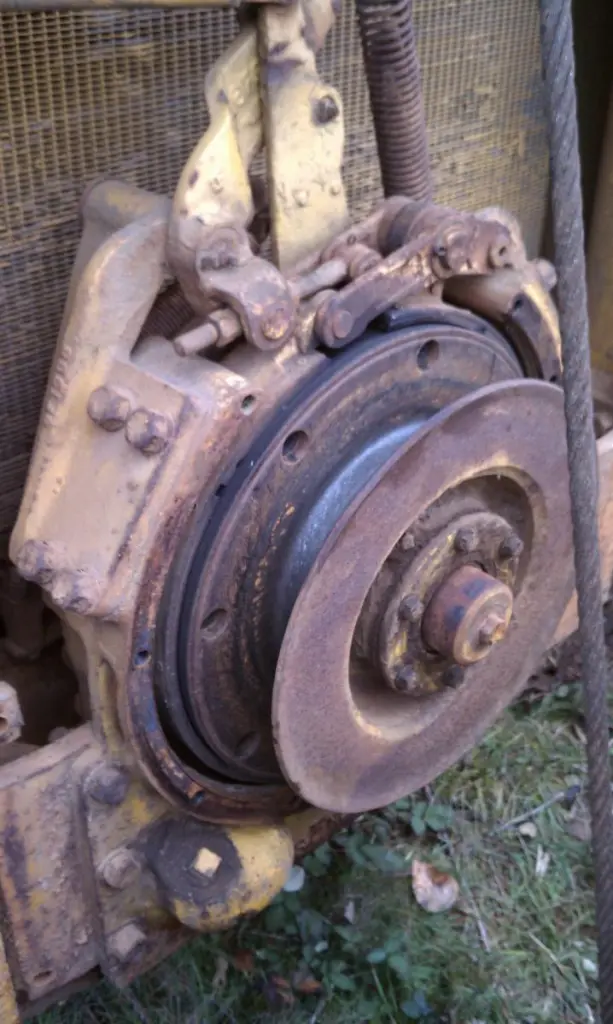
Thank you all for your help, once I finally got time to go out there in the daylight the outer drum came off easily. However, now i'm stuck on the inner drum. According to the service manual once the capscrews are taken off and the plate is twisted and removed the inner drum should slide right off the shaft. but mine is froze solid, is that just a matter of time holding it in place? I've put some pretty good force on it but it hasn't budged. Am i missing something that the book isn't saying? The picture attached shows where its at now.
Hi funflyer26,
you should be able to remove the bolts behind the pressure plate by inserting a suitable socket wrench thru one of the holes in the pressure plate. I believe I can see a bolt head at about 12 o'clock in your pic in post #8. Once all these bolts are removed you should be able to withdraw the assembly.
You really need the Service Book to do these as there are some fine shim adjustments to do to set it up correctly not to mention resetting the screw and lever into position to work full range.
Maybe Kelly would be kind enough to post up the assembly steps from his SRB.
Merry Christmas to One and All.
Eddie B.
funflyer if you need a brake band or clucth disc i have some that are in real good condition. I am in NC Iowa. Razz. They are for a 24 unit.


Our channel highlights machines from the earliest Holt and Best track-type tractors, equipment from the start of Caterpillar in 1925, up to units built in the mid-1960s.
Chapter Two
| Folds Farm, Godshillwood, Fordingbridge, Hampshire, SP6 2LU
Antique Caterpillar
Machinery Owners Club
1115 Madison St NE # 1117
Salem, OR 97301
Terms & Privacy
Website developed by
AdCo
"I also joined a year ago. had been on here a couple of times as a non-member and found the info very helpful so I got a one year subscription (not very expensive at all) to try it out. I really like all the resources on here so I just got a three year. I think its a very small price for what you can get out of this site."
-Jason N