You could used some diesel in cluch housing with the cluch desangaged and start motor for couple minutes after you can try with the cluch angaged but the transmission in neutral
You could also try your propane torch on the rear plate, get it generally warm all over (maybe just slightly too hot to touch) and then when it cools down a bit, pour some diesel over it and then get your putty knife in there and see if you can slide it in between the plates and break the bond
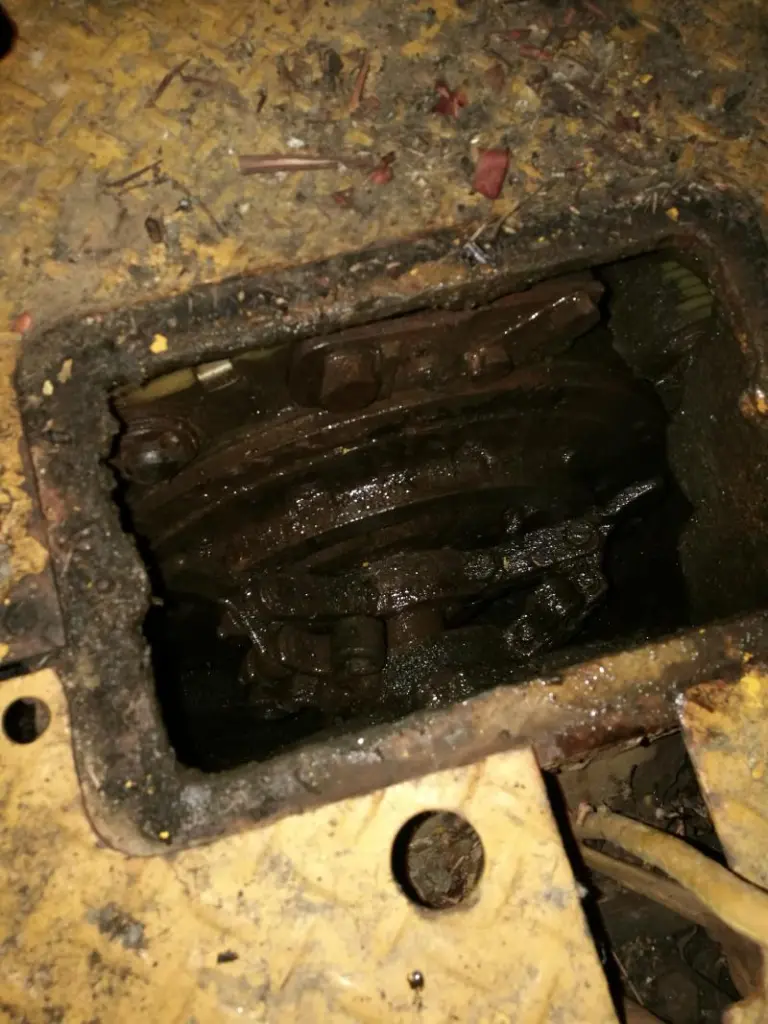
Gees, that first pic looks like a sewage pump! lol
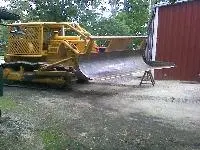
D46U straight blade,D46U cat angle blade,allis chalmers AD4 grader and Khoering 404 dragline. D4C 40A,D4 2T and scraper.
could it be below freezing? looks like ice in there,if it is warm it up maybe use a steam cleaner then follow with a diesel bath.
My D2 5U did that this year and it was oil adhesion sticking the plate, follow Gemdozers suggestion of a diesel flush first before pulling the clutch, at least it will clean that compartment if you do have to pull it.
Merry Christmas
Mike
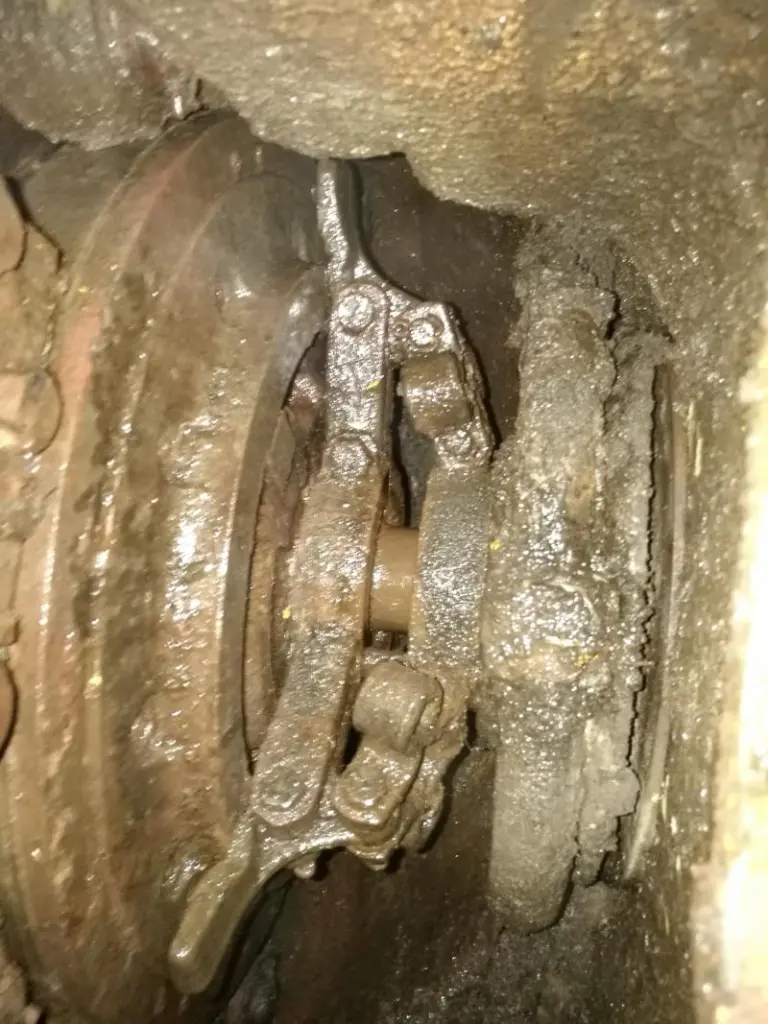
Yeah that clutch looks a disaster. It should be relatively clean in there. A pressure cleaner in there will help clean things up. Make sure the bottom plug is out and the opening clear.
If you're machine has a rear mounted pcu fitted , that can be used to try to stop the top shaft of the gear box from turning. If you have plenty of room to move
, the steering clutch levers can be tied back.
Start the tractor in gear and drive around using the brakes to load the clutch.
Otherwise use a hammer and punch to tap on the intermediate plate of the clutch to break it loose.
The intermediate plate is the one with the bolts in it.
There is a grease nipple in the outer perimeter of the intermediate plate that lubricates the center bearing.
Christmas day here and about 10 am. The calm before the storm so to speak.
Merry Christmas to all.
A 3T should have DRY steering clutches. Usually the oil comes in as leaks from the bevel gear compartment or final drives and must be kept drained by periodically removing the drain plugs in the bottom of the compartment. Oily clutches and brakes would not work well unless the friction surfaces have been replaced with a material compatable with oil. I would start by draining the steering clutch compartments and then wash with diesel or kerosene to clean as much of the oil as possible from the frictions . Operator's manual usually recommends not disengaging the steering clutches while driving to and fro to avoid getting the diesel and debris between the disks, but I think you would want to remove as much oil as possible from the clutch packs so they will transmit the torque required.
Many times water from rain or condensation will collect in the bottom of the compartment and rust the brake band at the bottom (as well as the rest of the clutch and brake mechanism). The band can snap from the rust leaving you with no pedal. Some operators just removed the drain plugs and ran it like that but mud can still plug the holes and if operating in water the plugs certainly need to be in place.
Underneath the machine you should find drain plugs for engine oil in front, DRY main clutch behind that then under center of tractor toward the back there are usually 2 drain plugs to drain the transmission and bevel gear compartments that share the same oil. To drain completely, BOTH plugs must be removed but the oil will equalize between the two compartments as you add it to the filler near the steering clutch support in the floor boards of the operator's station. Outboard of the bevel gear compartment on each side, you should see the plug for each DRY steering clutch compartment. Finally, each final drive has an oil drain plug though sometimes these have been smeared by scraping over rocks so as to be almost undetectable! I like to drain a sample from each oil filled compartment of a "new" machine into a clean cup to remove any condensation and check for debris.
It is normal to have to use the brakes for turning unless you are pulling or pushing a load. Unloaded, on level ground, just pulling a steering clutch will produce only a gradual turn. Later models have brakes integrated into the steering levers so the first bit disengages the clutch and pulling more engages the brake. The 3T does not work like that.
Steering clutches are adjusted to the specified dimension (frequently 3") free travel at the bottom of the hand grip. First make sure the levers are returning to rest against the stops when released. Sticks and debris can collect in that space and prevent the lever from moving all the way forward. If that is ok then measure free travel from a fixed point such as the air cleaner hood as you pull the lever back.
Good luck!


Our channel highlights machines from the earliest Holt and Best track-type tractors, equipment from the start of Caterpillar in 1925, up to units built in the mid-1960s.
Chapter Nineteen
| 1234 Carngham - Lake Goldsmith Road Lake Goldsmith VIC 3373Chapter Two
| Folds Farm, Godshillwood, Fordingbridge, Hampshire, SP6 2LU
Antique Caterpillar
Machinery Owners Club
1115 Madison St NE # 1117
Salem, OR 97301
Terms & Privacy
Website developed by
AdCo
"I also joined a year ago. had been on here a couple of times as a non-member and found the info very helpful so I got a one year subscription (not very expensive at all) to try it out. I really like all the resources on here so I just got a three year. I think its a very small price for what you can get out of this site."
-Jason N