
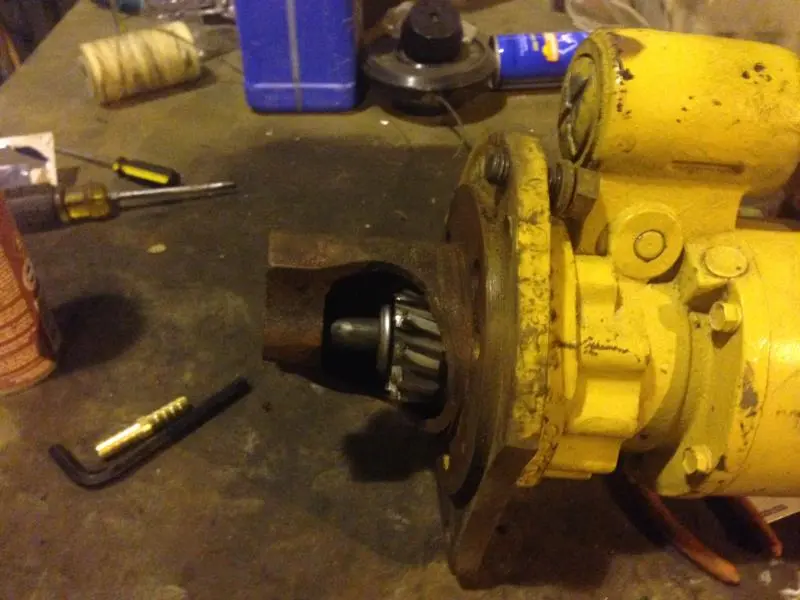
hi there how are you? check you have the right pinioni got one off ebay asked for right hand helix was sent a left didnt check put it on loooked just like yours when i pulled it out kelvin
That is a RH helix pinion. How many teeth does it have?
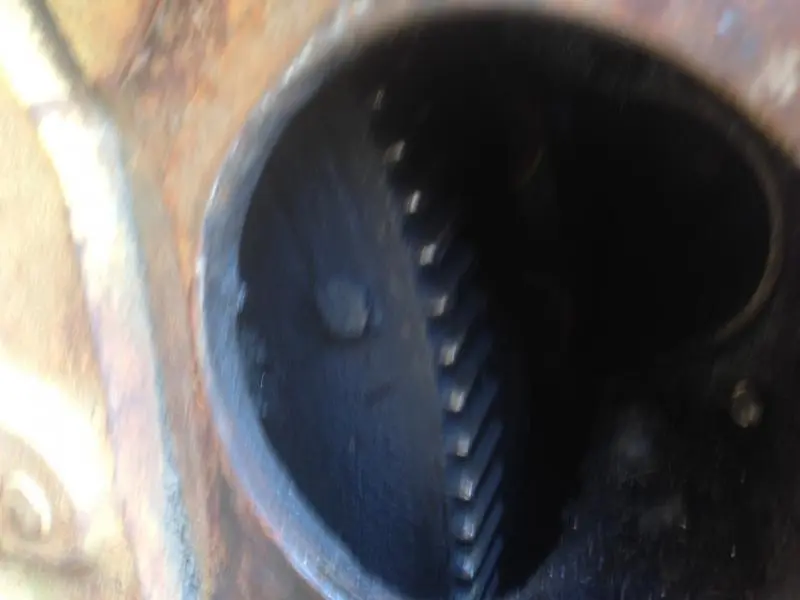
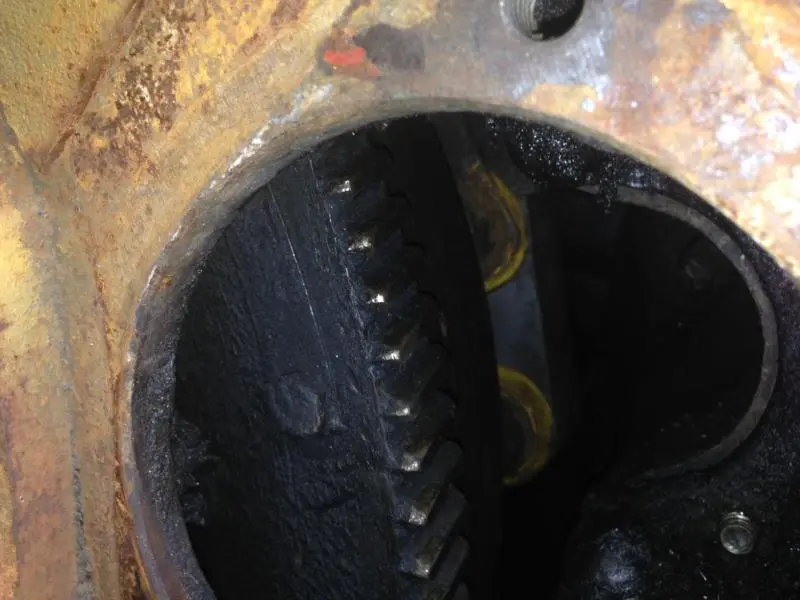
Normally requires an adapter plate to mount to the 3T and the hole needs to be aligned correctly to get proper engagement clearance. Looks to me like you don't have proper clearance. Buggered up ring gear teeth is going to make it that much more difficult. How about some pictures of the rest of your installation?
Have what looks to be same starter as you show in attachment. Will get a tooth count and more pictures today. When I installed three bolt holes already there, just bolted on starter. Not sure if any way to adjust?
Is there a way to adjust how far the pinion extends?? Could it be not coming out far enough?? All help appreciated. Started fine until pony gave up, thought the electric start a better route than rebuilding pony.
If this was a conversion starter set up for the 3T then I'd say there is a problem with centering of the starter on the adapter. This would depend on the machining and no, there is no adjustment for centering. Time to talk to the supplier.
As far as checking the pinion extension which does have slight adjustment, this is what it should be set for.
To meet standard SAE mounting requirements the distance from the drive end housing face of the mounting flange to the face of the flywheel should be two inches. The flywheel engagement dimension for the pinion is 7/8".
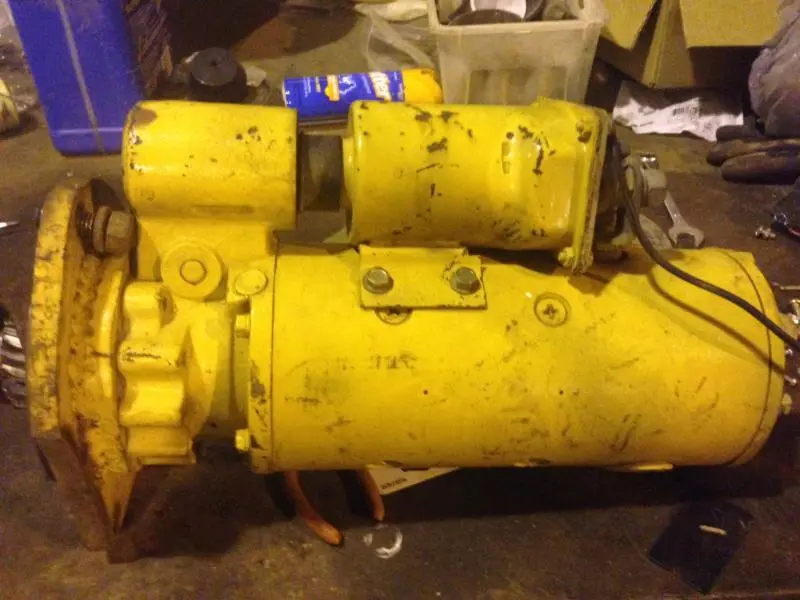
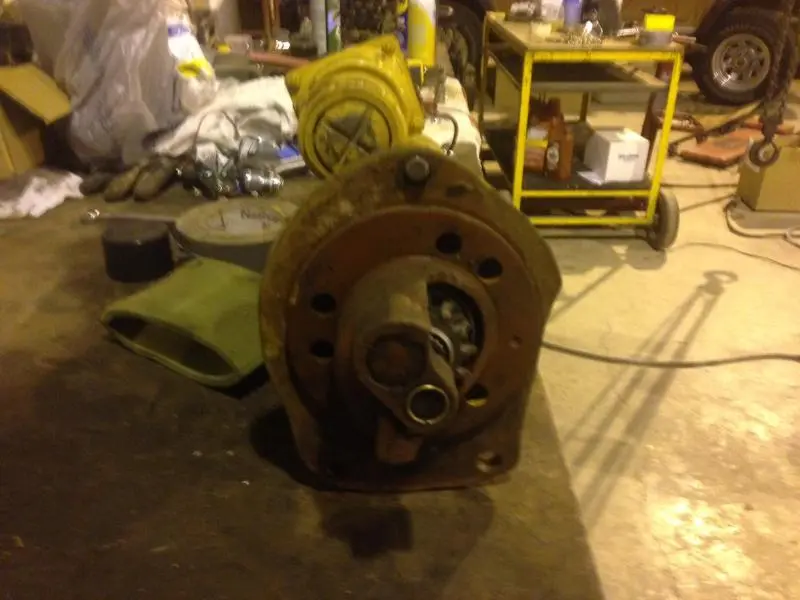
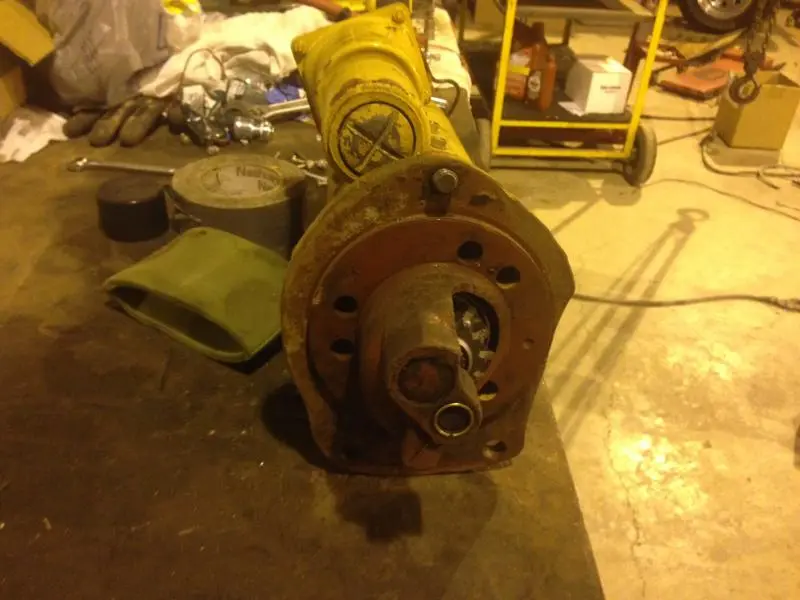

Additional pictures:[attachment=42574]IMG_0843.jpg[/attachment][attachment=42575]IMG_0844.jpg[/attachment][attachment=42576]IMG_0845.jpg[/attachment][attachment=42577]IMG_0846.jpg[/attachment][attachment=42578]IMG_0851.jpg[/attachment][attachment=42579]IMG_0852.jpg[/attachment]
Those are good pictures.
That looks sorta right!! but that doesn't mean it's machined right.
Pull the solenoid mount/cover off and work the plunger by hand to see if it properly extends the pinion. (on the bench).
Is that one of "Auto-Lec's" conversions?
Those are good pictures.
That looks sorta right!! but that doesn't mean it's machined right.
Pull the solenoid mount/cover off and work the plunger by hand to see if it properly extends the pinion. (on the bench).
Is that one of "Auto-Lec's" conversions?
Hi Team,
is it my tired eyes or the way the pic of the flywheel teeth is taken that those teeth appear to be straight cut.
I stand to be corrected.
Cheers,
Eddie B.


Our channel highlights machines from the earliest Holt and Best track-type tractors, equipment from the start of Caterpillar in 1925, up to units built in the mid-1960s.
Chapter Nineteen
| 34 Henty Hwy, WarracknabealChapter Fifteen
| Placerville, CAChapter Two
| Stradsett, Nr Downham Market. Norfolk PE33 9HA UK
Antique Caterpillar
Machinery Owners Club
1115 Madison St NE # 1117
Salem, OR 97301
Terms & Privacy
Website developed by
AdCo
"I became a member recently because the wealth of knowledge here is priceless."
-Chris R