

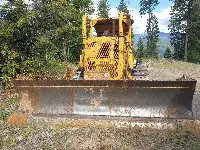
I have changed the angle on the blade a few times. It is not so easy to get everything to line up as I am not the Hulk. How did the old timers do this? Was there a trick to it? Did it take two people?
Hi, Top.
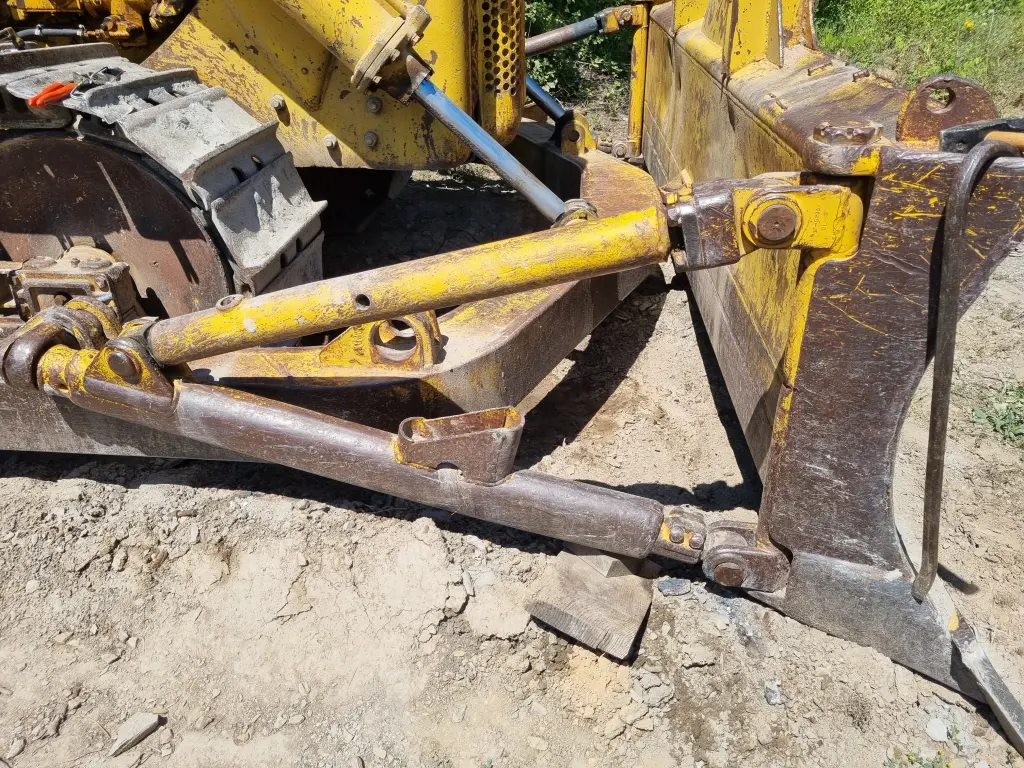
It was always supposed to be a one-man operation but wear can make that 'justa tad difficult'. It does help if you have the tilt braces set atta pretty neutral setting, especially regarding forward/back tilt/. Excessive wear on the center angling pivot pin doesn't help either as it allows the blade to tilt top forward which raises the angle braces above the sockets in the push arms.
The trusted and well proven 'scientific approach' seems to be the best way of making it easier - "suck-it-n-see" - sometimes 'erroneously' called 'trial and error' - or see which settings seem to make it easiest for your particular blade
If the tilt braces come out of one set of sockets fairly easily, they would usually go into the next set likewise, at least in my experience.
Just my 0.02.
You have a wonderful day. Best wishes. Deas Plant.
Yeah, the center pin shows a lot of wear. Thinking about springing for another 4140 machining job for the machine shop as I doubt I will find a decent use one. And if I did make one it would likely be oversized to take up wear in the mating holes.
Hi, TOP.
Just be careful when measuring up for any 'new' pins as some of the holes into which they fit may be worn more than a little 'outa-round' and may also be more worn at the top and bottom than in the middle of the bore.
You don't need to take the blade right off to be able to remove that complete center swivel arrangement. Place the blade on the deck, preferably on something that will not allow it to dig into the ground as it will move a little back and forth during this 'exercise', remove one angle brace from its socket and the center pin from its fitting, place some 'skids' of lumber under the C-frame and back up a little until you have sufficient space to remove the center swivel.
The angle brace which is still in its socket will hold the blade up while you have it apart and will also allow you to pretty much drive straight back in when you have done whatever you may have taken it apart to do.
Does this make sense?
Just my 0.02.
You have a wonderful day. Best wishes. Deas Plant.
Deas,
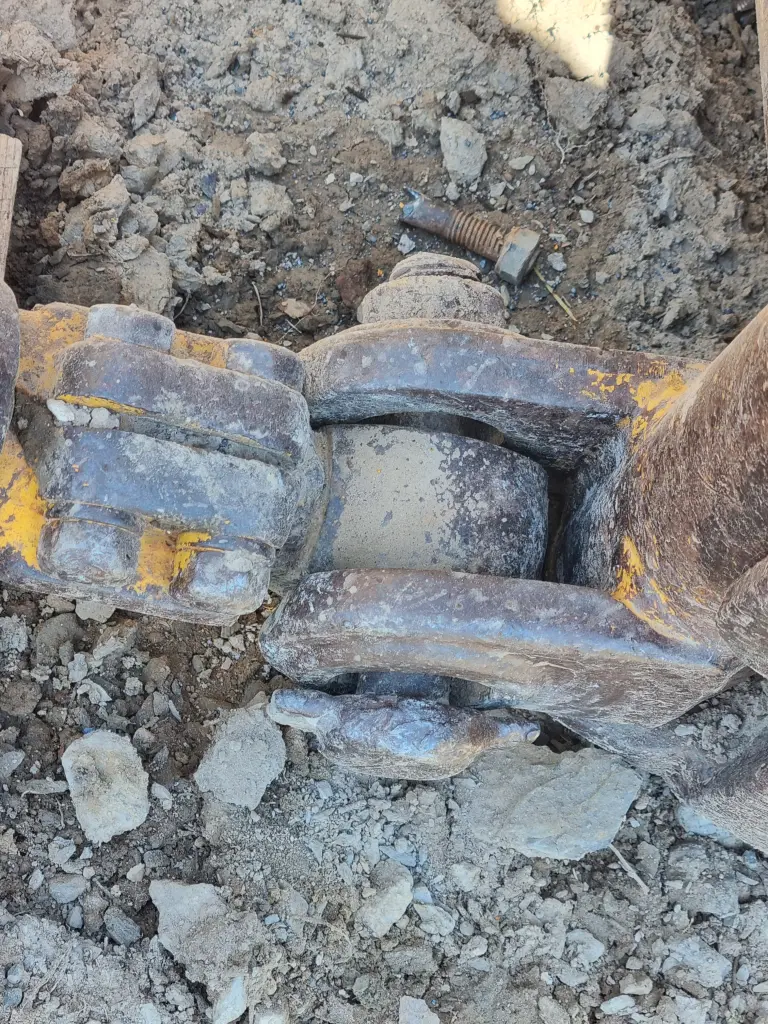
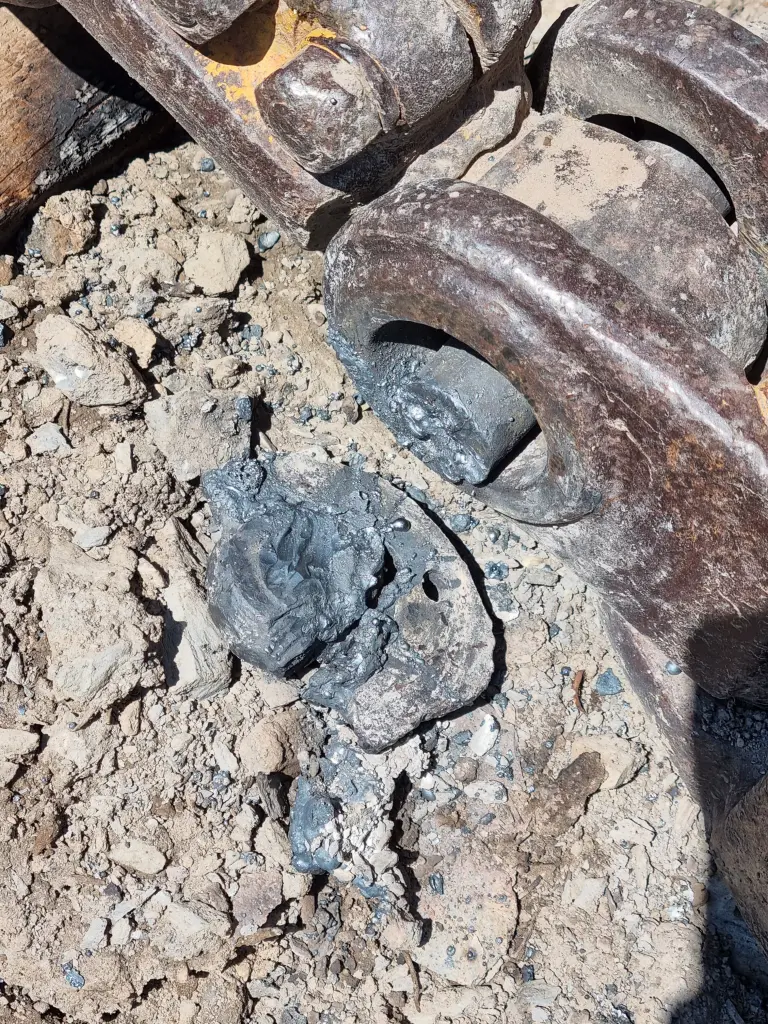
It makes sense. I have already had the center pin out for measurements. For now I am having one made oversized in all the right places to see if it will help. They are machining it from a used hydraulic ram, a no cost raw material at that shop. If it works I will get one made from better material. The center seems like it needs a ball joint, not the univeral joint thing they have there. How can the blade be tilted if that is tight?
Hopefully the machine shop will have the center pin Friday.
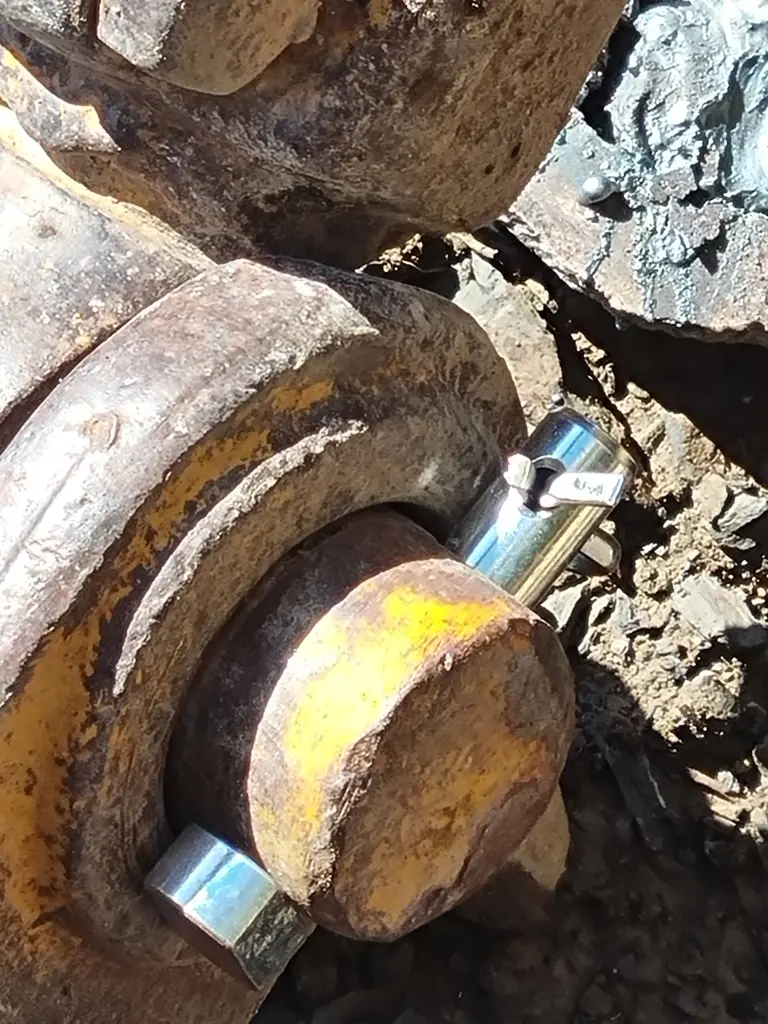
On another note I replaced the lower right brace pin. Several have mentioned tightening up the blade so I also ordered a used (but very nice) pin to replace a bolt somebody had been using for the lower right blade pin. Tightening up should make angle changes a bit easier.
And Kudos to the place that found me a pin and got it to me in 24 hours. Found them on Machinery Trader.

Hi, TOP.
Re that center pivot in the C-frame, it was made like that so that the blade would not fall either backward or forward when both angle braces were outa their sockets while angling the blade. The shaft that goes back through the center of the C-frame should be 'tight-ish' but NOT to the point of 'stuck' 'coz it allows for tilting while the vertical pin attaching it to the back of the blade allows for angling. Angle blades were never designed to be able to tilt the blade back or forward. only side to side. It is only wear on that center angling pivot that makes them able to be tilted fore and aft.
Ball joint in the middle? Imagine what might happen if you took both angle braces out of their sockets and had the blade slightly off the ground so that you could angle it.
Yes, taking as much of the wear as possible out of the system will help to make the blade more stable.The 'brand, spanking newies' straight off the delivery truck were pretty tight but it doesn't take much wear accumulating over that number of joints and pivot points to start to let 'em wobble a bit.
Congrats on getting the 'new' second hand pin - looksa LOTTTT better than the shady tree workshop repair that it replaced.
Just my 0.02.
You have a wonderful day. Best wishes. Deas Plant.
Hi, TOP.
Re that center pivot in the C-frame, it was made like that so that the blade would not fall either backward or forward when both angle braces were outa their sockets while angling the blade. The shaft that goes back through the center of the C-frame should be 'tight-ish' but NOT to the point of 'stuck' 'coz it allows for tilting while the vertical pin attaching it to the back of the blade allows for angling. Angle blades were never designed to be able to tilt the blade back or forward. only side to side. It is only wear on that center angling pivot that makes them able to be tilted fore and aft.
Ball joint in the middle? Imagine what might happen if you took both angle braces out of their sockets and had the blade slightly off the ground so that you could angle it.
Yes, taking as much of the wear as possible out of the system will help to make the blade more stable.The 'brand, spanking newies' straight off the delivery truck were pretty tight but it doesn't take much wear accumulating over that number of joints and pivot points to start to let 'em wobble a bit.
Congrats on getting the 'new' second hand pin - looksa LOTTTT better than the shady tree workshop repair that it replaced.
Just my 0.02.
Makes sense. I guess it might create a situation if the blade fell flat on it's face.
Hi, TOP.
Well, let'z put it thisaway - if the blade fell flat on itz face, you and your dog together AIN'T gonna be able to stand it back up again. Yer MIGHT get it done with a LOTTTTA help from prayer.
Just my 0.02.
You have a wonderful day. Best wishes. Deas Plant.
Hi, TOP.
Well, let'z put it thisaway - if the blade fell flat on itz face, you and your dog together AIN'T gonna be able to stand it back up again. Yer MIGHT get it done with a LOTTTTA help from prayer.
Just my 0.02.
If it fell on it's face and I had a hold of the brace I might have to walk back from the next county.
Still it has my engineering juices flowing. Needs some kind of limiter when changing angle.
I learned a year ago that the machine should be on level ground when attempting that adjustment. That stuff is heavy and quickly humbles tough guys who try to nudge it into place.
On a more serious note, I wonder what adjustment they expected on the brace nuts for a straight ahead level blade when everything was new? I read that the 7A was capable of about 11" of tilt, but that almost implies one nut is screwed in and one screwed out to tilt which means in a neutral setup both should be out equally some amount.
Hi, TOP.
The standard advice back in the day was to NEVER screw them out beyond the point where the threads started to show - maybe even slightly less than that.
That tilt figure would be with all joints factory tight. Any wear would just 'natcherly' decrease the effective tilt due to slack in the joints. You might 'ackshully' get a little more tilt with some wear in the joints and with the blade off the ground but lose some it when you start digging.
Just my 0.02.
You have a wonderful day. Best wishes. Deas Plant.
If it fell on it's face and I had a hold of the brace I might have to walk back from the next county.
Still it has my engineering juices flowing. Needs some kind of limiter when changing angle.I learned a year ago that the machine should be on level ground when attempting that adjustment. That stuff is heavy and quickly humbles tough guys who try to nudge it into place.
On a more serious note, I wonder what adjustment they expected on the brace nuts for a straight ahead level blade when everything was new? I read that the 7A was capable of about 11" of tilt, but that almost implies one nut is screwed in and one screwed out to tilt which means in a neutral setup both should be out equally some amount.
Turn the tube out till there is 2 1/2 inches between the tube and the lower pin block shoulder on both sides.
Bob


Our channel highlights machines from the earliest Holt and Best track-type tractors, equipment from the start of Caterpillar in 1925, up to units built in the mid-1960s.
Antique Caterpillar
Machinery Owners Club
1115 Madison St NE # 1117
Salem, OR 97301
Terms & Privacy
Website developed by
AdCo
"I became a member recently because the wealth of knowledge here is priceless."
-Chris R