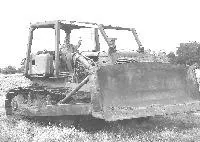
D46U straight blade,D46U cat angle blade,allis chalmers AD4 grader and Khoering 404 dragline. D4C 40A,D4 2T and scraper.
when i changed mine i always cribbed the push arms right where they attached to the blade.
I cut a 30" log, standing on end to put under the pusharms on each side (30" because it was handy). Be sure to clean the rust, dirt and scale off the frog before you attach the new edges. Mine was a feedlot tractor pushing cow s**t. I had a good of Cat edges but didn't know the prior owner hadn't removed the thick rust. Consequently they broke pushing on rocks and stumps.
As suggested, crib it up to support the blade. As also stated, cleaning with a wire brush wheel is really important. If the threads on the bolts are messed up, a torch can be the quickest way if you don't have a 3/4 or 1 inch air gun. If you buy new bolts, Cat bolts are superior and the cost is very comparable.
Remove the blade and flip it over. I hate laying on the ground to use a torch, makes no sense to me.
As JoeG just said has it been flipped yet? Might just need corner bits. Pics would help.
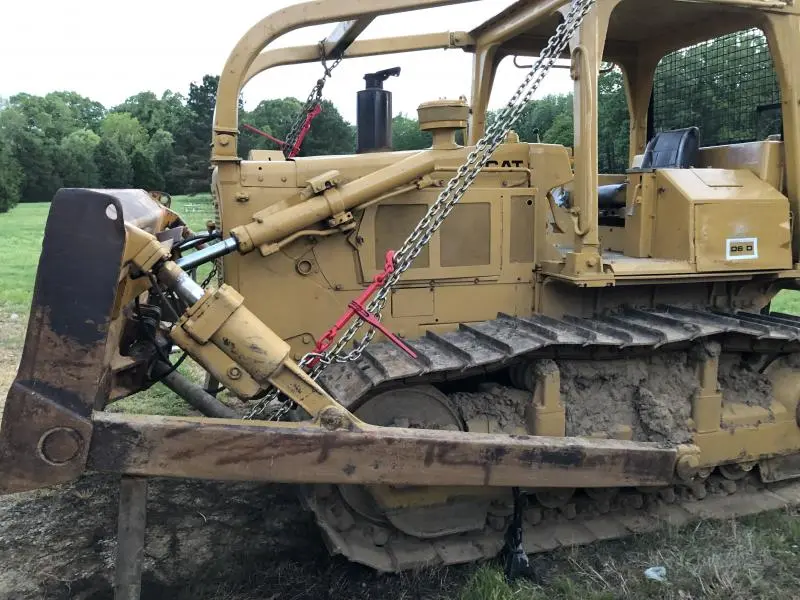
[attachment=53711]DB2BF3F0-EC1D-4619-B755-1F92B846F29F.jpg[/attachment][quote="Kwright"]My D6D needs new cutting edges. Can anyone provide guidance on how to do this job safely?
I don’t like the idea of being underneath that blade and I’m not going to put myself in that situation without proper guidance from you professionals.
I may hire this out to a professional if you all feel that’s the best option.
Thanks
Kenny[/quote]
I went ahead and hired a professional to replace the cutting edges however I still secured the blade with 2 chains for good measure.
Thanks for posting the picture, that makes things easier. Look at the picture and note a pin sticking out horizontally from the hard-nose with a 3/8" bolt and nut through it, all you need is some 9/16" wrenches to remove it. Look at the blade hydraulic lift cylinder and note there is a piece of strap steel bolted to it, loosen the bolt that attaches it to the cylinder enough that it will pivot enough to fit over the hard-nose pin and put the 3/8" bolt back and the blade is now secure and can now be worked on safely with no chains needed. :doh:
Craig


Our channel highlights machines from the earliest Holt and Best track-type tractors, equipment from the start of Caterpillar in 1925, up to units built in the mid-1960s.
Antique Caterpillar
Machinery Owners Club
1115 Madison St NE # 1117
Salem, OR 97301
Terms & Privacy
Website developed by
AdCo
"I became a member recently because the wealth of knowledge here is priceless."
-Chris R