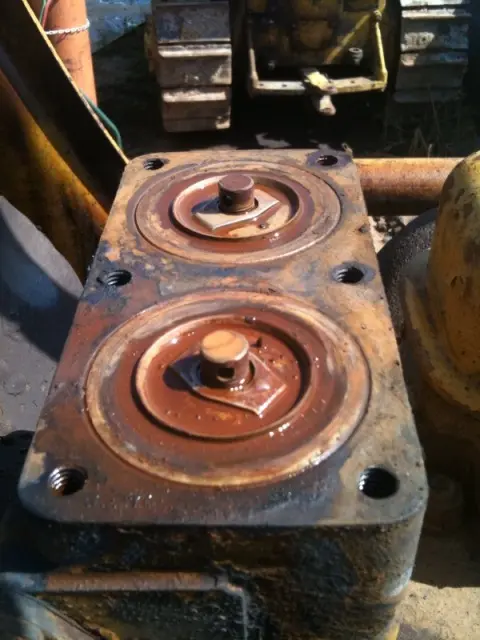
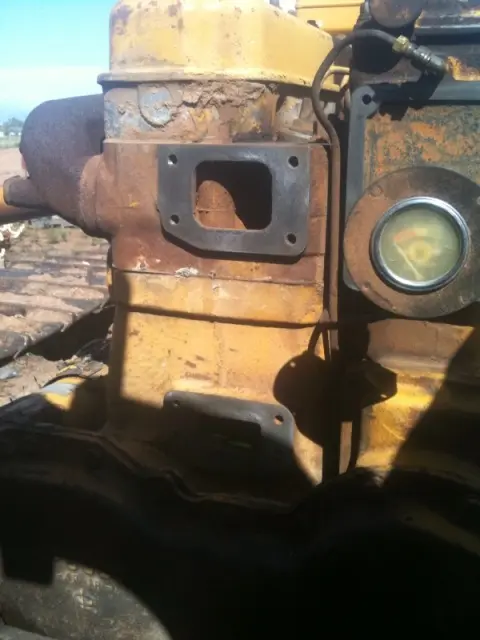
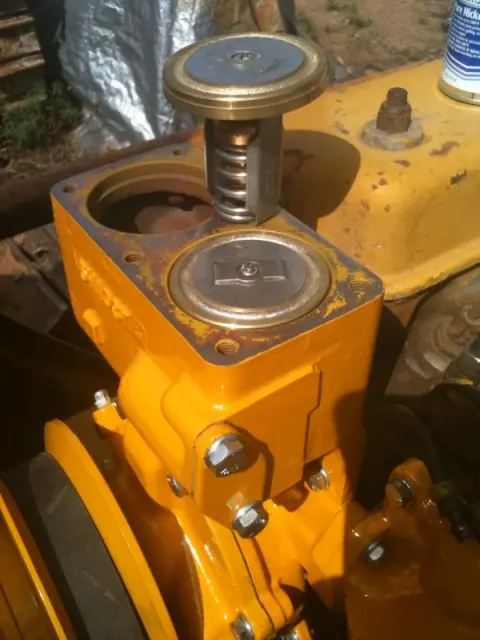
[quote="John from Fresno"]Does anyone know how to get this type of thermostat out without destroying it?
Thanks,
John[/quote]Am i seeing two thermostats? and why? Just trying to learn all I can about these machines.. Does my D4/HT4 have two?..thanks
[quote="John from Fresno"]Does anyone know how to get this type of thermostat out without destroying it?
Thanks,
John[/quote]
MAY U PLATE OPENING, INSTALL GREASE ZERK IN PLATE, PUMP TILL SHE POP, FILL CAVITY FIRST? BE BLESSED
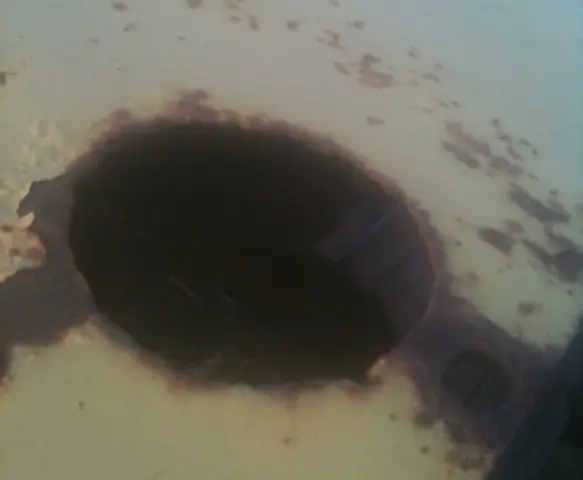

Well,
The thermostat removeal didn't fair well. I tried heat and tapping from the back side with no luck. I broke one up getting it out. The second came out easier. But I ended up get two new ones from CAT that were made in China.
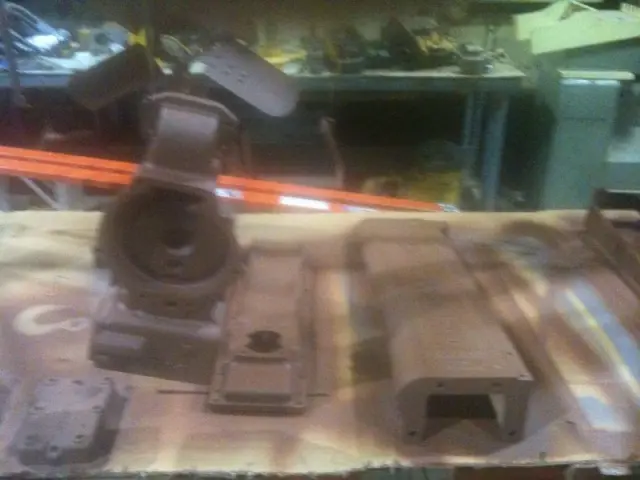
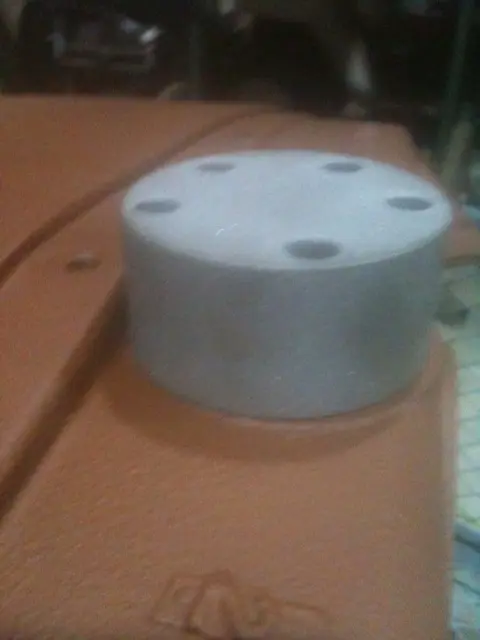
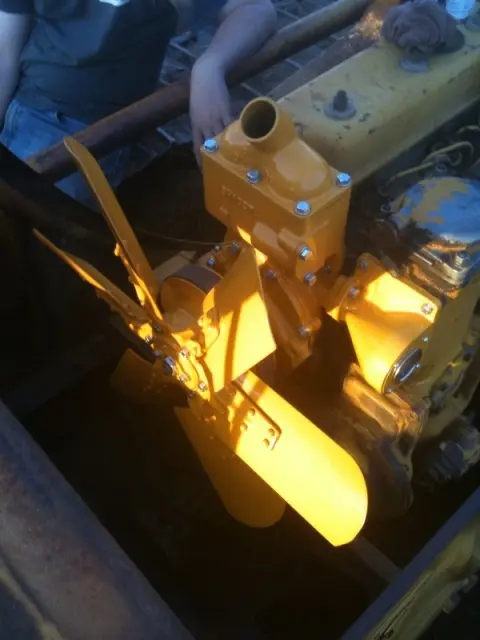
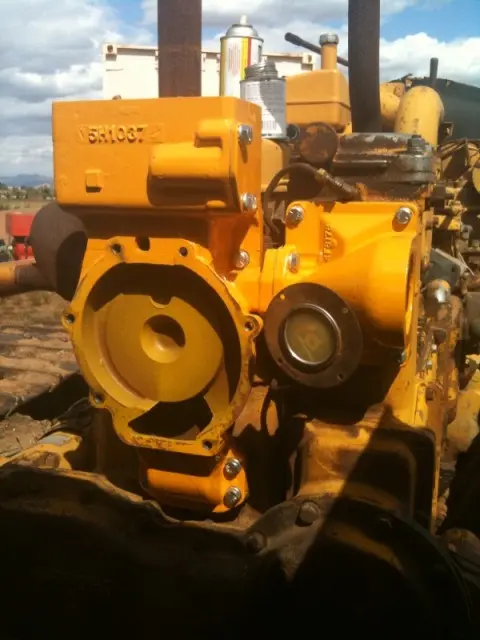
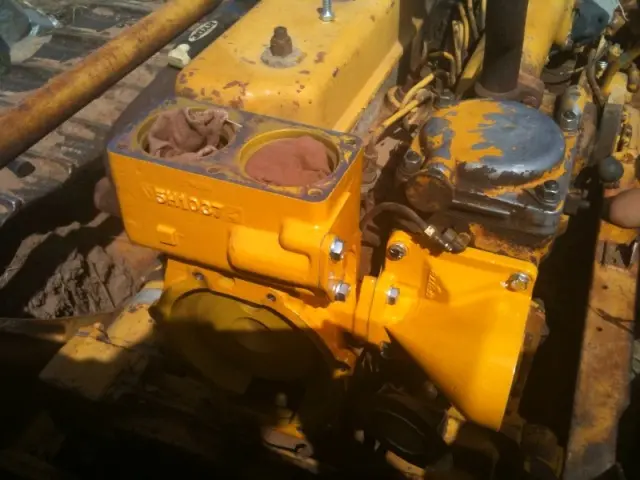
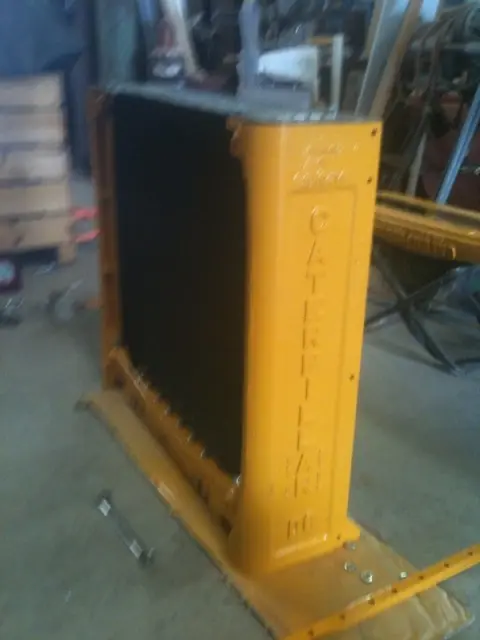
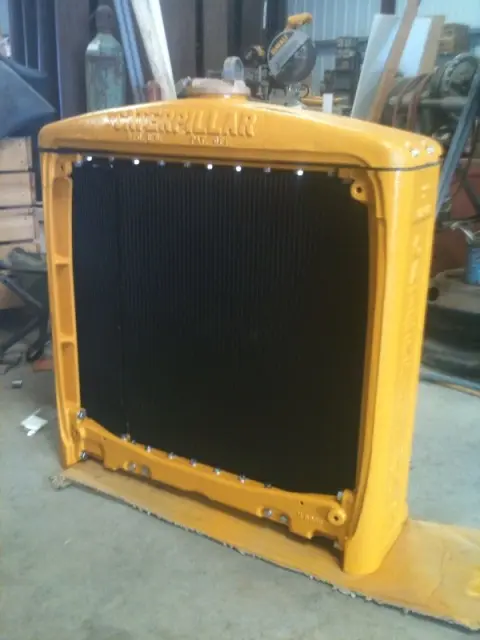
My other issue, now that I am to a point of cleaning things up. I noticed that the valve that sits on top of teh radiator tank is not the original setup. The hood has a torched hole in the top to allow for the thing to stick up through the hood. It has a CAT number of 7S4249. The parts book call for a 3H3413. Then one in the parts book sits a lot lower. Does anyone else have this situation? Was there some sort of change?
See pictures. I also took some of the parts awaiting the yellow coat. I primered after sandblasting.
John
Hi Team,
that is a factory update for a more robust relief valve that I fitted many of back in the day at The Dealer.
It was anounced in a Product Bulletin back in June 10 1964.
Hope this helps.
Cheers,
Eddie B.

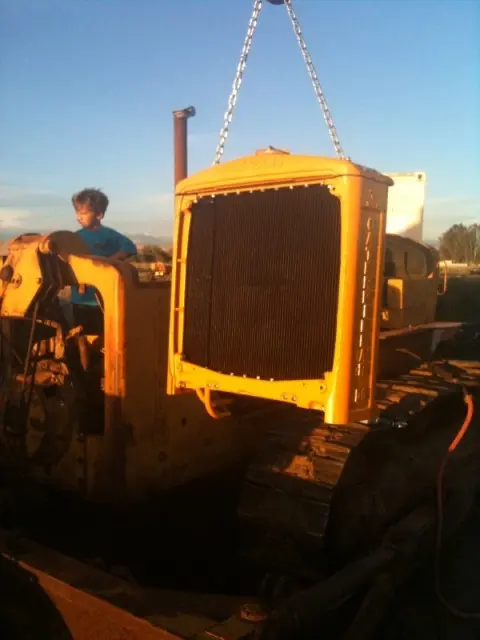
Here are some pictures of the re-assemlby of of the D6 front end. I had stripped it down past the waterpump. I figured I was there and might as well rebuild the water pump.
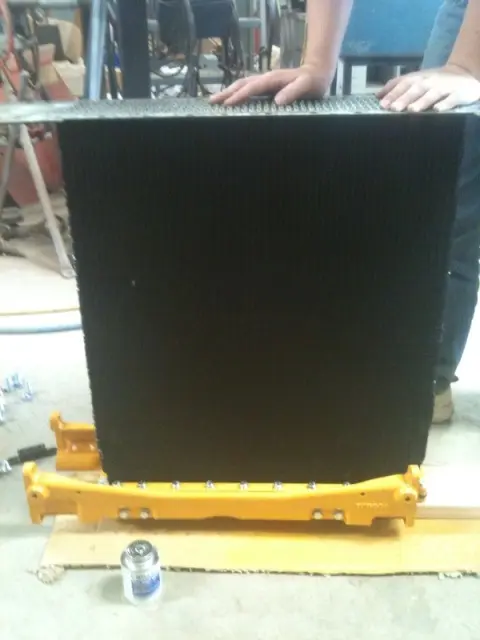
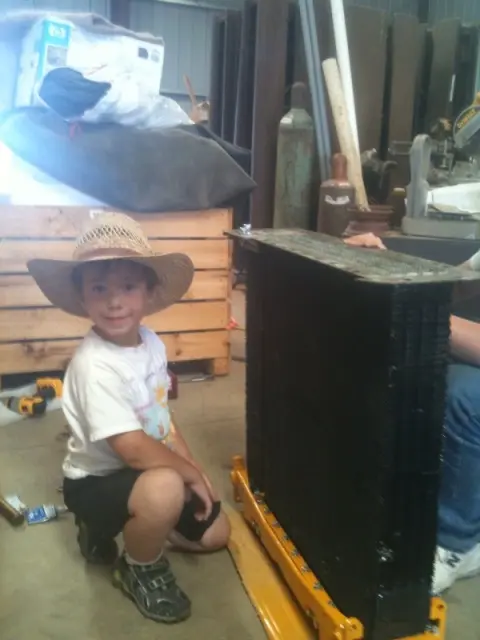
Here are some of the radiator and oil cooler being assembled. Lots of bolts and antiseize. I even have an apprentice. 👍
John
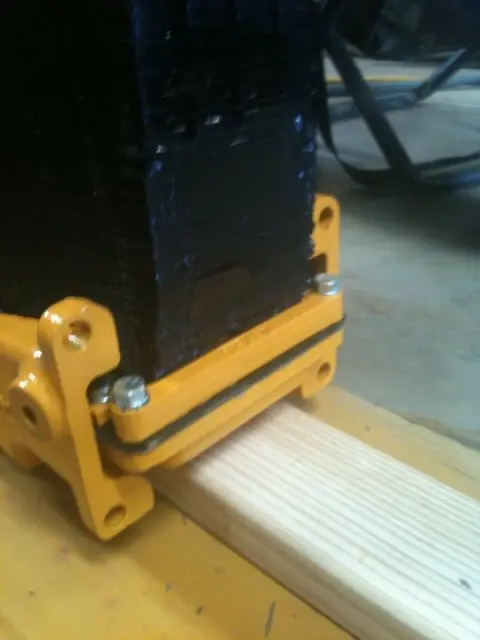
Hi John,
Looks good....were you able to get those four rubber mounting pads new, pt # 4F2488. Got one to do myself but haven't tried for the pads or assemblies yet.


Our channel highlights machines from the earliest Holt and Best track-type tractors, equipment from the start of Caterpillar in 1925, up to units built in the mid-1960s.
Chapter Twenty Nine
| Hawkesbury Showground, Racecourse Rd, Clarendin, NSW, AustraliaChapter Eighteen
| Geoff Ralph Drive, Taabinga, 4610, Kingaroy, Qld.Chapter Thirty
| 3429 Copper Coast Highway Paskeville, SA 5572
Antique Caterpillar
Machinery Owners Club
1115 Madison St NE # 1117
Salem, OR 97301
Terms & Privacy
Website developed by
AdCo
"I became a member recently because the wealth of knowledge here is priceless."
-Chris R