Not unusual to have the filter can get loose, they really depend on the top through bolt to hold them down. They are retained by a sort of flat and curved friction washer affair that ain't the greatest. A little metal rework with a hammer usually tunes them up after you take the assembly apart which requires a home made long deep socket.
Apparently you have the full flow filter conversion which uses the disposable cartridge.
Usually the oil will drain down on it's own but may take awhile but that's what the drain plug is for.
If that housing came loose as he describes, then would/should there be an O-ring same as the top?
Inquiring minds may need to know.....
If that housing came loose as he describes, then would/should there be an O-ring same as the top?
Inquiring minds may need to know.....
[quote="drujinin"]If that housing came loose as he describes, then would/should there be an O-ring same as the top?
Inquiring minds may need to know.....[/quote]
There is an o ring at the bottom of the cannister. These harden with age and will often leak once the cannister breaks loose from the base. The old o rings have to be picked and dug and pried out of the groove. I've seen them harden to the extent you would bet you were down to the bottom of the groove when you were not. Just a little time and patience will do the trick. The o ring is like the square one in the groove of the cap.
Okay,
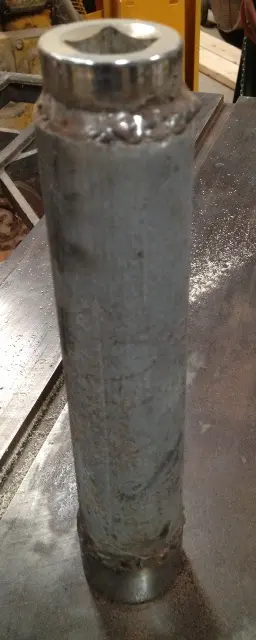
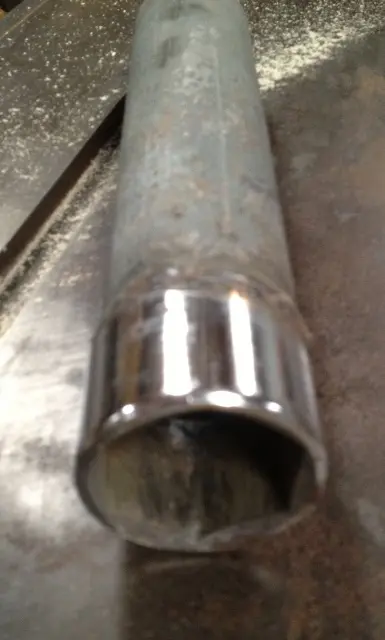
Here is what you do. Go to a local swap meet or yard sale and get you a "No Name" socket the correct size. I tend to get 3/4" drives that are 6 point. You don't want to buy and expensive Proto or Snap On. Cut the socket in half and weld a section of pipe in between the two socket halves. See picture. Then you can remove the can and replace that old hard square gasket at the bottom. Now, you can take another square gasket that is too big in diameter and just cut it at a 45 degree angle with a new single edge razor blade. Then take a new tube of super glue and glue it together to make the new smaller diameter. You should cut it so the can when squeezes down actually squeezes the 45 degree joint together. So the joint should not be vertical when installed but rather horizontal.
I hope this helps,
John
I think those o-rings are still available through the caterpillar parts system.
I let the oil drain overnight and there is still about 1 inch on the bottom of the filter cans. What is keeping that oil from draining out to the pan?......is there some restriction between the filter can and the oil pan?....is it sludge or what?
Hey OM, what is a full flow conversion,.......is it just changing from an inner element plus a metallic strainer element like the book shows to one element like I have in the picture?
Hey John from Fresno, that is a good idea on how to make a tool to remove the filter can. I will keep my eyes open for a socket the right size next time I'm at the flea market. Can anyone confirm that it is 1 7/8" as Inter674 mentioned?
Those orings for below the can are available through Cat.....$4.06
John
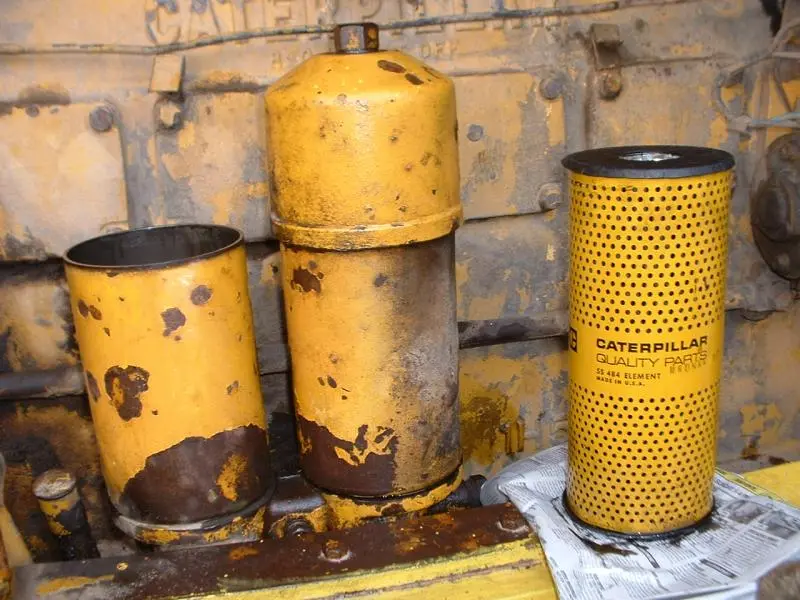
Here it is....[attachment=15700]DD6 oil filters 001.jpg[/attachment]
Your tractor has the full flow conversion parts that uses the disposable cartridge filter. Takes a 1-3/8" socket on the full flow conversion retaining nut. (Takes a 1-1/2" socket if you are removing the old by-pass guts)


Our channel highlights machines from the earliest Holt and Best track-type tractors, equipment from the start of Caterpillar in 1925, up to units built in the mid-1960s.
Antique Caterpillar
Machinery Owners Club
1115 Madison St NE # 1117
Salem, OR 97301
Terms & Privacy
Website developed by
AdCo
"I also joined a year ago. had been on here a couple of times as a non-member and found the info very helpful so I got a one year subscription (not very expensive at all) to try it out. I really like all the resources on here so I just got a three year. I think its a very small price for what you can get out of this site."
-Jason N