[quote="joebrad"]Hello all,
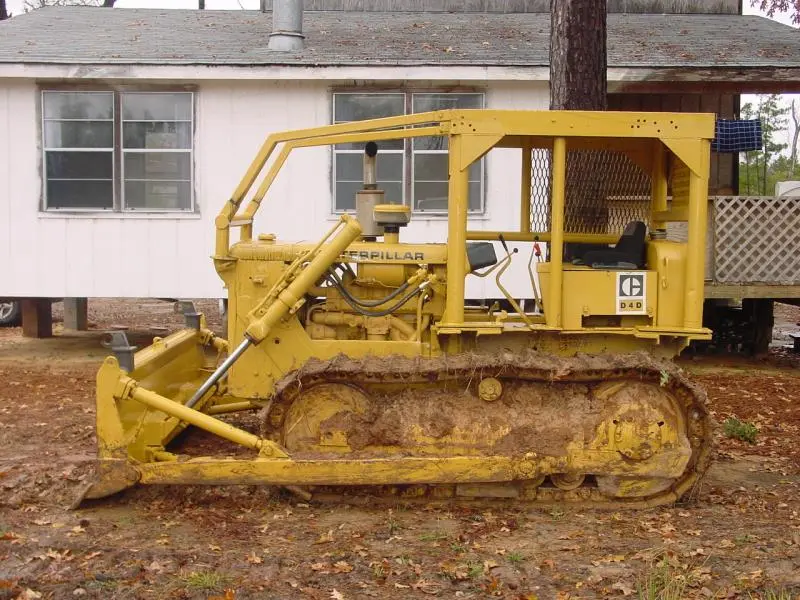
I am new to the ACMOC, joining in October. I have a D4D s/n 83J1438 which should be a 1971 tractor if my research is right. I have had this tractor for 15 years and now in need of some advice. Both track tensioner springs are broken and now I have one of the hydraulic adjustment cylinders with a blown seal. Splitting the tracks seems to be in my future if I want to get some more work done on the farm. What is the best way to tackle the job. I was an offshore crane mechanic for many years and have all tools and shop space that I think will be needed except for any type of hydraulic presses. I read about the spring compression and may opt to take them to a heavy equipment shop to compress the new springs after I get them out.
Thanks,[/quote]
Here is what I would do. Drop the blade and C frame off, then get into a place you can work.
Take the track frame guards off and clean up the spring center bolt, lube the thread and loosen the big nut.
Then put a block of wood in the track, back up and crush the spring, tighten the nut on the center bolt.
Tighten nut until the spring is compressed and the pilot is back from the anchors.
Then split the tracks, push the idlers forward and lift the adjuster and spring assem's out.
Take the assem's to a dealer or some qualified shop to change the springs
Handle these assems like you would a couple of 5 gal pails of nitro glycerin
Later Bob.
If your springs are broken, then you can torch some of the remaining coils without loosing anything, but I guess you have a center spring to contend with as well? If your spring bolt will not tighten up like bob describes, you could weld bars between the end plates to restrain the spring so that it can be removed.
I have always obtained a second spring bolt nut and added that for extra assurance that it didn't blow apart when working on it--had one do that as i was placing it back in the track frame
83J's use a single recoil spring Part #5K2754=2C4445=7H8118
Installed length is 18.75"
Assembled length for installation is 18.25"
Force-spring assembled, approx. seven ton.


Our channel highlights machines from the earliest Holt and Best track-type tractors, equipment from the start of Caterpillar in 1925, up to units built in the mid-1960s.
Chapter Nineteen
| 2 Winkleigh Rd, Exeter TAS 7275
Antique Caterpillar
Machinery Owners Club
1115 Madison St NE # 1117
Salem, OR 97301
Terms & Privacy
Website developed by
AdCo
"I became a member recently because the wealth of knowledge here is priceless."
-Chris R