Hello Vance, there are parts catalogues for No 44 hydraulic units in the new Technical Library on this website.
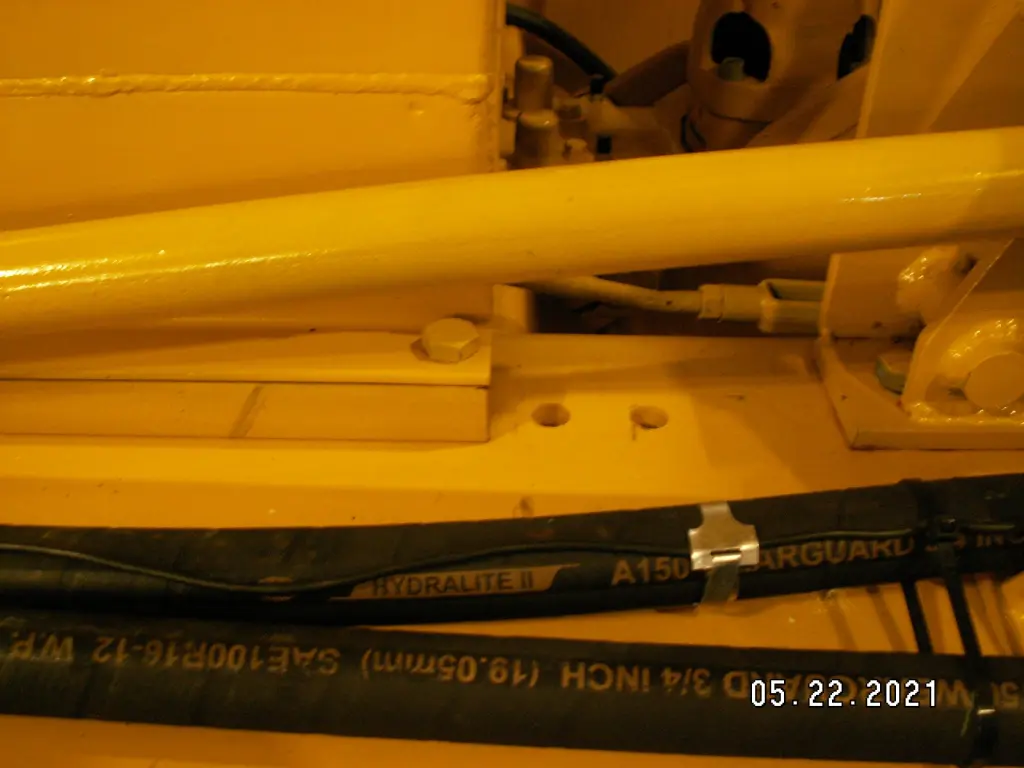
I downloaded and looked at them and it appears hooked up correctly I'll just take the torch and heat and twist the control rods to swap them so the left handle controls the blade.
I downloaded and looked at them and it appears hooked up correctly I'll just take the torch and heat and twist the control rods to swap them so the left handle controls the blade.
It's a dual handle setup for scraper use. The left handle is for the blocked ports on the far right and left of the unit. The lines have been removed and some block off plates installed. I can message or email pictures but don't have the ability to downsize them at the moment.
It's a dual handle setup for scraper use. The left handle is for the blocked ports on the far right and left of the unit. The lines have been removed and some block off plates installed. I can message or email pictures but don't have the ability to downsize them at the moment.
Now that I know it's hooked up correctly I would like to see if anyone has the piping to add the extra service to the rear as I hope to locate a scraper in the Texas area to show behind it. I believe it could be made up with schedule 80 pipe and work fine but if I can find original tubing it would look better. Having spent several hours working it filling in a pond and leveling some other areas it's proven its worth. My biggest issue is going to be moving the seat back and up to suit my 6'6" 360lb frame with a little more room. Thanks to all of you over the years who have chimed in with awesome advice. My first Caterpillar project was a 22 that was way more than I expected and without a blade wasn't much more than a trailer queen when finished. Enjoying this D4.
It's not too bad to adjust the seat Vance. Couple of pieces of 3x2 channel iron or box tube or 4x2 if you need it, and some pipe nipples to extend the fuel line. Not only do you raise the seat, but also drill holes further back in the extensions to mount the tank - up and back. I'm not tall (6, 220) but moved my D2 seat tank up and back and it's much more comfortable so this'll help you for sure. It can make the pedal push feel a little different; I'm thinking of some additional footrests.


Our channel highlights machines from the earliest Holt and Best track-type tractors, equipment from the start of Caterpillar in 1925, up to units built in the mid-1960s.
Antique Caterpillar
Machinery Owners Club
1115 Madison St NE # 1117
Salem, OR 97301
Terms & Privacy
Website developed by
AdCo
"I also joined a year ago. had been on here a couple of times as a non-member and found the info very helpful so I got a one year subscription (not very expensive at all) to try it out. I really like all the resources on here so I just got a three year. I think its a very small price for what you can get out of this site."
-Jason N