
Been many years since I changed one but I never remember having to loosen the pump but as far as I remember you just loosen the coupling shaft and it would slide ahead far enough on the splines to just get a belt on.
Depends on which coupling arrangement you have. The latest design had a couple of removable spacers in the coupling that allowed for belt removal. Earlier #44 units had to have the mounting bolts loosened (but not removed) to get belt removal clearance. The splined pump couplings will move but not always enough. That's been my take so far😊
Also helps a lot if you fabricate the suggested lifting bracket when it comes to holding alignment.
My D47U serial number is 22811 and the coupling collar is one piece and it bolts to the front pulley. After unbolting it, there was just enough clearance to crowd the fan belt by it by twisting the fan belt sideways. The pump drive is splined to the pump and it looked (hard to see in the dark) like it has some engagement notches inside the collar that align with the front pulley. Realigning the notches is what took the extra time to get the collar to bolt up flush again. I did have the pump lifting device that I made years ago and it worked well again. I took the pump all of the way off the Cat and left it hanging from my front end loader. It went back on just as easy, all it takes is time. It could have been that if I had left the pump in place, it might have helped keep the parts lined up so when I went to reassemble, it would have been a slamp dunk rather than the nail biter that it was. If there ever is a next time, I will try changing the belt without taking the pump off and see what happens. Thank you for your thoughts on the fan belt replacement.
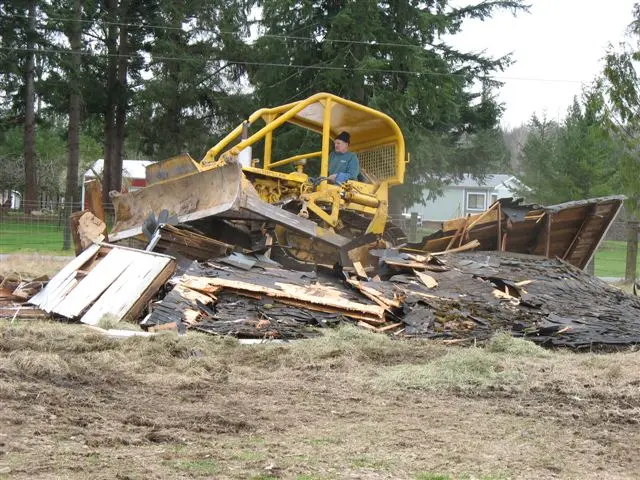
that after you crushed that building in to a big pile of splinters. You probably had to dig a big hole to bury it in?
Men and their toys!
Awesome being a guy, isn't it?
😄
On my D47U, to replace the belt you remove a bolt and lock at the fan hub and turn the fan in a counter clockwise direction until the fan belt is loose. You then put the new belt between two fan blades and rotate the blades until the belt can be put in place. Then you rotate the fan and tighten the belt to one inch of slack. I have never had to disconnect the #44 hydraulic pump to replace a belt. The servicemen's reference book does not mention the hyraulic system at all in describing how to change a belt. I am confused.
On the pile of house splinters, I just threw a match on it and the pile was gone in about three hours. Just one of the advantages of living in the country. For
D4Doug: My #44 hydraulic pump is located in the front of the Cat's radiator and it is driven from the front crankshaft pulley by a splined shaft. There isn't any way to put my one piece fan belt over the bottom of the engine's crankshaft pulley without first breaking the connection between the crankshaft pulley and the pump's driven shaft. If you had one, a segmented V-belt can be adjusted to length and the belt ends re-attached saving a lot of work.
On my D47U, to replace the belt you remove a bolt and lock at the fan hub and turn the fan in a counter clockwise direction until the fan belt is loose. You then put the new belt between two fan blades and rotate the blades until the belt can be put in place. Then you rotate the fan and tighten the belt to one inch of slack. I have never had to disconnect the #44 hydraulic pump to replace a belt. The servicemen's reference book does not mention the hyraulic system at all in describing how to change a belt. I am confused.
Hi guys,
I'm picking up on this thread a few years after it started but hopefully this will help others in future.
It may not be necessary to remove the hydraulic pump (if fitted).
My dozer is a D4 6u (year:1957) with the type 44 hydraulic pump; this procedure should be identical to the 7u for fan belt replacement.
Task time: 3 - 4 hours for 1 person
remove both engine side guards
remove bonnet
remove fan cowls - 2 pieces
remove locking tabs and screws (2) from rear of fan assembly
loosen fan pulley screw adjustment to make the fan belt as slack as possible
Mark the crank coupling flanges so it is easier to re-align bolt holes on assembly
remove bolts (8 bolts on mine) from crank coupling to hydraulic pump (note: the coupling bolts are NOT equi-spaced).
Tap the flange with a soft metal drift to loosen...no chisels needed
separate coupling flanges, there should be enough space to fit the belt by sliding front flange forward towards the radiator
Remove coupling internal alignment rings (2) - this will provide JUST enough gap to remove / loop the belt around the crank.
Take belt off fan/pump pulley and turn the fan slowly by hand to feed off belt between the blades
It is easier to remove and replace the belt from the crank pulley working from the right hand side of the machine; the left hand side has a water pipe in the way
It is unlikely that the wide belt will pass easily between the two crank flanges (assuming that you are using a toothed or segmented profile belt) unless the belt is twisted a bit so that the belt teeth are facing towards the engine.
Re - assembly is pretty much the reverse of this procedure
walk the new belt on the pulleys by turning the crankshaft ( I used the pony engaged, turned by hand )
re-grease the coupling
The coupling gap to fit the belt is pretty tight...I'd recommend getting a "genuine" belt; some v-belt profiles will not fit through the space unless you're creative or risk damaging the belt.
If it's too tight you must take off the hydraulic pump...add about 12 hours to the task.
Old magnet gave the belt part numbers for older and newer models in another post , the belt length is different for D4 machines 1954 onwards.
These belts don't seem to stretch, the old belt was the same length as the new belt but had worn on the edges down from about 29mm to about 22mm...
Good luck


Our channel highlights machines from the earliest Holt and Best track-type tractors, equipment from the start of Caterpillar in 1925, up to units built in the mid-1960s.
Antique Caterpillar
Machinery Owners Club
1115 Madison St NE # 1117
Salem, OR 97301
Terms & Privacy
Website developed by
AdCo
"I also joined a year ago. had been on here a couple of times as a non-member and found the info very helpful so I got a one year subscription (not very expensive at all) to try it out. I really like all the resources on here so I just got a three year. I think its a very small price for what you can get out of this site."
-Jason N