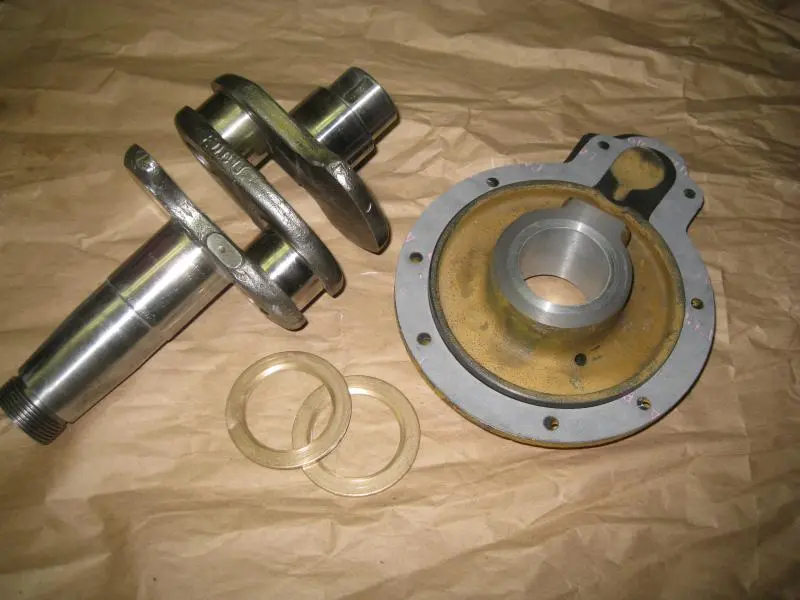
I like your thrust bearing solution.....probably should have been built that way to begin with. What did you settle on for thrust clearances?
On that pony flywheel, I'd recommend finding a replacement. That missing chunk is probably big enough to affect the balance.
Thanks OM,
The original design made no sense to me. I was shooting for about .015 inch but ended up with .020 after final assembly.
As heavy as that flywheel is I figured the broken out chunk was better left alone. I thought of drilling some holes opposite the break to guesstimate balance but decided against it. Maybe I,ll find a flywheel someday.
I appreciate your help.
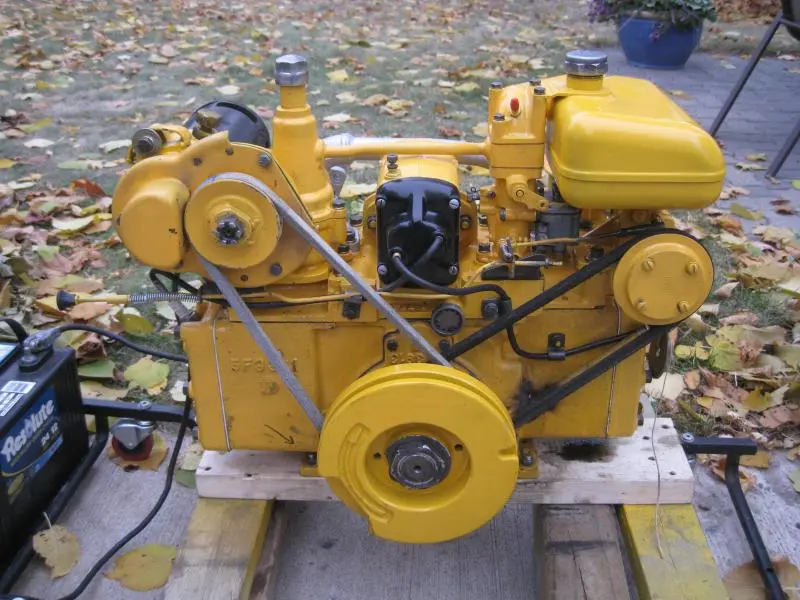
Now I need to get the Diesel running right, but that will need to wait till Spring.
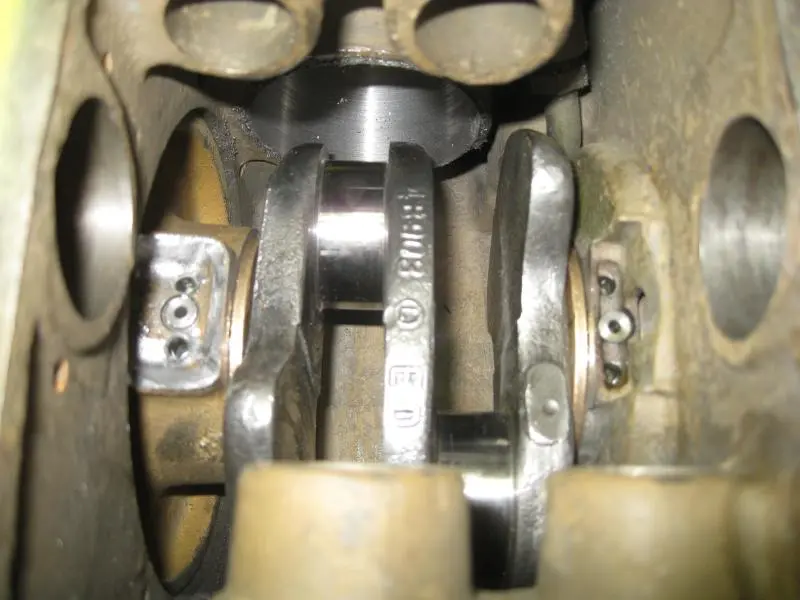
Nice improvement, When I got my D2 the thrust could have been measured with yard stick, you could see the crank floating in and out as it ran, in my case the dowell pin was missing.
when i rebuilt mine 10 year ago i locktighted the mains and dowels in, then crossed my fingers and hoped it would stay. lucky i don't run my machine but average once a month. u done alot more than cat woulda done back in the day. good luck
Nice job! Thanks for posting the pictures too!


Our channel highlights machines from the earliest Holt and Best track-type tractors, equipment from the start of Caterpillar in 1925, up to units built in the mid-1960s.
Antique Caterpillar
Machinery Owners Club
1115 Madison St NE # 1117
Salem, OR 97301
Terms & Privacy
Website developed by
AdCo
"I also joined a year ago. had been on here a couple of times as a non-member and found the info very helpful so I got a one year subscription (not very expensive at all) to try it out. I really like all the resources on here so I just got a three year. I think its a very small price for what you can get out of this site."
-Jason N