There is a modification to the surface of the pony manifold i think it is that will allow replacement of the seal with the pony in place. Basically the raised square lip around the coolant opening is ground flat so a suitably lubricated seal can be inserted. I have never done one so I may have it all wrong. Hopefully someone will come along soon with more info.
I would start by cleaning away the remains of the old seal so you can determine what the surfaces are like in between there. You may have to raise the pony motor and replace the base gasket to prevent leaks there..... unless someone before you greased one side of that gasket so it will release without tearing.
Where is our pic?? It would reduce the conjecture.
To the rescue! I think I got these from Eddie
[attachment=46213]Water Seal #1.jpg[/attachment]
[attachment=46214]Water Seal #2.jpg[/attachment]
If you have a model hat is not listed on the retrofit gasket, be sure to drain your coolant about halfway down to avoid coolant flowing all over your shop and shoes when you loosen the pony mounting bolts.
While you are at he parts house, pick up a base gasket in case the previous owner did not grease one side of the gasket to assist pony removal. I prefer to grease the pony side of the gasket.
Loosen the mounting bolts, be sure to get the hidden ones between the main block and pony! When loosened, take a pry bar and rock the pony back just far enough to remove and replace the upper gasket. Lube up the rubber with a good liquid dish soap to make it "slide" in.
Once in, re tighten the mounting bolts, top off coolant. Start up and check for leaks and bleed any air in the system.
I think it's 13 fasteners total around the base of the pony Terry? 12 nuts and one bolt?
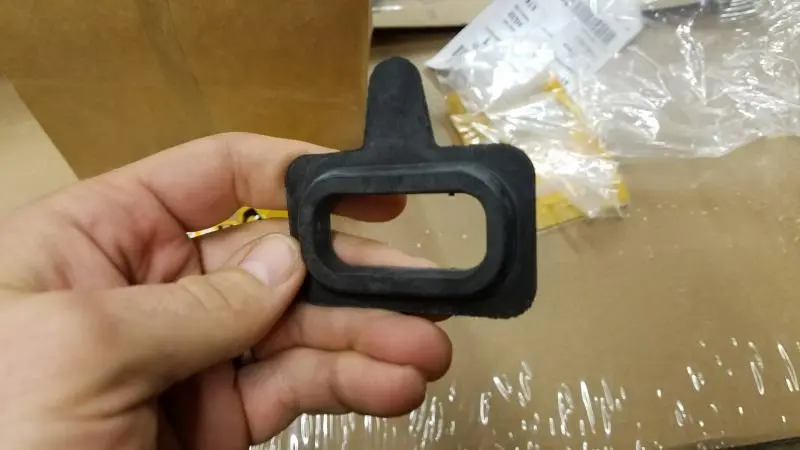
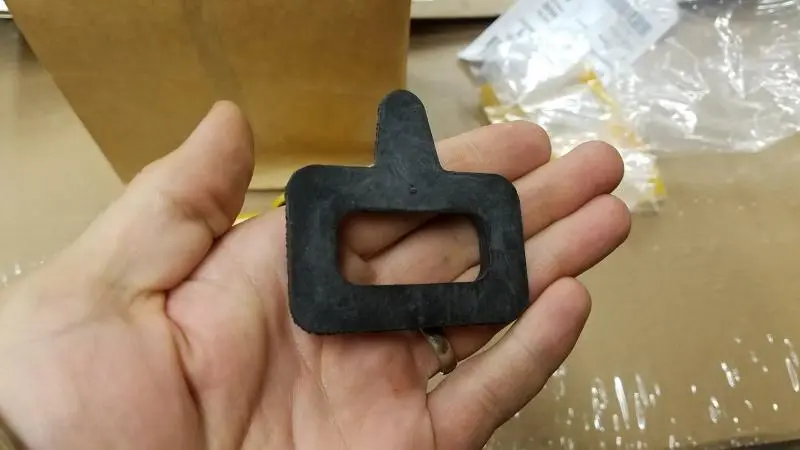
Here is the 3B-7978 gasket, it's completely rubber, no metal like the one I took out;
[attachment=46219]seal1.jpg[/attachment]
[attachment=46220]seal2.jpg[/attachment]
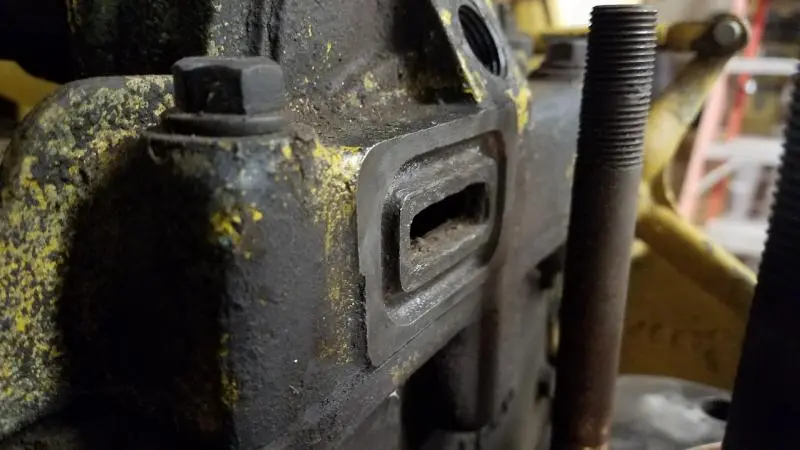
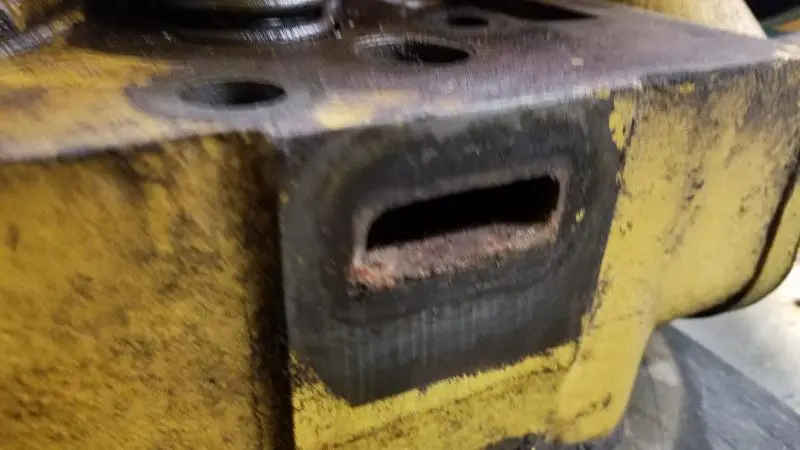
My Pony head;
[attachment=46221]pony head.jpg[/attachment]
Rear of my D3400 head (sorry it came out blurry) but it's a smooth surface, not machined out like the pony;
[attachment=46222]head.jpg[/attachment]
Jordan
Wow thanks for all the response. I should be able to figure it out from here
Wow thanks for all the response. I should be able to figure it out from here


Our channel highlights machines from the earliest Holt and Best track-type tractors, equipment from the start of Caterpillar in 1925, up to units built in the mid-1960s.
Antique Caterpillar
Machinery Owners Club
1115 Madison St NE # 1117
Salem, OR 97301
Terms & Privacy
Website developed by
AdCo
"I also joined a year ago. had been on here a couple of times as a non-member and found the info very helpful so I got a one year subscription (not very expensive at all) to try it out. I really like all the resources on here so I just got a three year. I think its a very small price for what you can get out of this site."
-Jason N