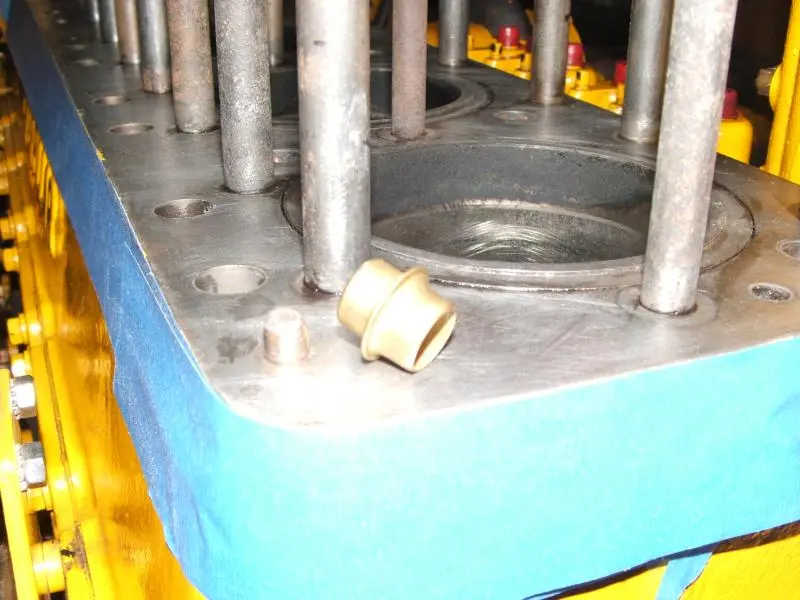
I never asked why they were that way. I just put the blunt end in the block and the tapered end up. I figured the block was stationary and the head varied/wiggled a little as you set it on the block and the taper was to compensate for that.
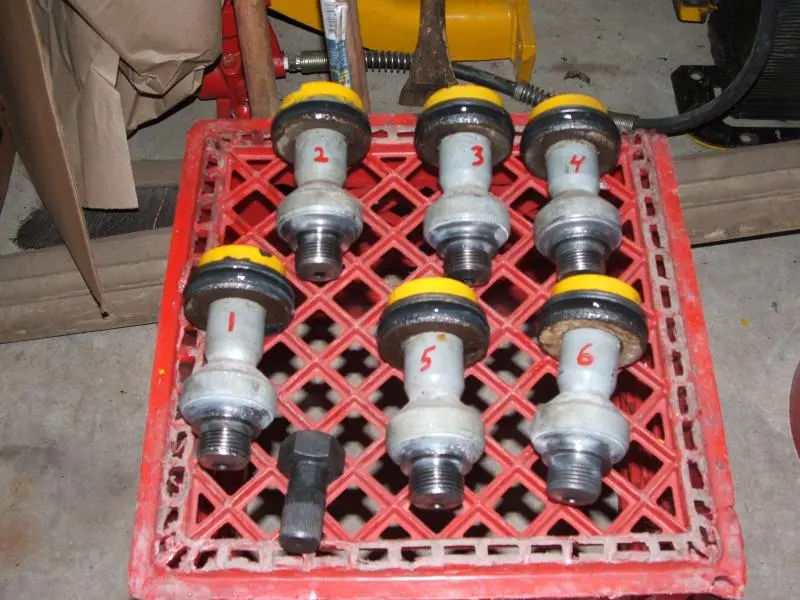
Install with the ferrule rolled edge towards the head.
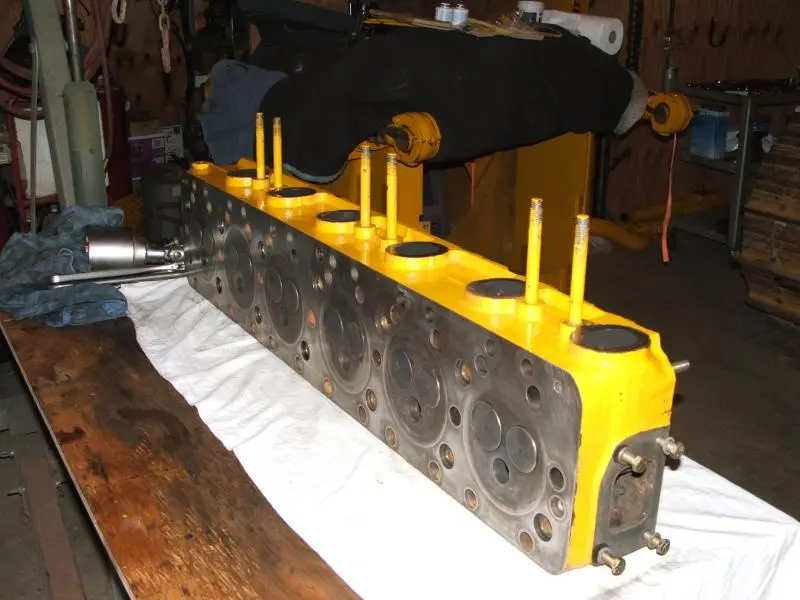
Don't forget to check cylinder sleeve projection.
ok, just wasn't sure and am trying to do everything right this time around, even bought a new core from costex( very happy with quality by the way) compared to the prevous one from general radiator that broke after 100 hrs. caused me to overheat and blow the headgasket.😞crossing my fingers that the head is ok.
Forgive my ignorance,but what would i do about the sleeve projection, when i originally replaced the liner rings, if i remember right i just bottomed them out and figured that the tourque would do the rest am i wrong?
Anti-sieze the prechamber threads and use a light amount of o ring lube on the ferrules. Use some permatex around the right side of the head on the block and head where the pushrods come through. I assume you have all the torque specs also?
Anti-sieze the prechamber threads and use a light amount of o ring lube on the ferrules. Use some permatex around the right side of the head on the block and head where the pushrods come through. I assume you have all the torque specs also?
Was just about to research the tourque specs; read alot of old posts today on sealers and the consensus seemed to be that the # 2 permatex formulation had changed and the next best thing or better was the #300. which remains pliable. Just use it around the outside edge though?
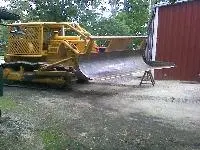
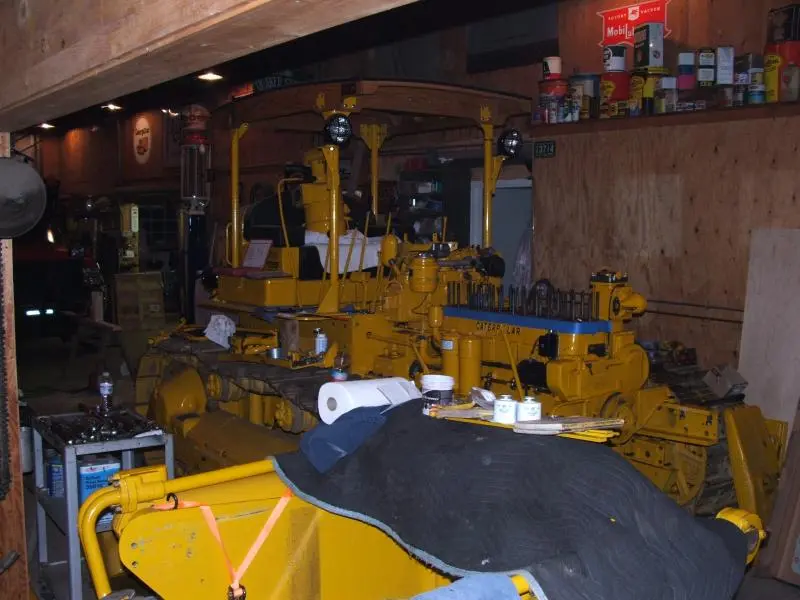
By the way lol your tractor looks great! nice work!
The liners on these aren't too critical but you could check them with a mag based dail indicator, they should be within .004"-.006" in four spots around the liner. if im correct Ole Mag can correct me if not lol


Our channel highlights machines from the earliest Holt and Best track-type tractors, equipment from the start of Caterpillar in 1925, up to units built in the mid-1960s.
Antique Caterpillar
Machinery Owners Club
1115 Madison St NE # 1117
Salem, OR 97301
Terms & Privacy
Website developed by
AdCo
"I became a member recently because the wealth of knowledge here is priceless."
-Chris R