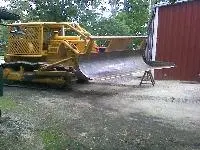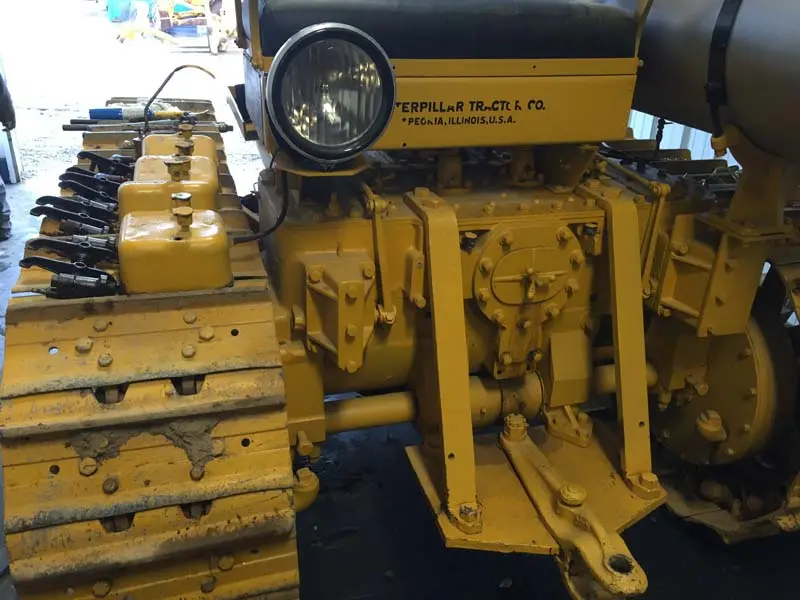
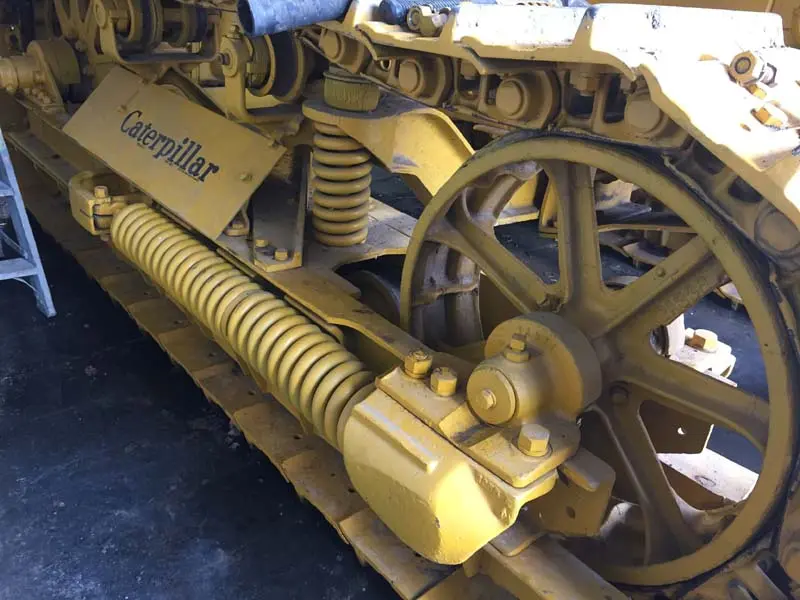
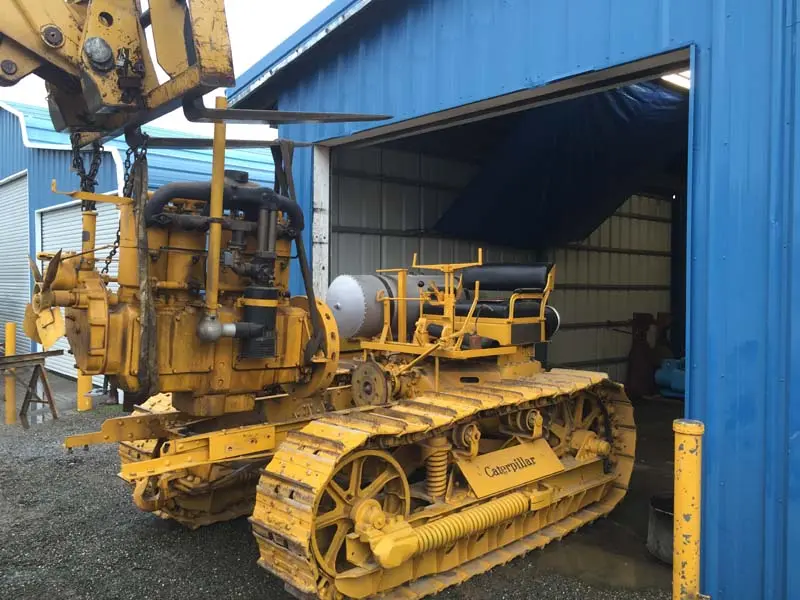
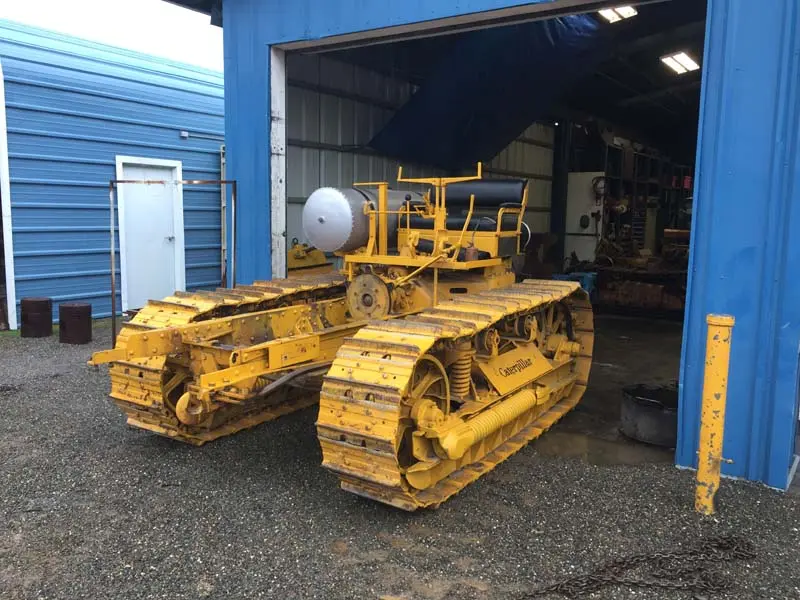
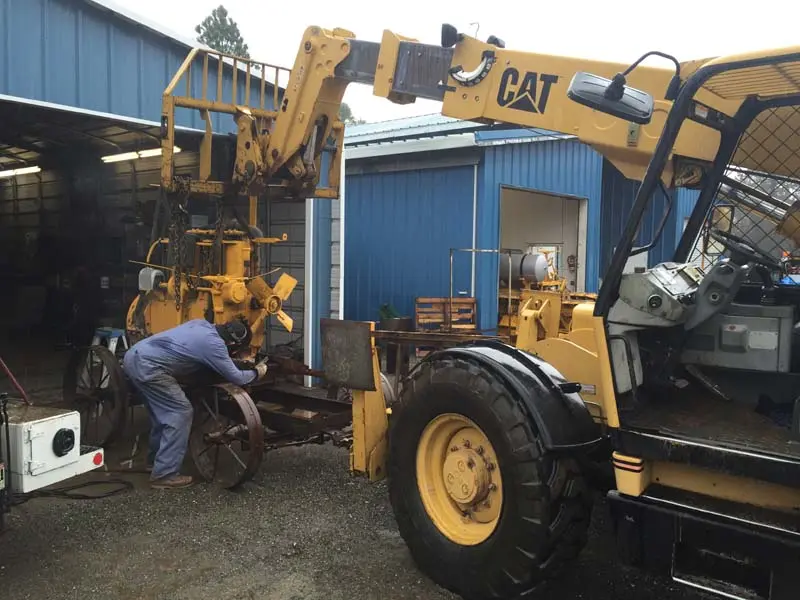
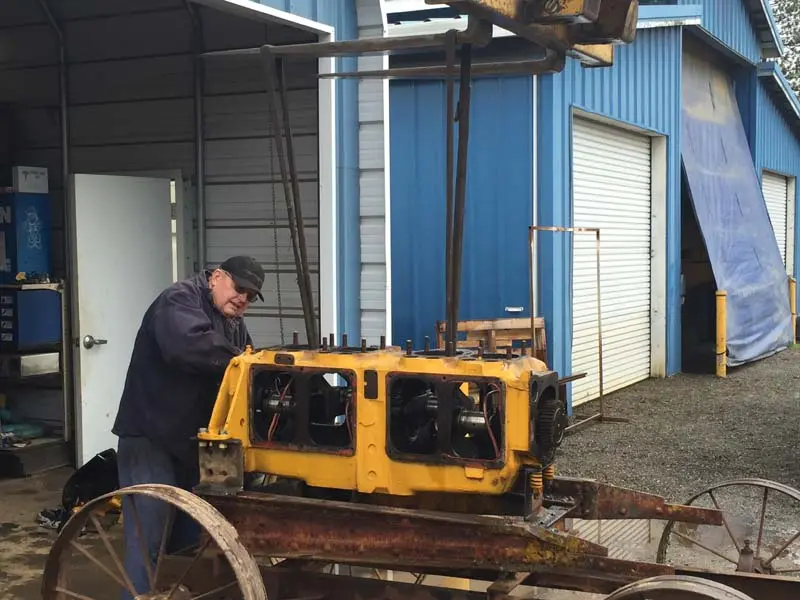
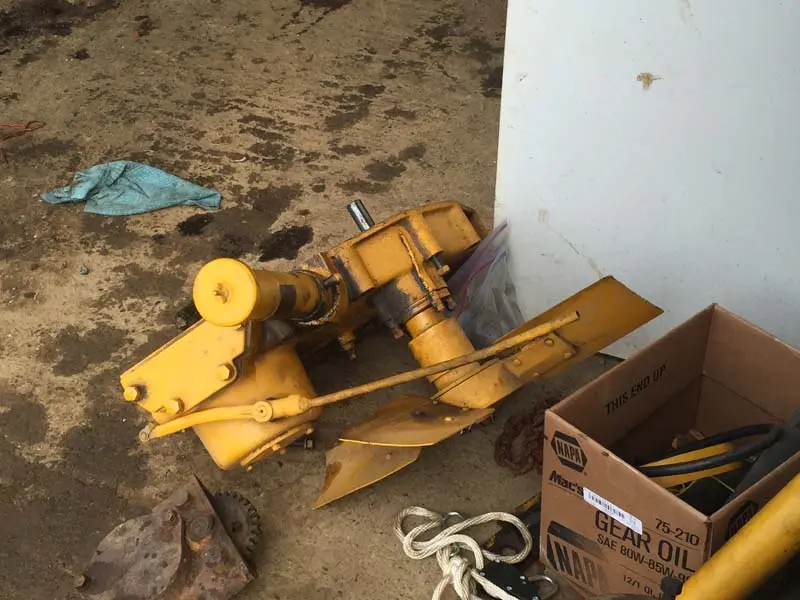
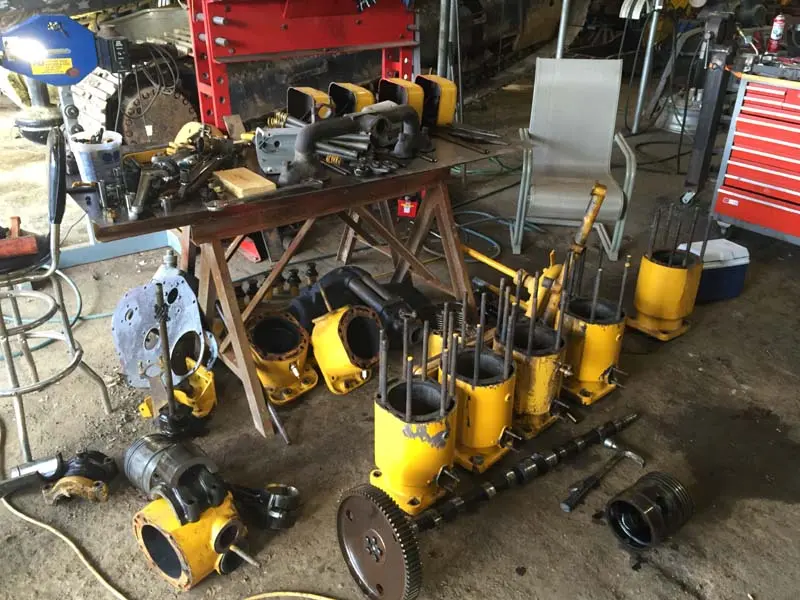
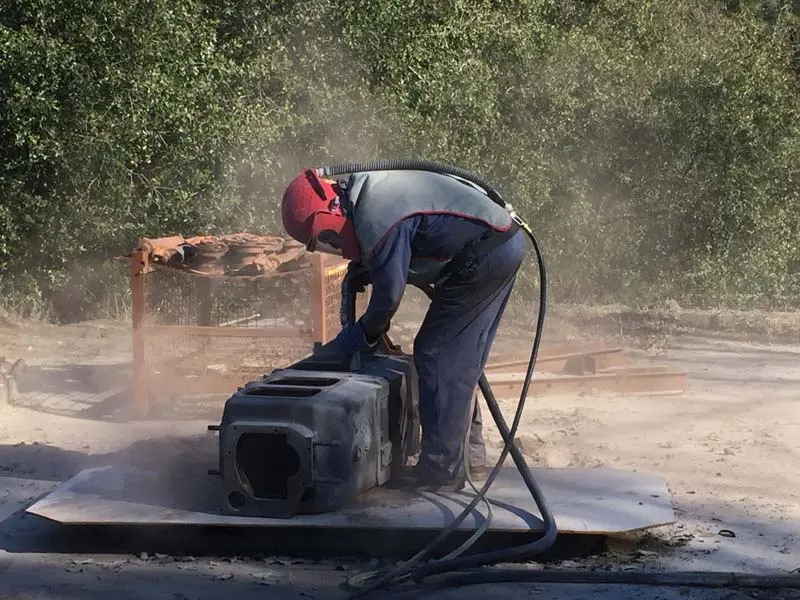
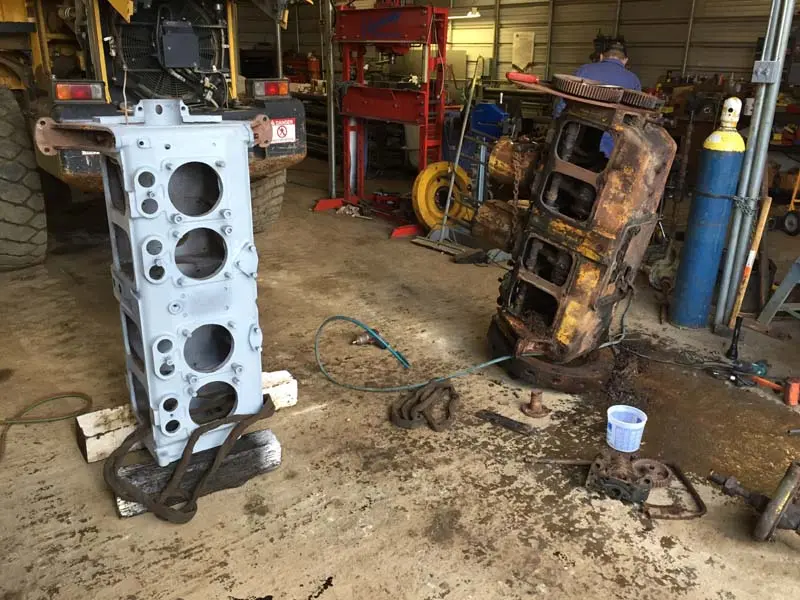
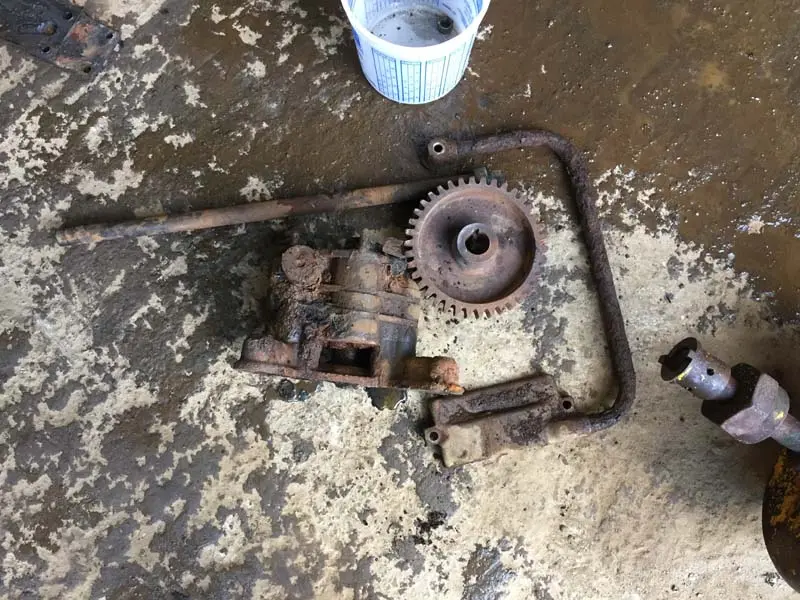
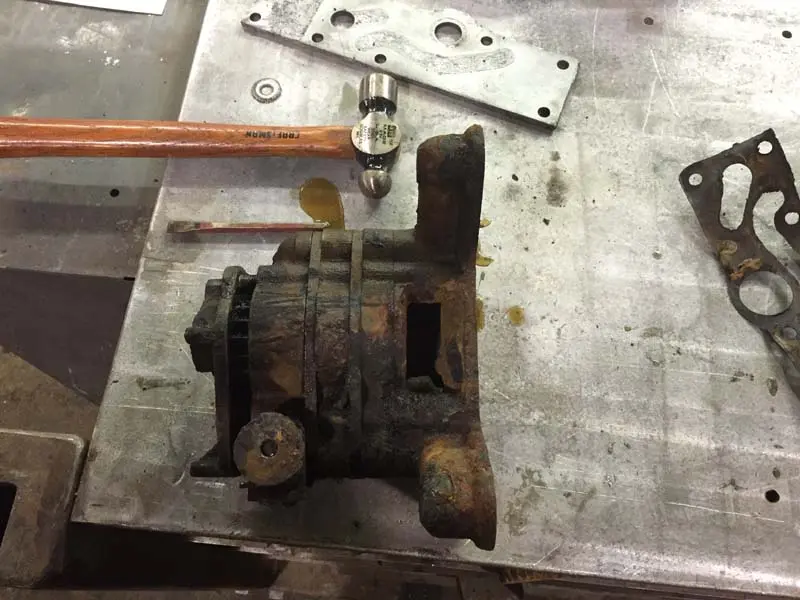
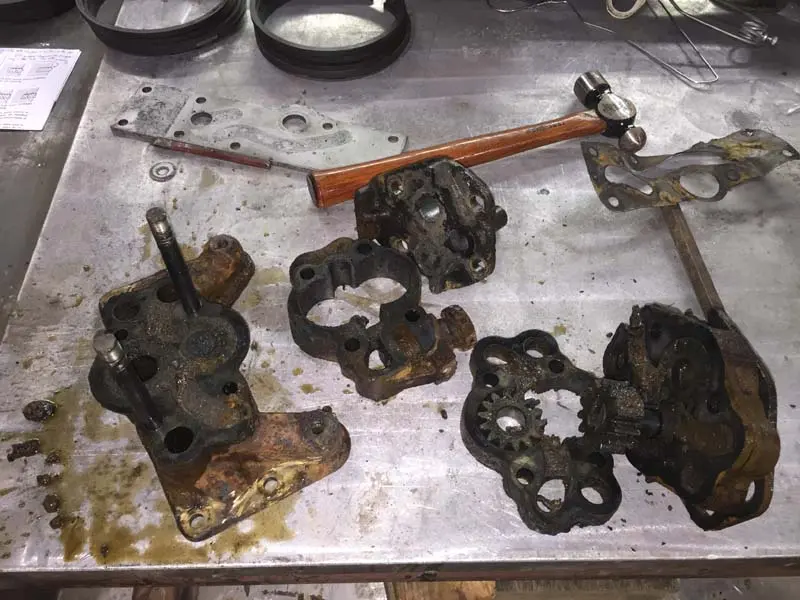
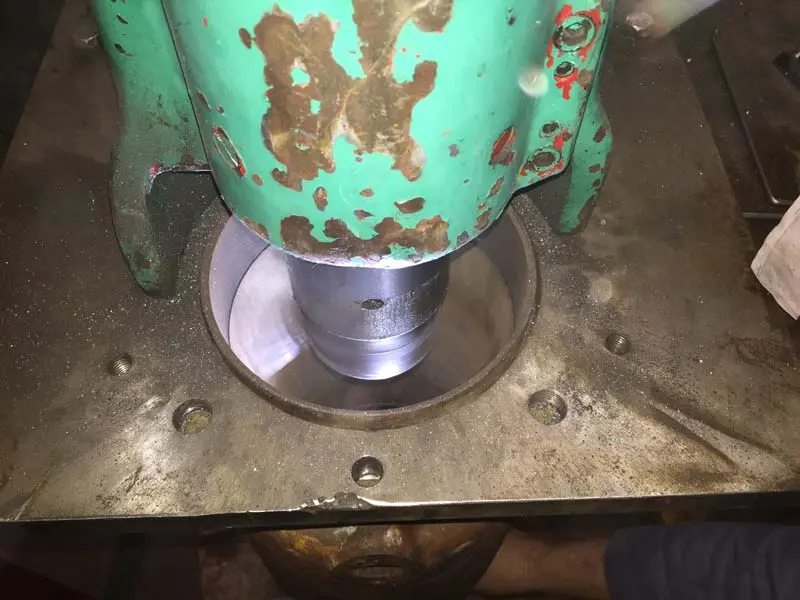
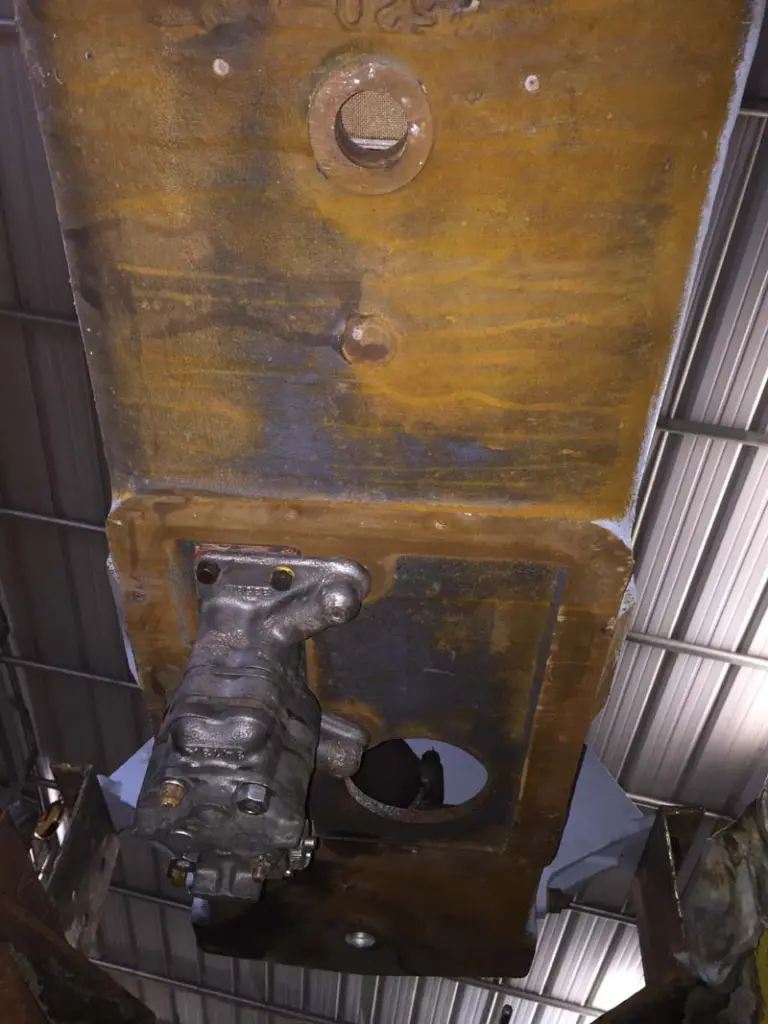
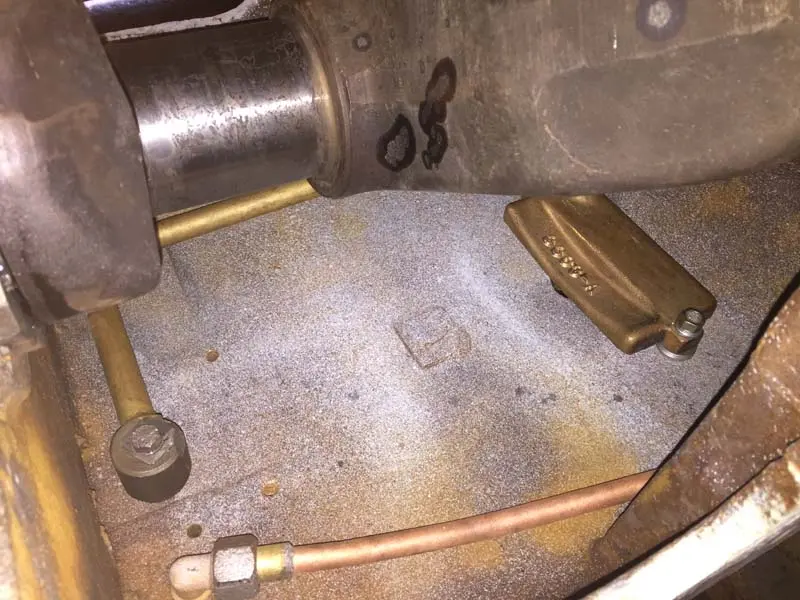
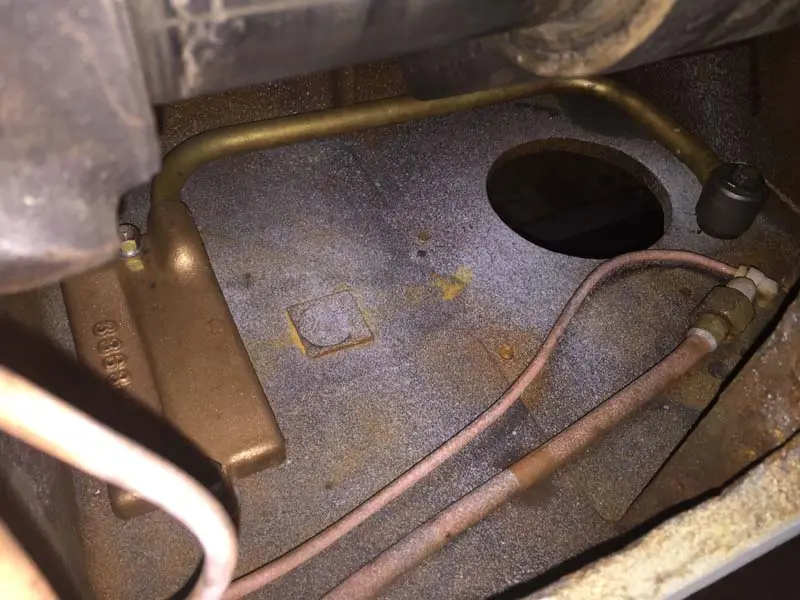
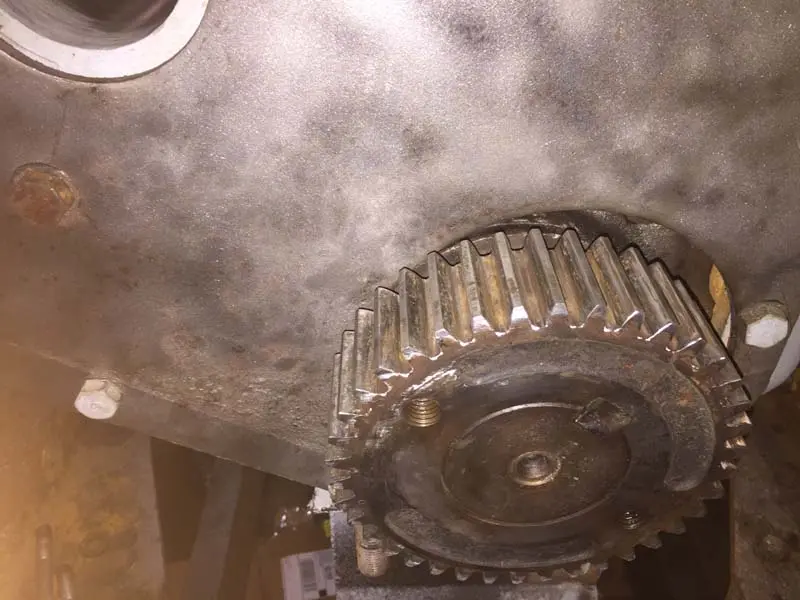
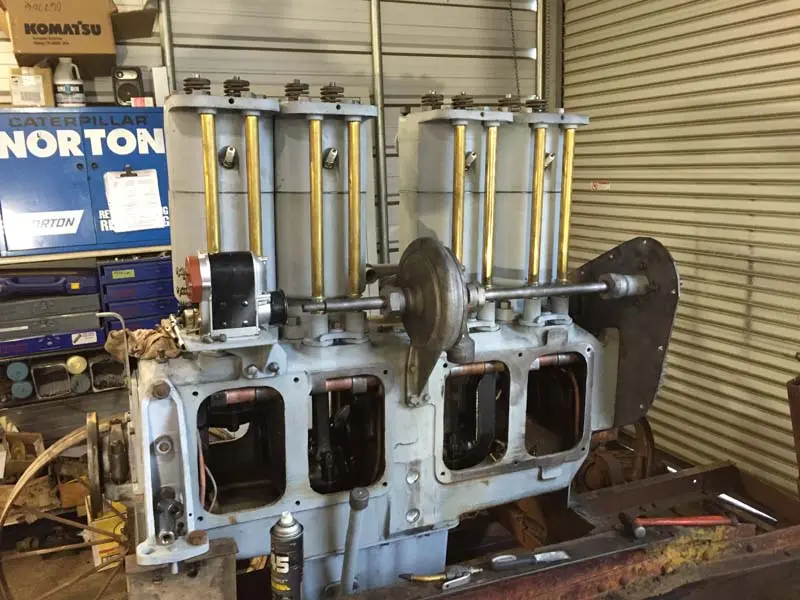
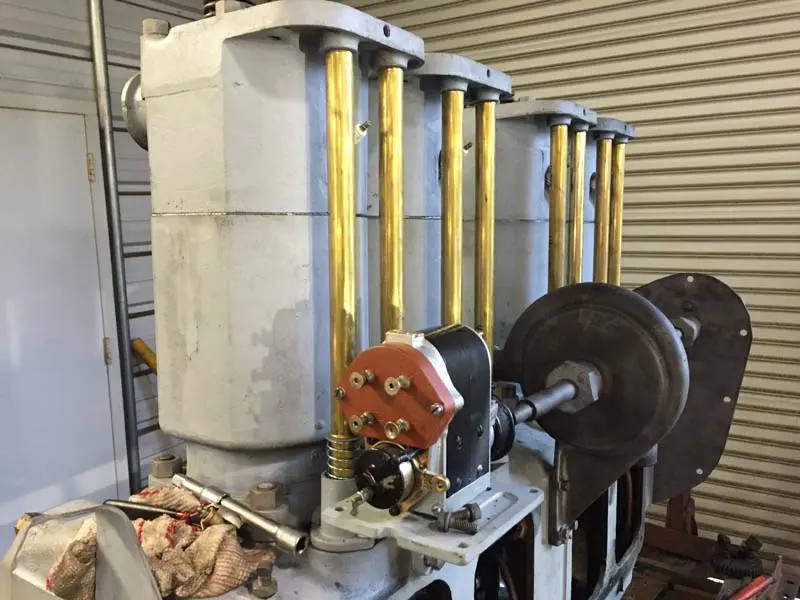
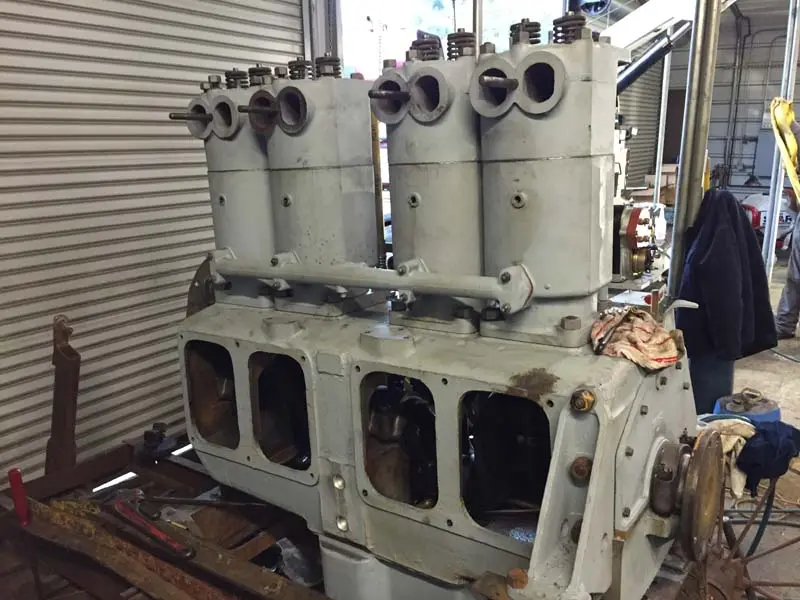
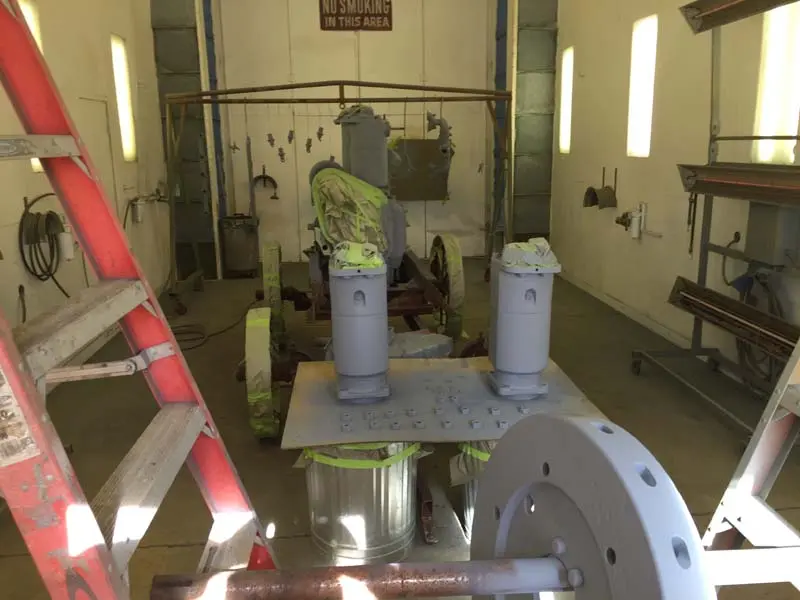
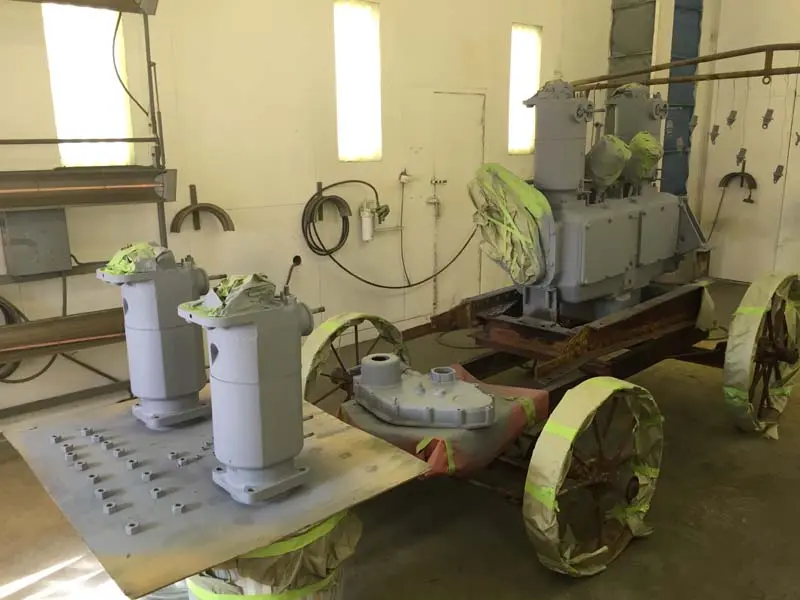
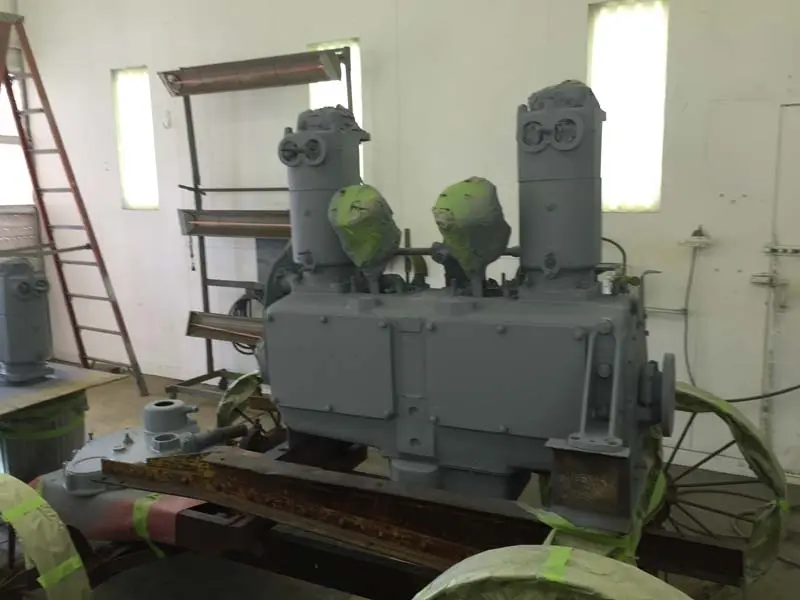
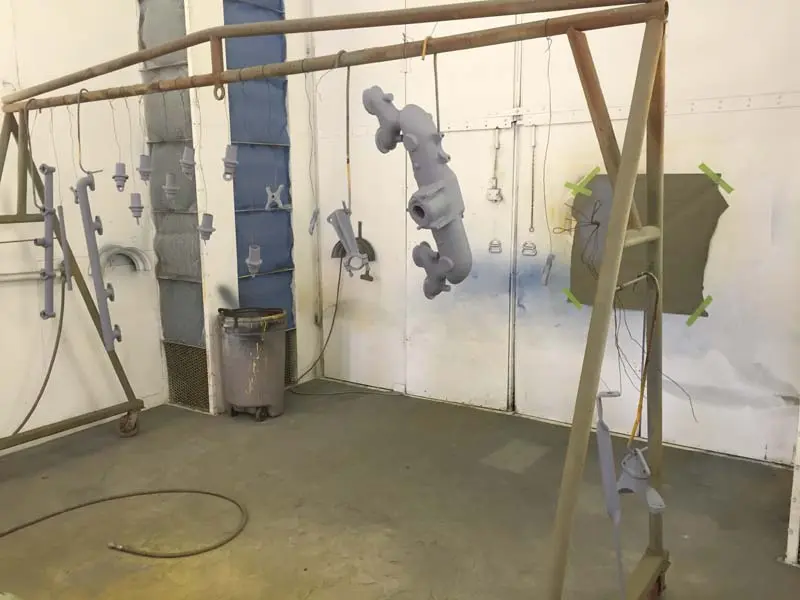
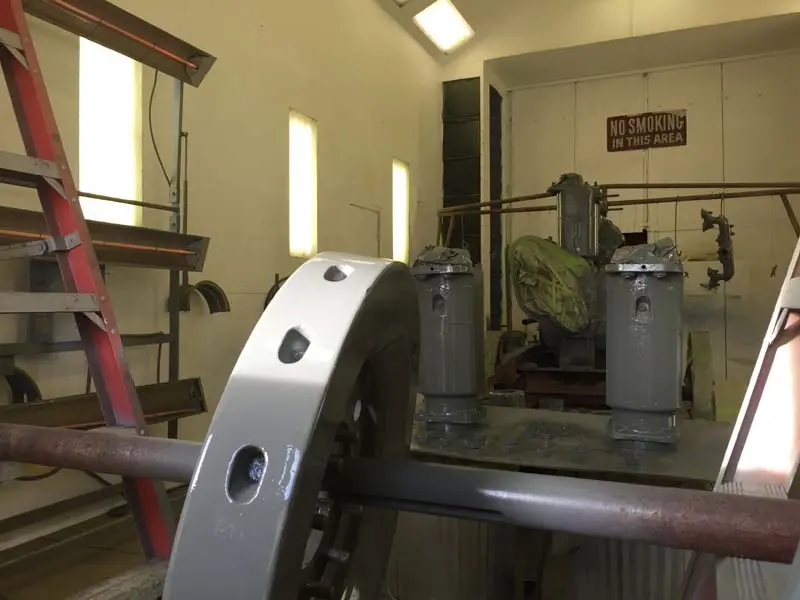
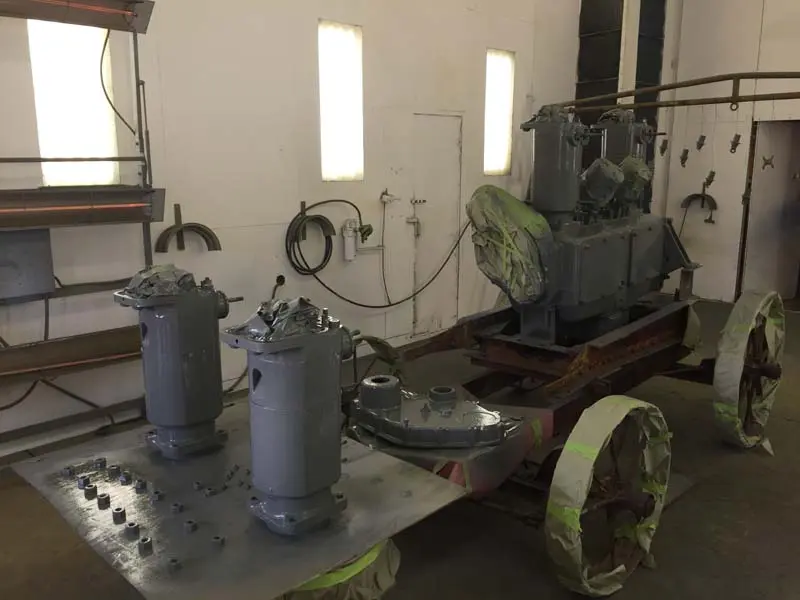
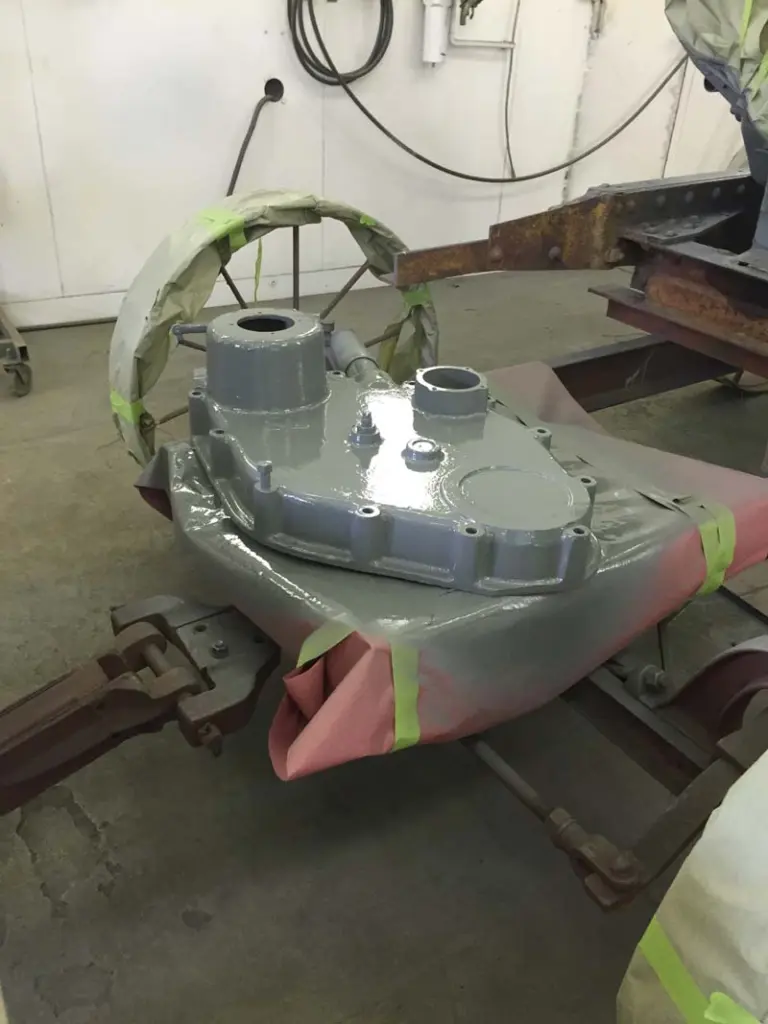
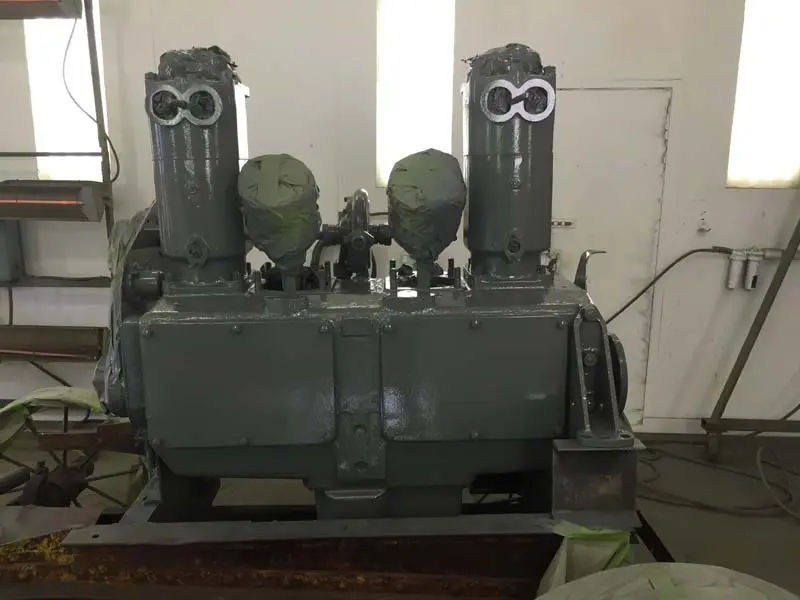
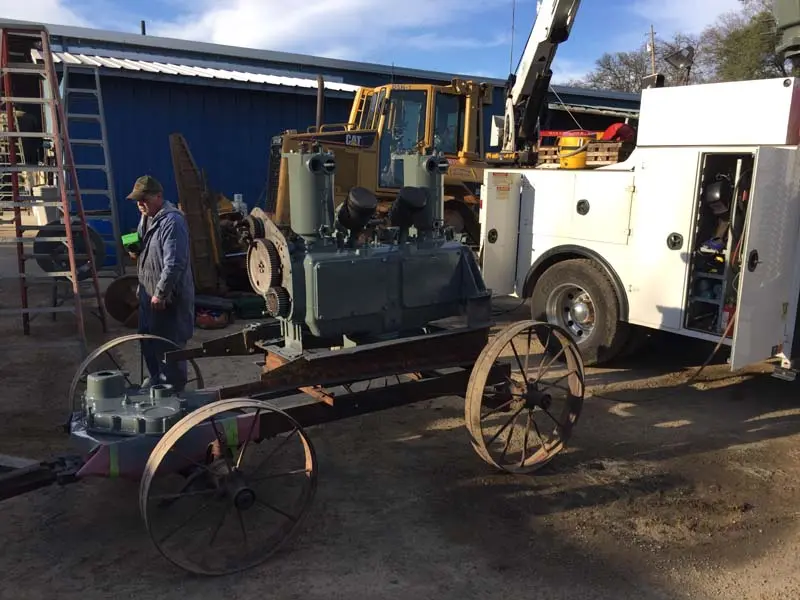
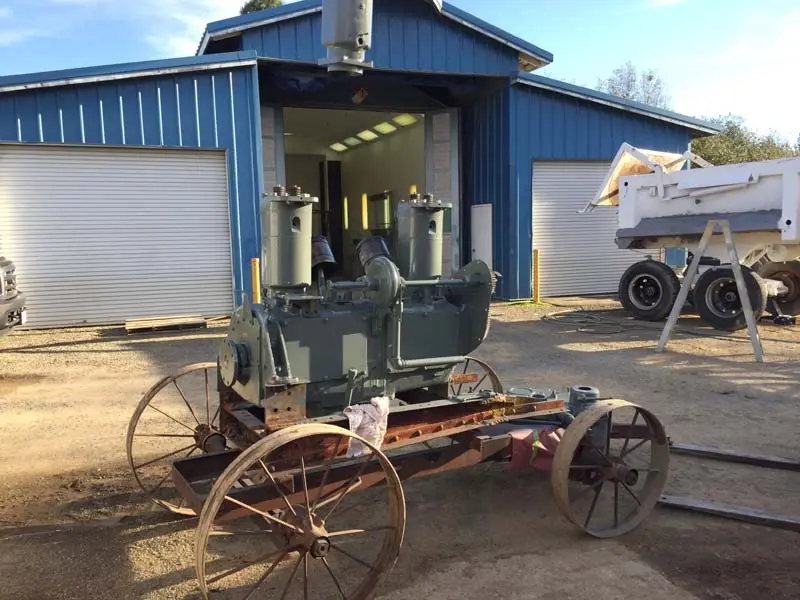
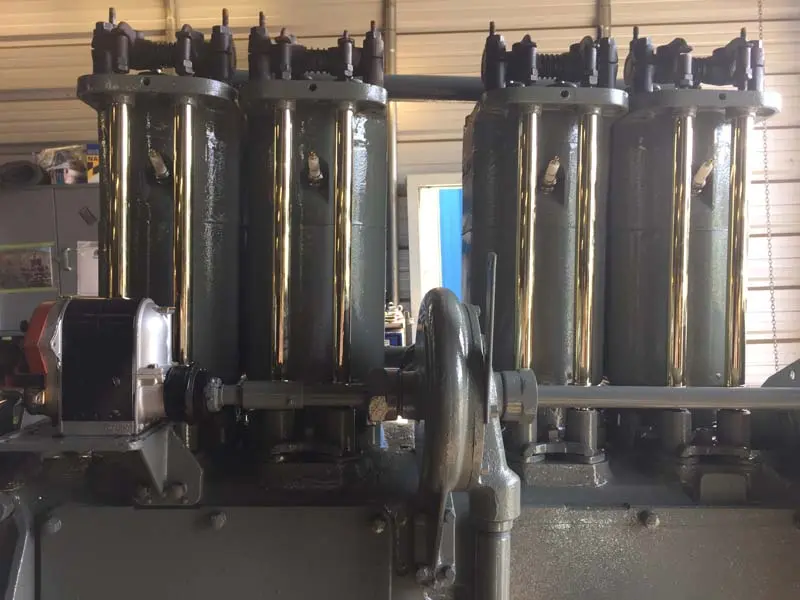
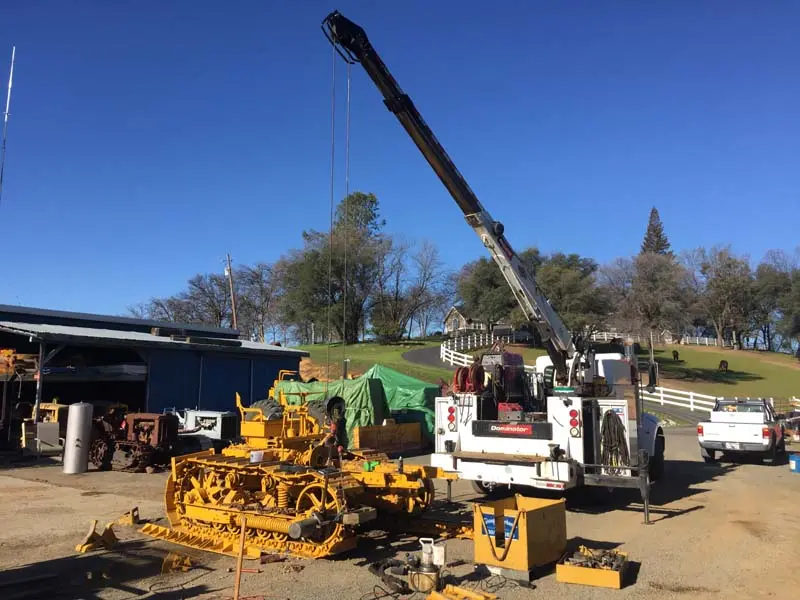
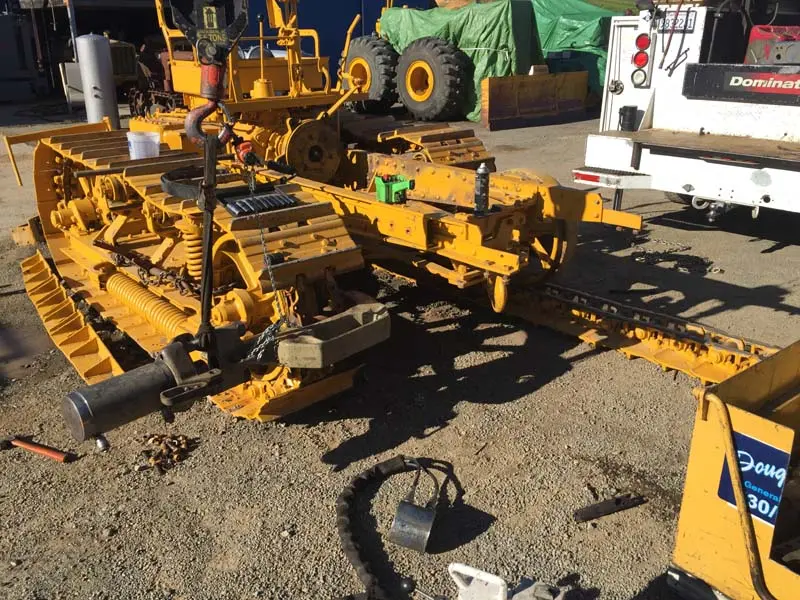
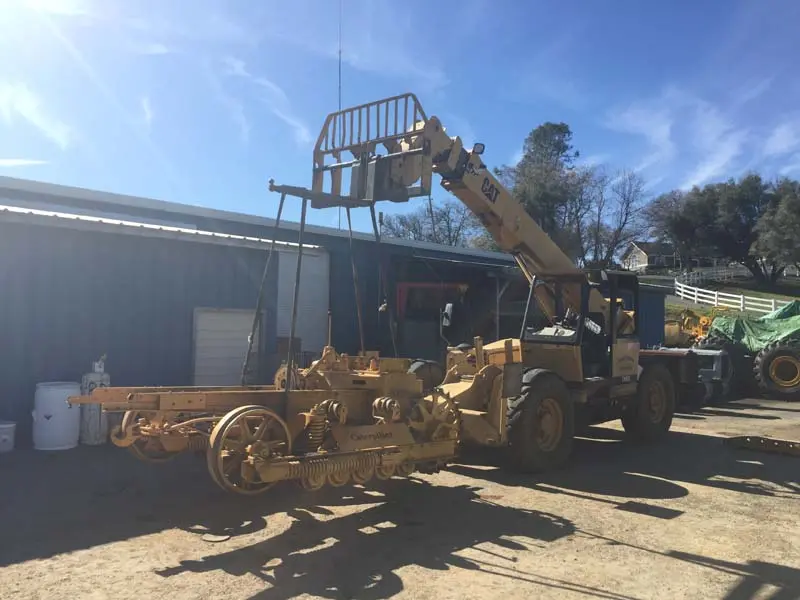
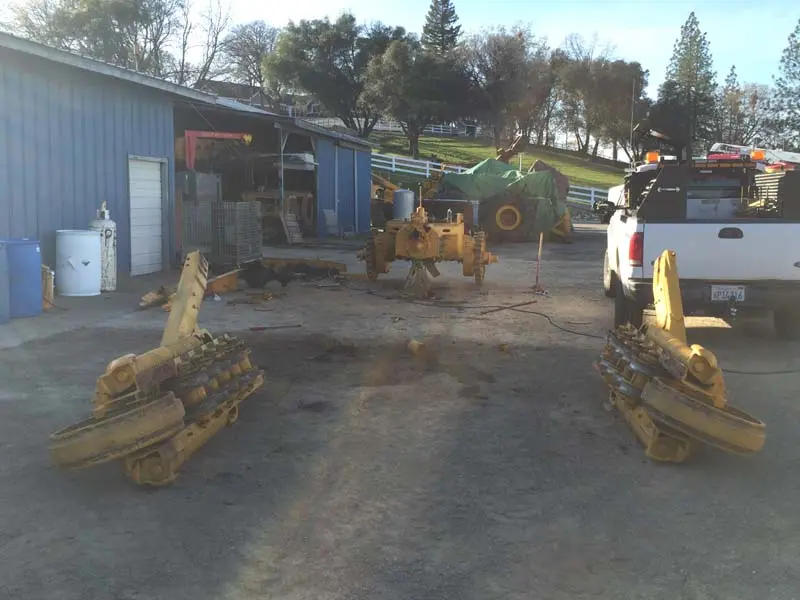
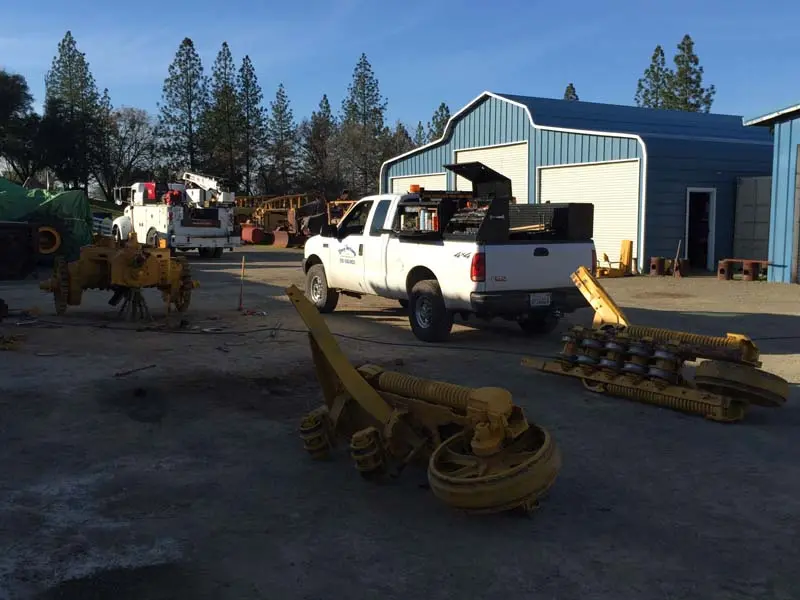
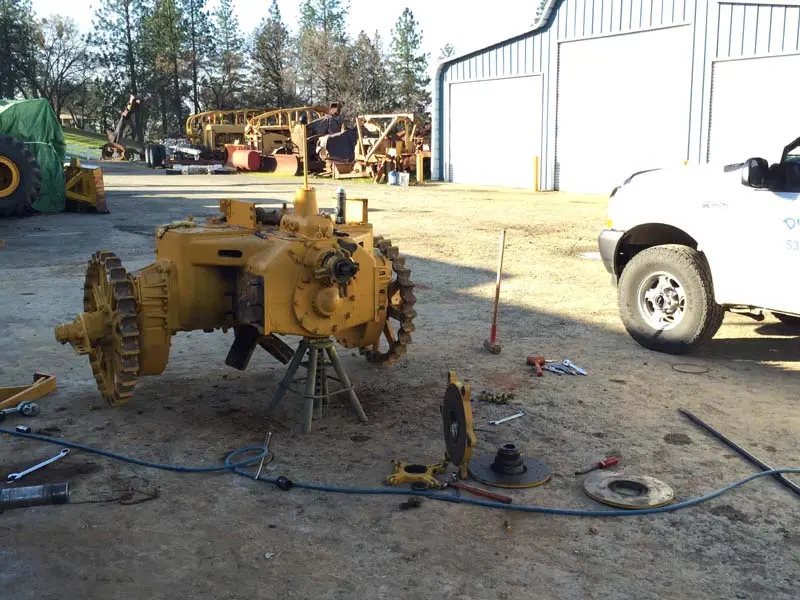


Maybe I could have spit the pics up a little more... But basically they take you from start to finish on the engine removal, disassembly, repair and reassembly. The cylinders were all pretty bad, so they got bored out to .060 over stock, .060 over sized pistons were installed with new rings, and gapped to fit snug. The oil pump was a stock Sixty oil pump (one set of pump gears), and the loggers had a scavenge pump in them (three sets of pump gears). The scavenge pump had two smaller pump gears in them that were connected to pickup tubes that would pickup oil from the from and rear of the crankcase, in the event the Cat was on a steep hill. With this pump installed the loggers could operate on much steeper inclines with no damage to the engine. We had an engine with a scavenge pump in it, so I robbed the pump from it to use for this tractor. The housing was in pretty good shape, albeit a little corroded, but the gears were in pretty sad shape. As luck would have it the main pump gears are the same as a stock pump, so I replaced those from another good pump. The smaller pump gears were were able to find from a gear supply house, as they were a pretty standard size. The pictures inside the crankcase show the new pickup tubes installed and the new three part scavenge pump installed on the bottom. We stripped the block completely down and sandblasted it to begin reassembly. The crank and bearings were all pretty good, and with a little shim adjustment went back together well. I filed down all of the timing gears in front, just to get years of wear and sharp edges cleaned up again to run nice and quiet. The water pump that was on the Sixty was actually an older style Best water pump, so an era correct water pump was substituted and the Best pump was put away for safe keeping! We reassembled the engine to make sure everything fit well and fit all of the rods to the crank. For painting, we removed number 2 and 3 cylinders and heads so we could make sure to get paint on all surfaces. It took me a whole day to just to get everything set up in the booth and cleaned and masked, but I was able to prime and paint everything all at once, which made it nice for reassembly. Once the two cylinders and heads were reinstalled, the new pushrod tubes we made were polished and put back in place, then the pushrods and rockers were installed and valves adjusted. Once the engine assembly was done, it was onto the chassis. Breaking the tracks proved to be a chore. The master pins told me they didn't want to come out, but with a lot of heat and a little hydraulic persuasion, we were able to convince them otherwise!! From breaking track to priming all of the frame parts, it has been a tough 3 weeks or so but every minute has been worth it to me. Now that the post is finally started I will update it more often and hopefully have a finished product to show off soon!
You have a wonderful day. Best wishes. Deas Plant.
Hi, Shawn Stover.
Great stuff and thanks for taking us along on the ride. Lookin' good. Isn't it amazing how little things keep poking their heads up to make a job like that even harder - and more interesting.?
Just my 0.02.
Very cool. Looks great:whoo: Keep up the great work
Very cool. Looks great:whoo: Keep up the great work
Very cool. Looks great:whoo: Keep up the great work
Thanks for sharing the story with lots of good photo's, having the right equipment makes a tough job a lot easier, keep up the good work, she will look great when you are finished.
Mike
Awesome work! Look forward to the rest of story :usa2:
Wow, nice attention to detail ! I can't wait to see the rest of the build . I wonder if you are running the high altitude heads , I haven't heard one of them running hard yet . Looking fantastic, you can have all the tools and equipment in the world but it won't turn out without knowledgable and dedicated men like your self . Thanks for the post Shawn !

Wonderfull job boys! ,,,I look forward to calling in to see you all again , hopefully later in year ...do you think you will do the cruiser hood ,like some had?? Regards pete.[attachment=34317]BEST Cruiser 001.jpg[/attachment]


Our channel highlights machines from the earliest Holt and Best track-type tractors, equipment from the start of Caterpillar in 1925, up to units built in the mid-1960s.
Antique Caterpillar
Machinery Owners Club
1115 Madison St NE # 1117
Salem, OR 97301
Terms & Privacy
Website developed by
AdCo
"I also joined a year ago. had been on here a couple of times as a non-member and found the info very helpful so I got a one year subscription (not very expensive at all) to try it out. I really like all the resources on here so I just got a three year. I think its a very small price for what you can get out of this site."
-Jason N