Could you show a picture of your rim?
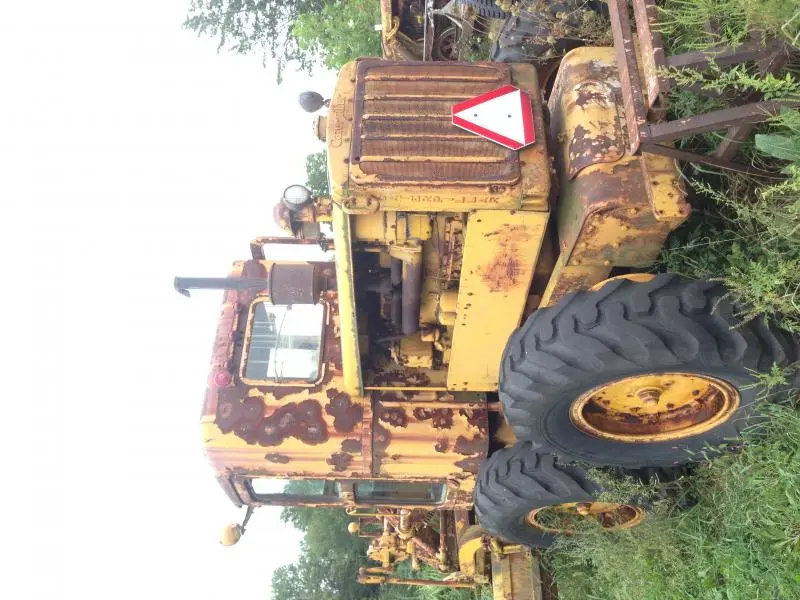
Caterpillar never used spit rims. They did use multi-peice
demountable wheels like most heavy equipment did back when.
Even better!
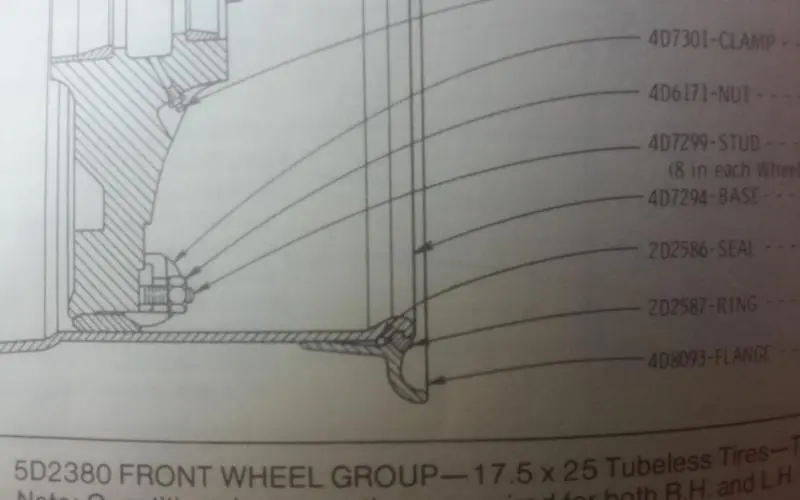
No monkeying with the separate lock ring, o-ring, grease etc. I think you will have a removable flange ring with a split in it so it can be pried open and off the rim after you drive the bead down off of the tapered bead seat.
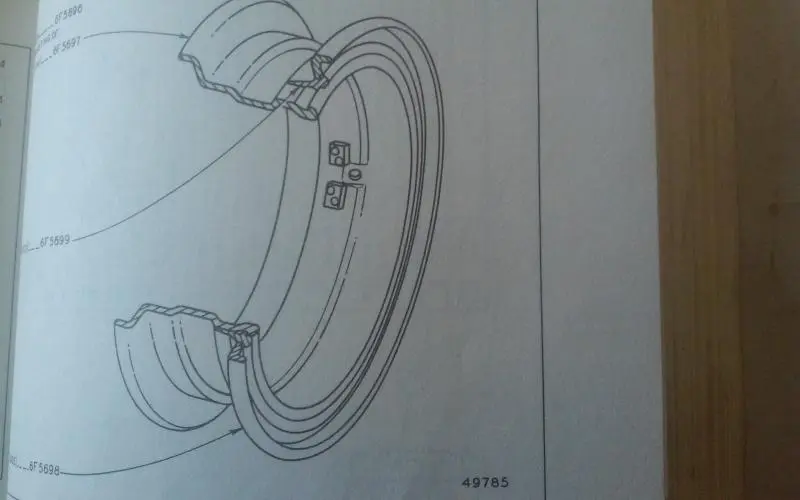
I was looking through my 12e grader parts book for diagrams showing the different wheels available and I saw this one for tube type wheels. It is different from any i have ever seen. I doubt it is what you have since it would obviously have 2 separate rings instead of one, but I thought I would post it just in case. Looks like the split inner ring that the tire bead compresses into the retaining groove on the rim base is also restrained by a complete circle of the removable flange that slips over it.


Our channel highlights machines from the earliest Holt and Best track-type tractors, equipment from the start of Caterpillar in 1925, up to units built in the mid-1960s.
Chapter Nineteen
| Wheatlands Warracknabeal Agricultural Museum 34 Henty Highway, Warracknabeal 3393Chapter Nineteen
| 1234 Carngham - Lake Goldsmith Road Lake Goldsmith VIC 3373Chapter Two
| Folds Farm, Godshillwood, Fordingbridge, Hampshire, SP6 2LU
Antique Caterpillar
Machinery Owners Club
1115 Madison St NE # 1117
Salem, OR 97301
Terms & Privacy
Website developed by
AdCo
"I also joined a year ago. had been on here a couple of times as a non-member and found the info very helpful so I got a one year subscription (not very expensive at all) to try it out. I really like all the resources on here so I just got a three year. I think its a very small price for what you can get out of this site."
-Jason N