We've had this discussion before and the conclusion was: The magnetic drain plugs are part # 8M3837 and the non magnetic are #6B5262.
Both are 1-1/8 x 12tpi and use the same 6K5551 gasket.
Many thanks. As a new member I haven't learned the protocol of the site but will try as time goes on.
The 8M3837 magnetic plug is the correct plug for your machine according to SIS. Apparently there are 5 on the steering clutch case.
Also keep in mind these plugs are sometimes removed to hide a leaking seal issue.

The plugs were some of the missing items when I got the machine. I just replaced all of the recoil group on the left side, and replaced steering clutch group on same. Still haven't found the location of the plug in my parts book (from Jen-Sales). I'm just setting up to do pressure readings for the clutch servos as soon as the adapters arrive. This machine had the bejusus beat out of it with little or no maintenance. Just resealed the 6-way blade cylinders and working on the blade ball mount assembly which was missing the trunnion cap, broken and welded mounting bolts and all. Hoping to find replacement sheet metal covers for the left side which are also missing. Little by little it's coming back to life! Thanks, -Tom
iowahill what is the liquid in the pot to boil the rust off? I have never seen that before, looks like plenty of items to keep you busy on the list of to do.
iowahill what is the liquid in the pot to boil the rust off? I have never seen that before, looks like plenty of items to keep you busy on the list of to do.
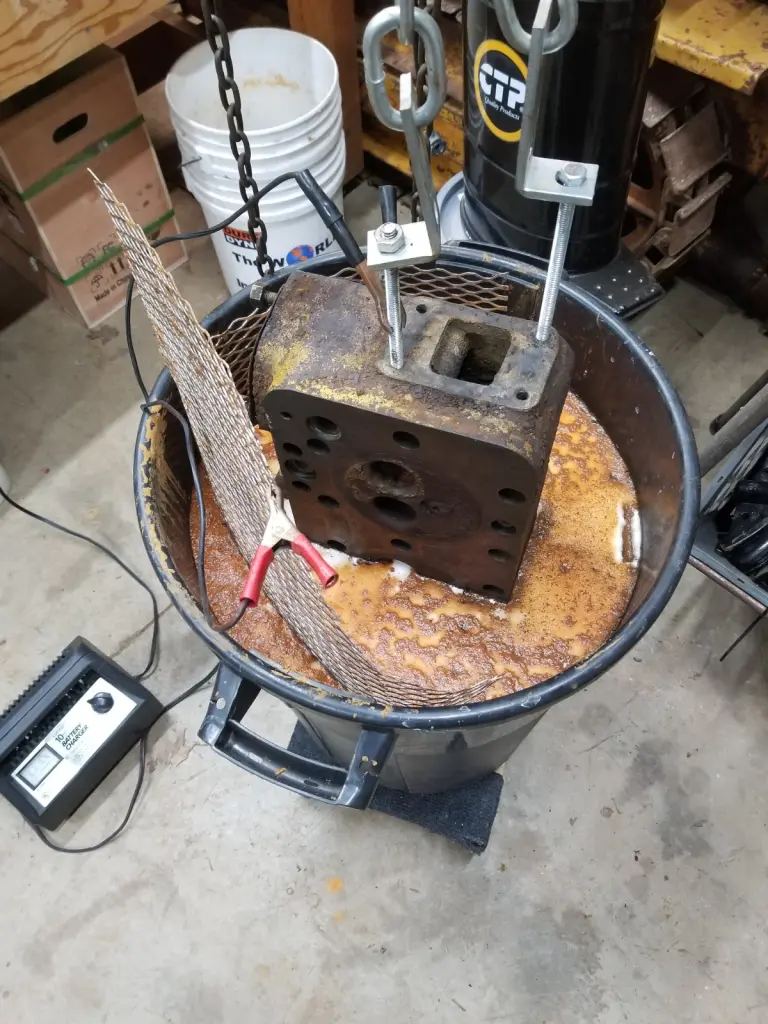

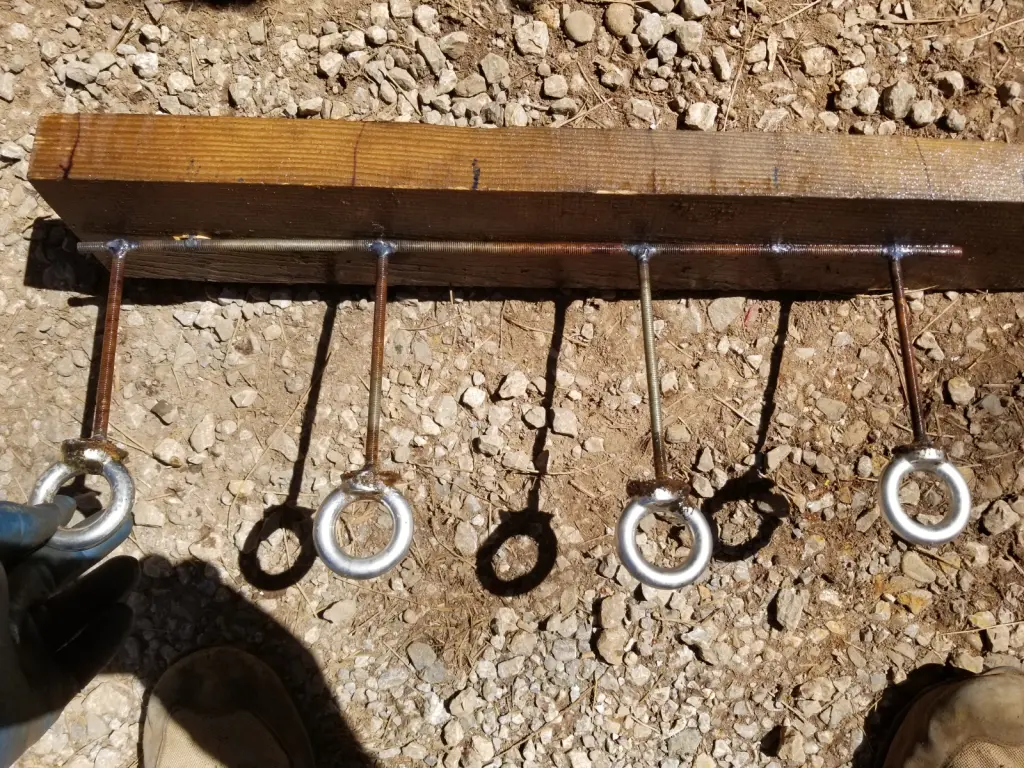
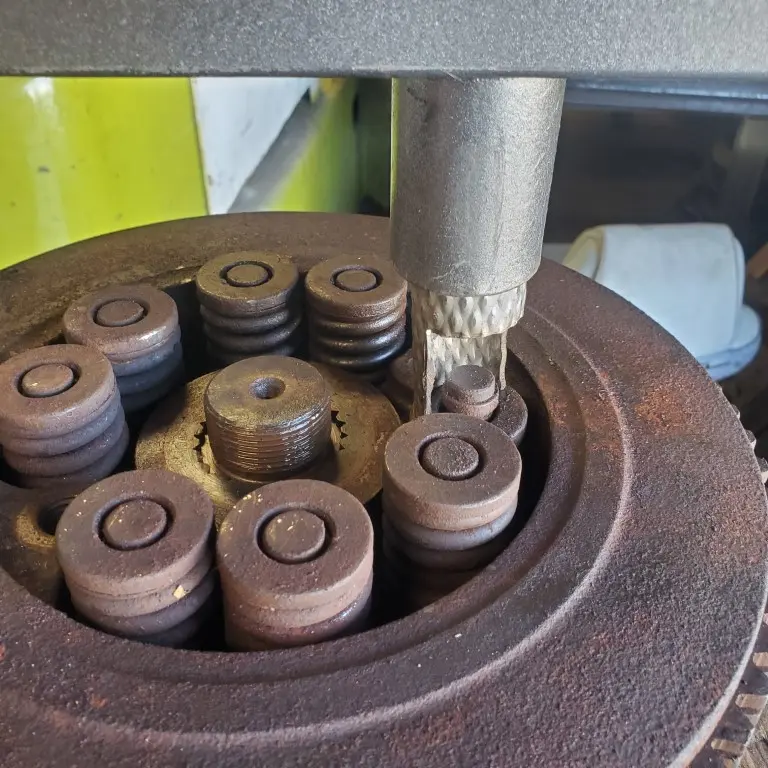
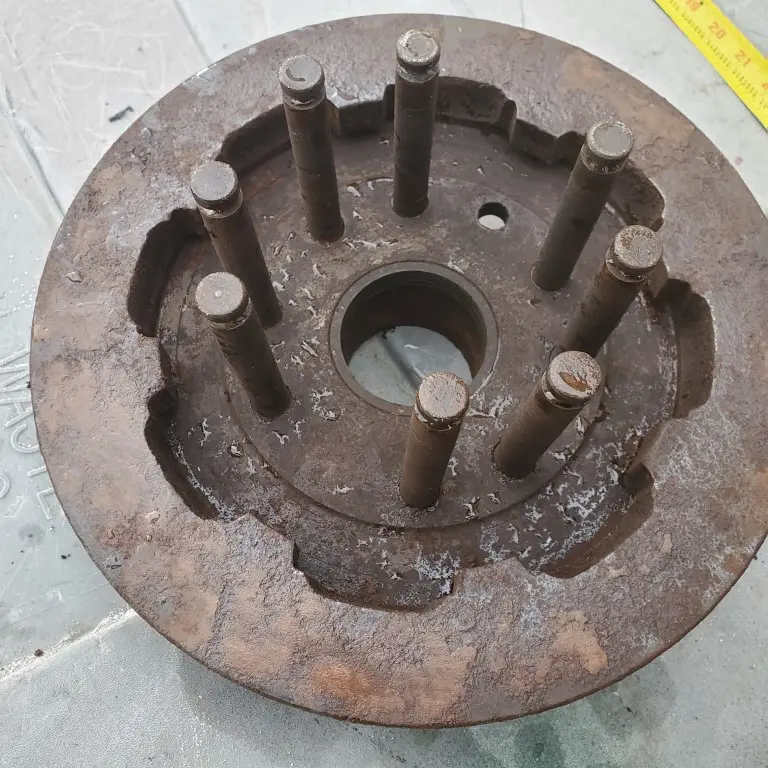
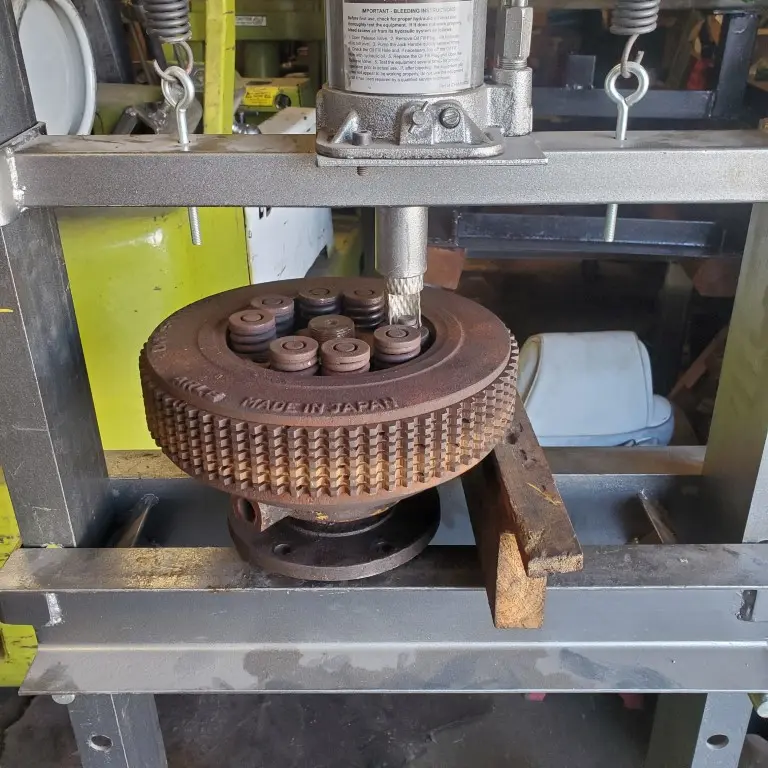
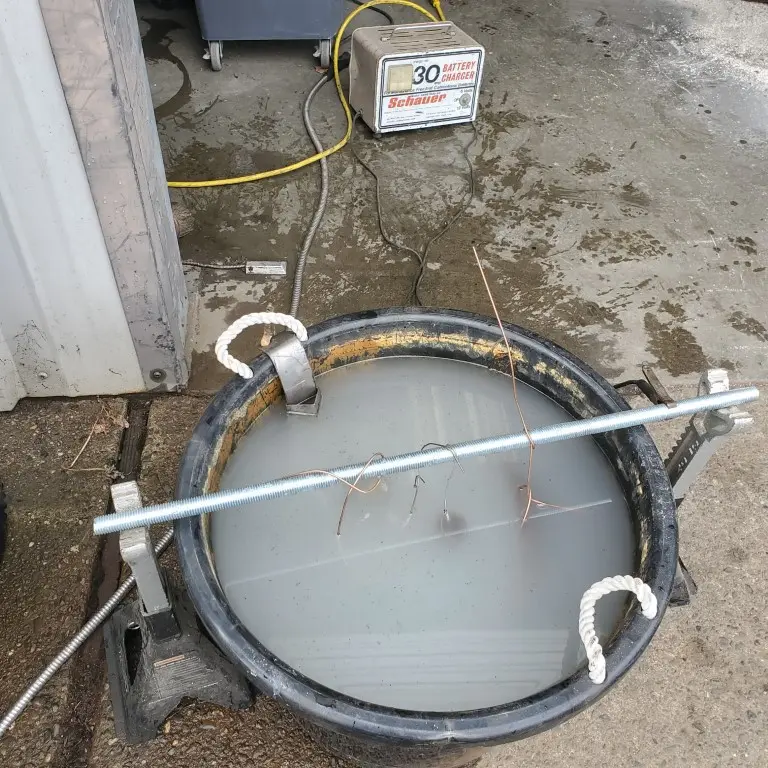
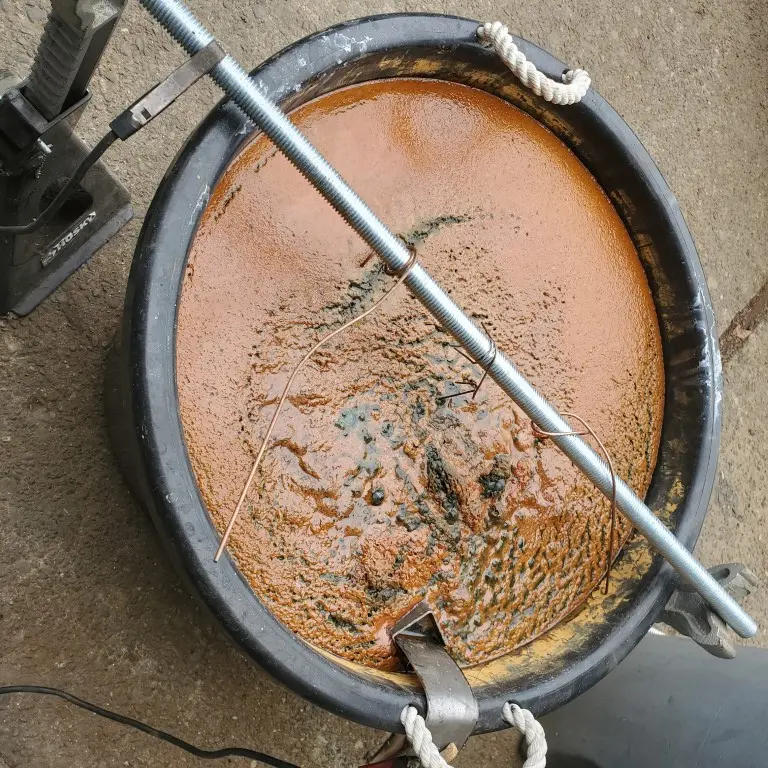
That pot of liquid is an electrolysis setup consisting of water, some washing soda and an old school (non electronic) battery charger. There are other methods and videos on YouTube.
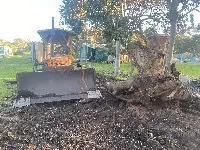
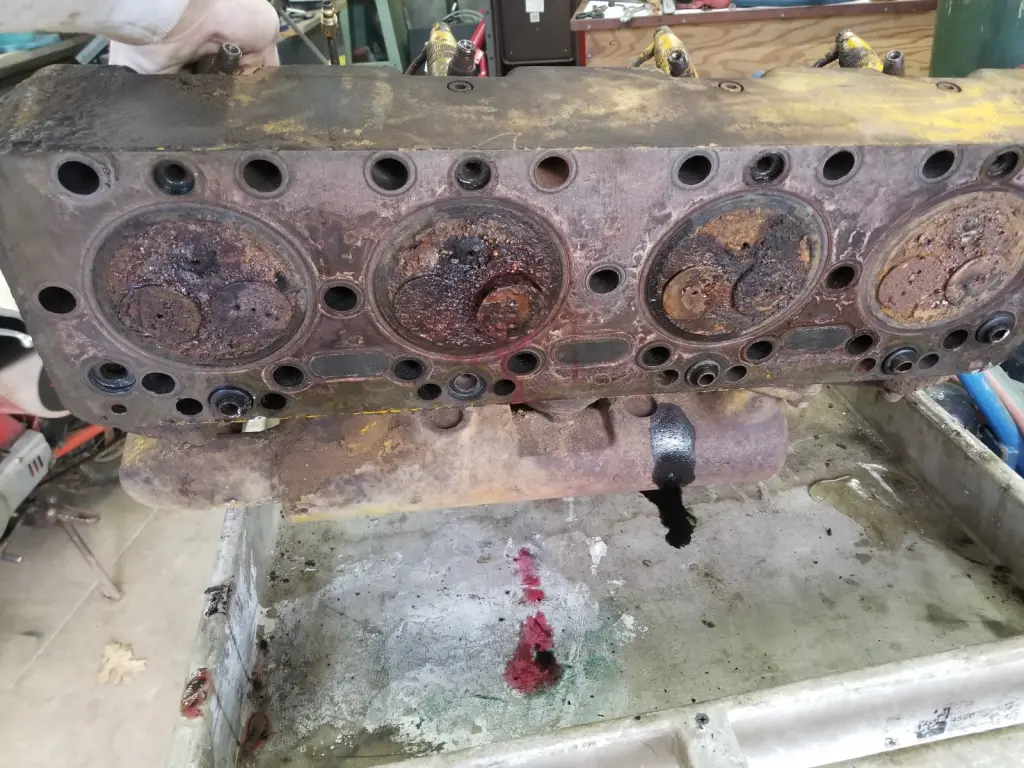
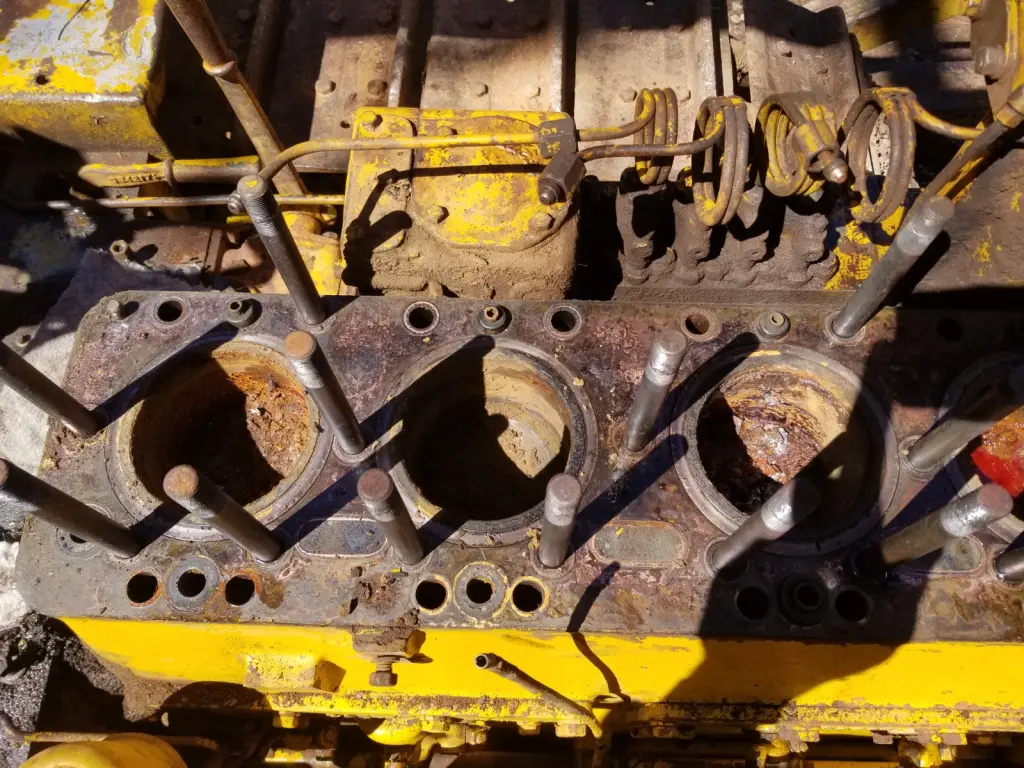
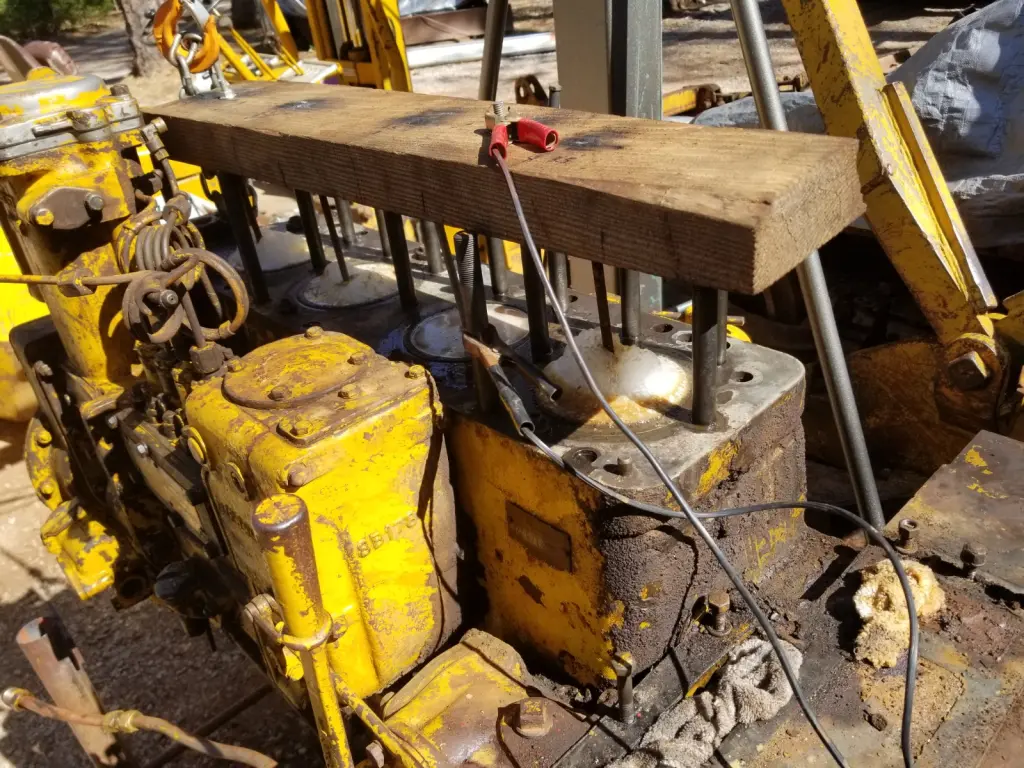
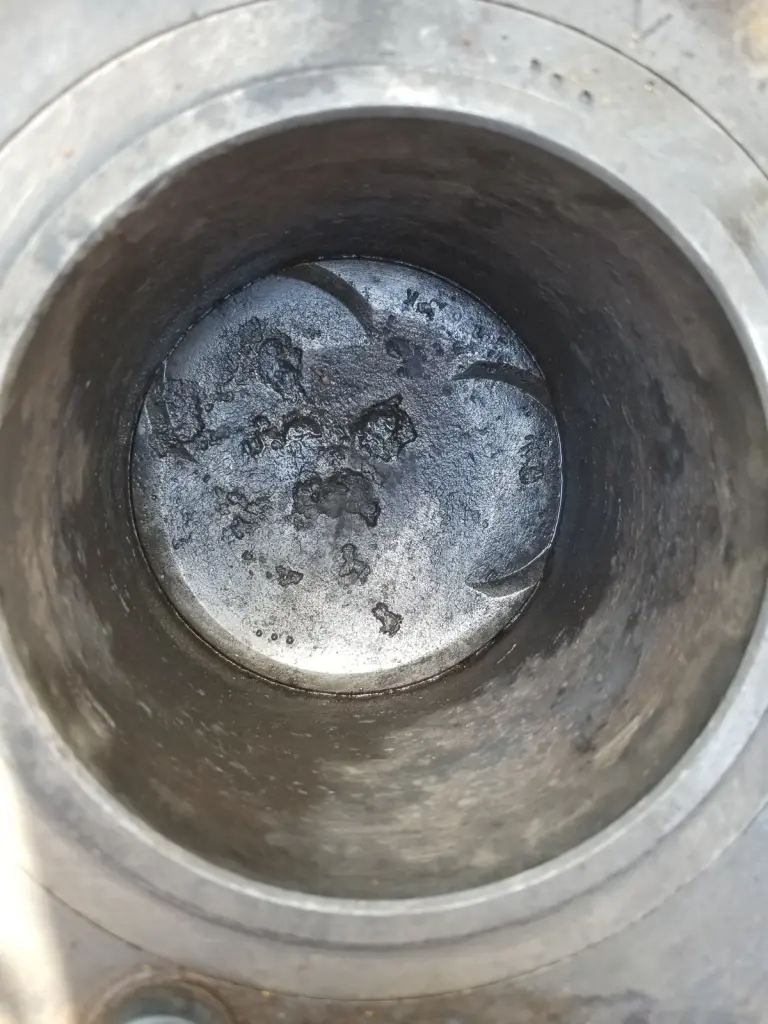
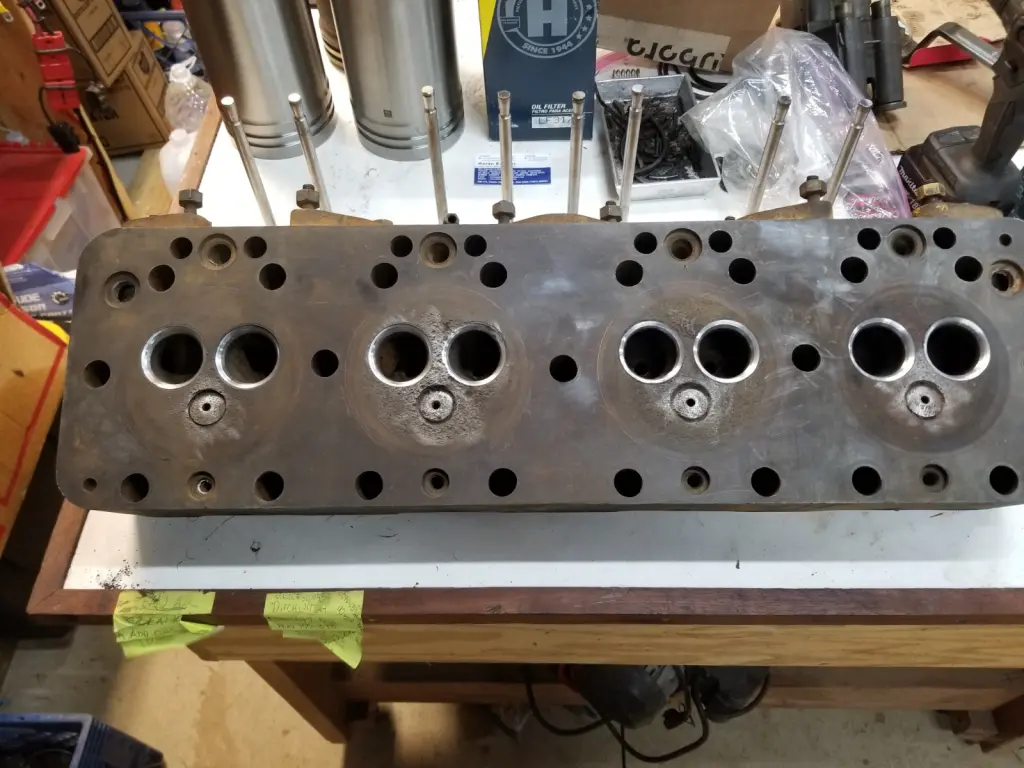
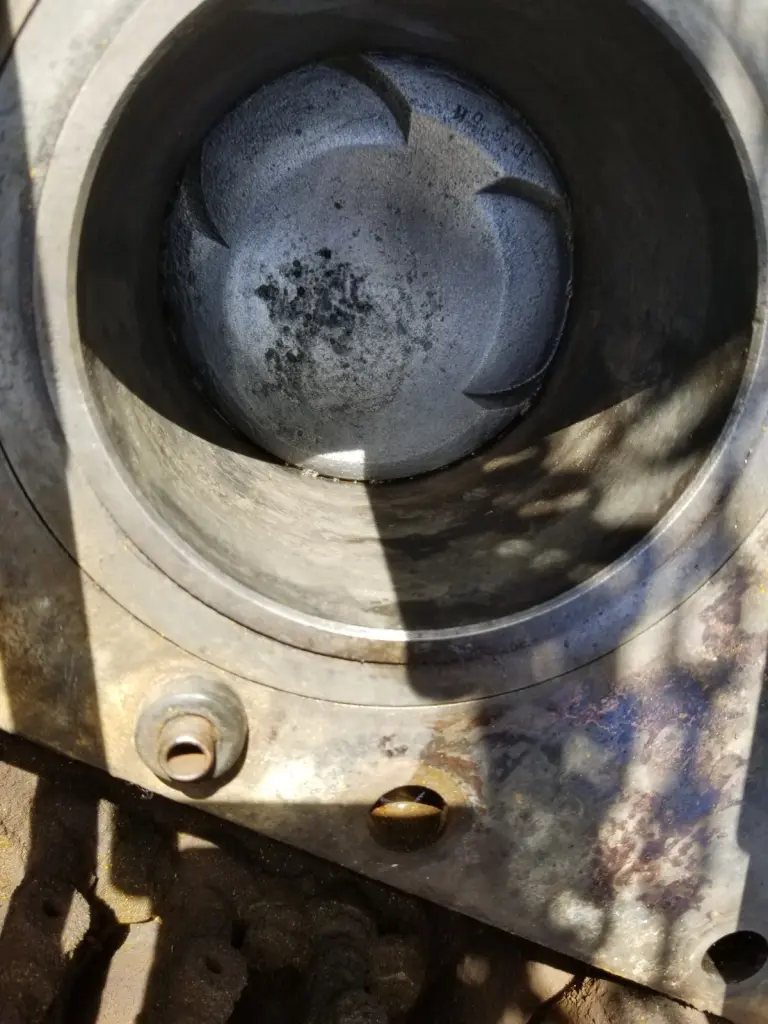
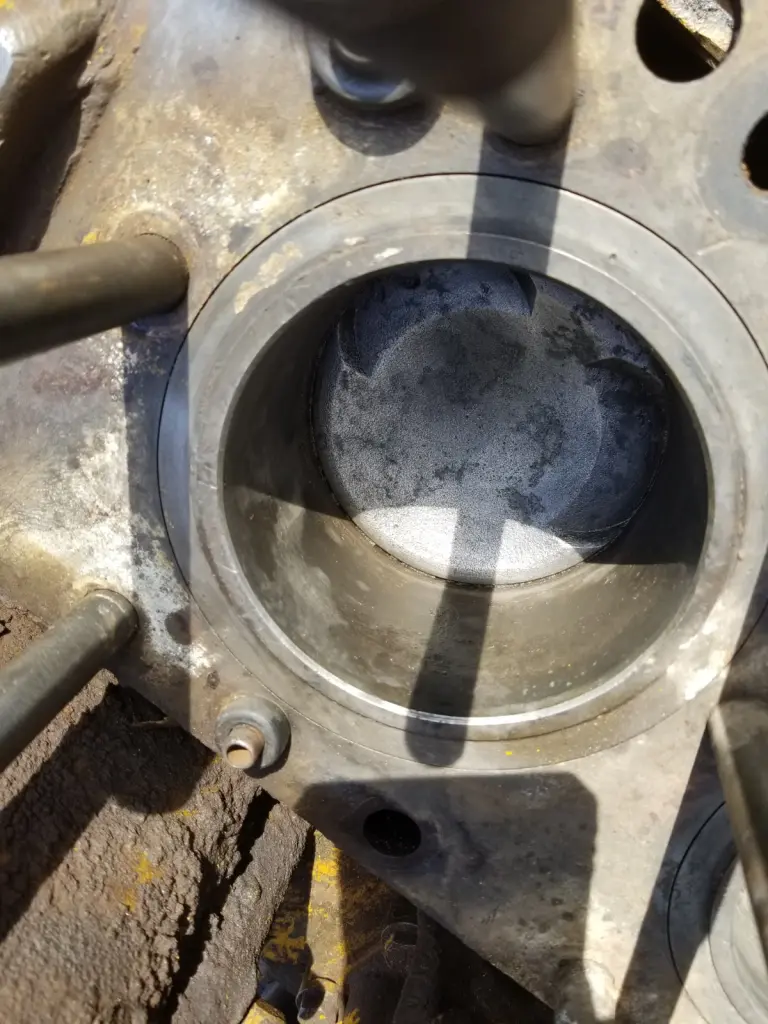
I have used electrolysis with impressive results on many things. I managed to resurrect a D4 2T in the pictures below. All new liners a few rings to replace the broken ones and a valve job on the head, that's it and now she's a runner.
CrawlerAddict
[attachment=77926]20240331_161025.jpg[/attachment] [attachment=77925]20240407_184656.jpg[/attachment] [attachment=77933]20240725_175548.jpg[/attachment] [attachment=77927]20240401_140440.jpg[/attachment] [attachment=77928]20240409_153015.jpg[/attachment] [attachment=77932]20240409_141956.jpg[/attachment] [attachment=77929]20240410_103252.jpg[/attachment] [attachment=77931]20240410_103259.jpg[/attachment] [attachment=77934]20240410_103303.jpg[/attachment] [attachment=77935]20240410_103308.jpg[/attachment]
iowahill what is the liquid in the pot to boil the rust off? I have never seen that before, looks like plenty of items to keep you busy on the list of to do.


Our channel highlights machines from the earliest Holt and Best track-type tractors, equipment from the start of Caterpillar in 1925, up to units built in the mid-1960s.
Chapter Two
| Highacres Farm, Dewey Lane, Brackenfield, Derbyshire DE55 6DB, UKChapter Nineteen
| 2 Winkleigh Rd, Exeter TAS 7275
Antique Caterpillar
Machinery Owners Club
1115 Madison St NE # 1117
Salem, OR 97301
Terms & Privacy
Website developed by
AdCo
"I also joined a year ago. had been on here a couple of times as a non-member and found the info very helpful so I got a one year subscription (not very expensive at all) to try it out. I really like all the resources on here so I just got a three year. I think its a very small price for what you can get out of this site."
-Jason N