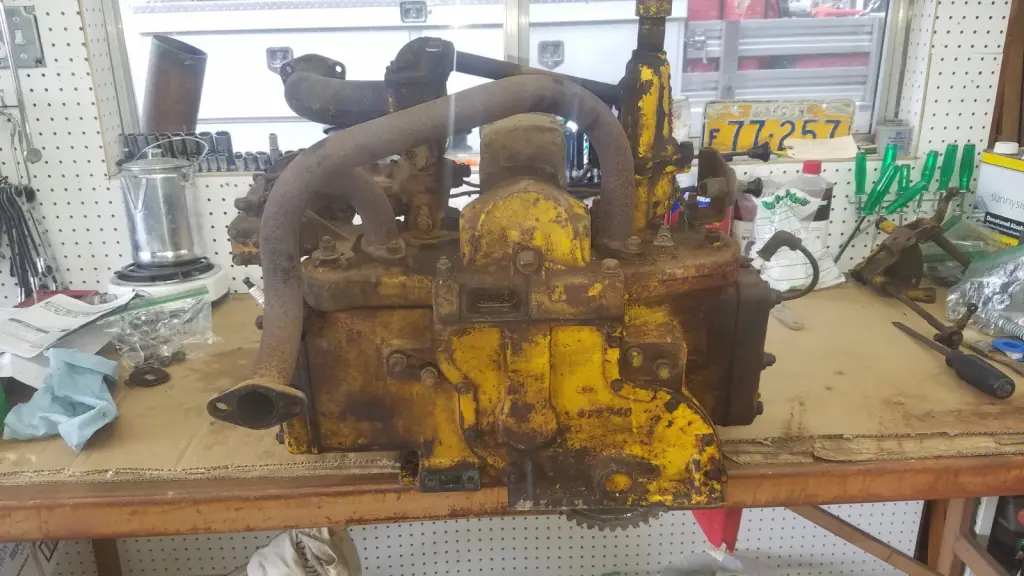


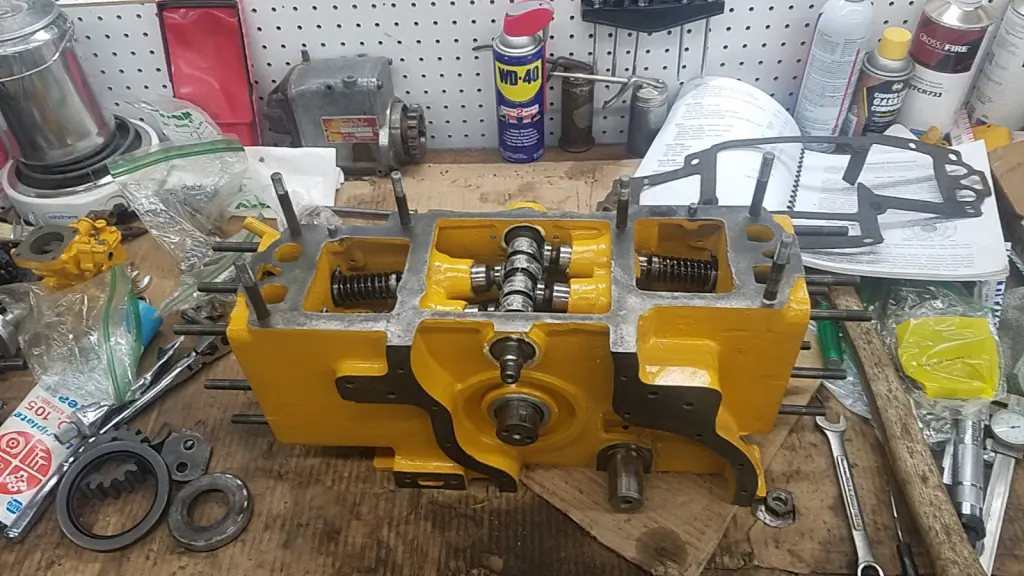
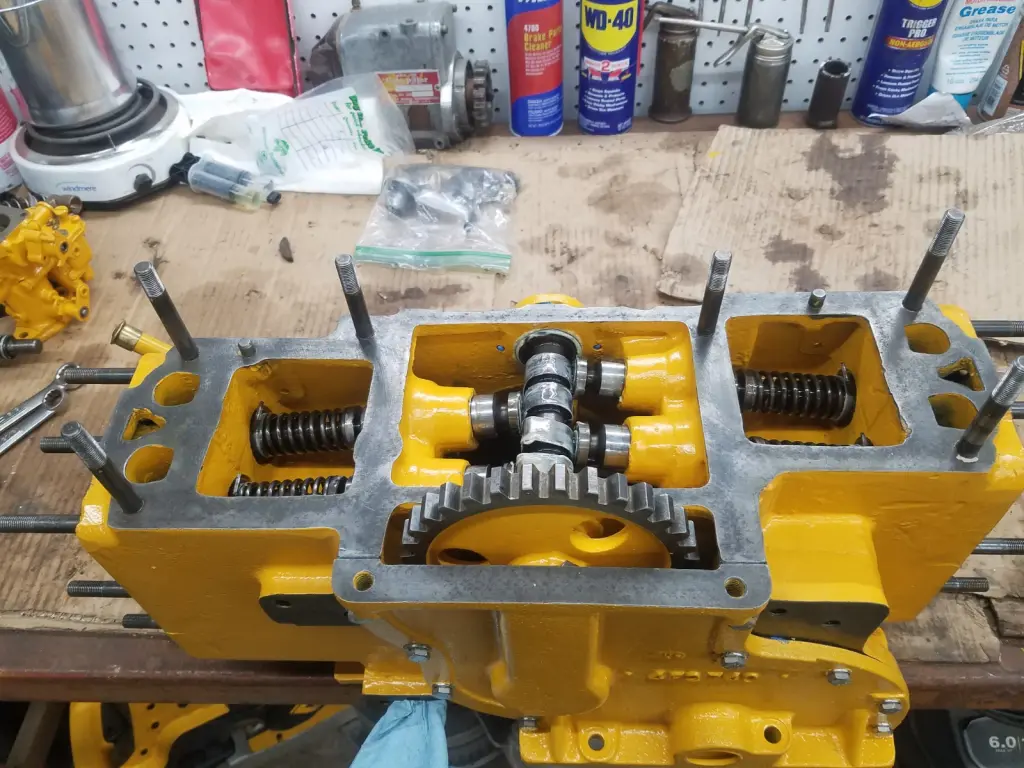
Head gaskets going on.
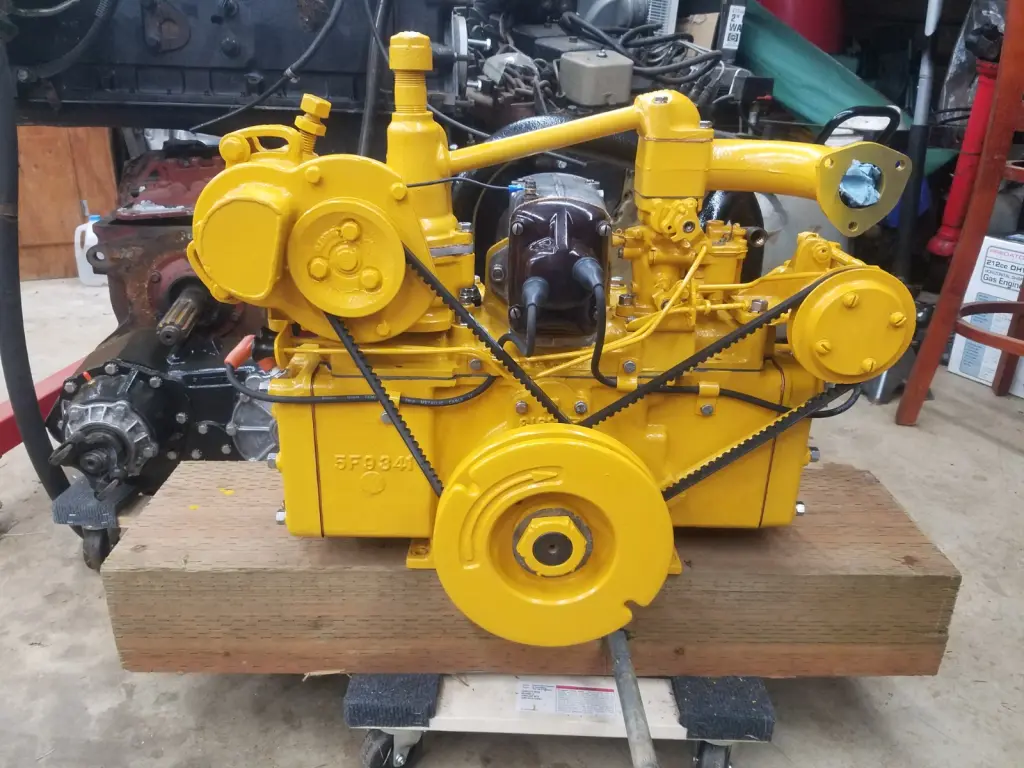
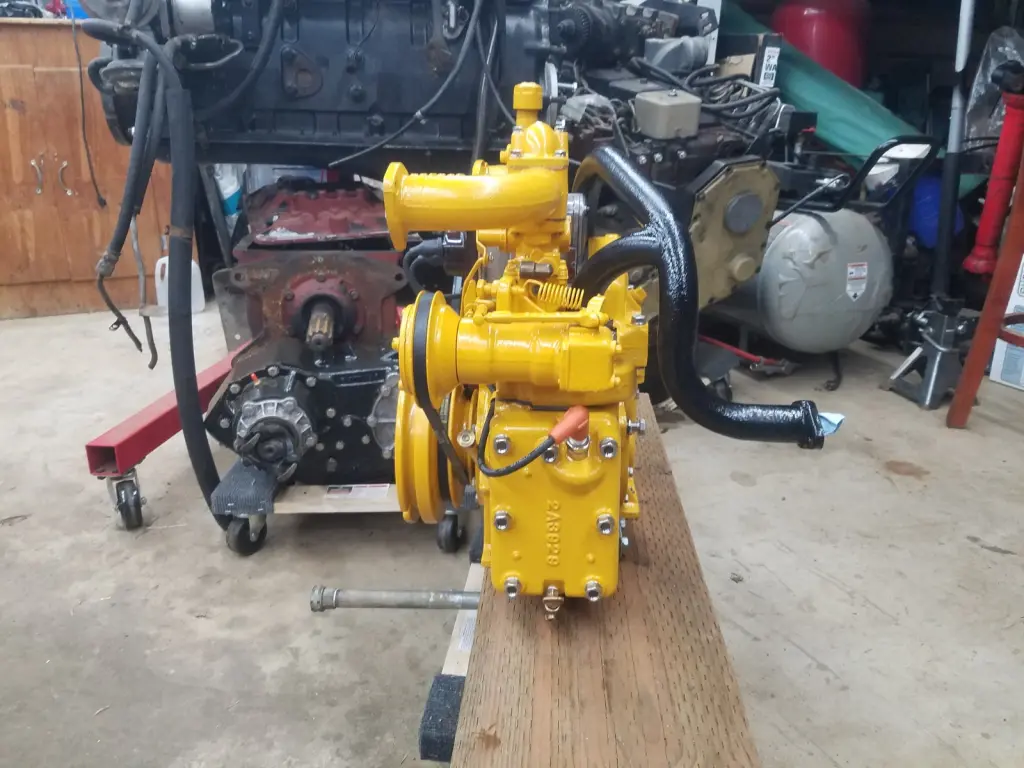
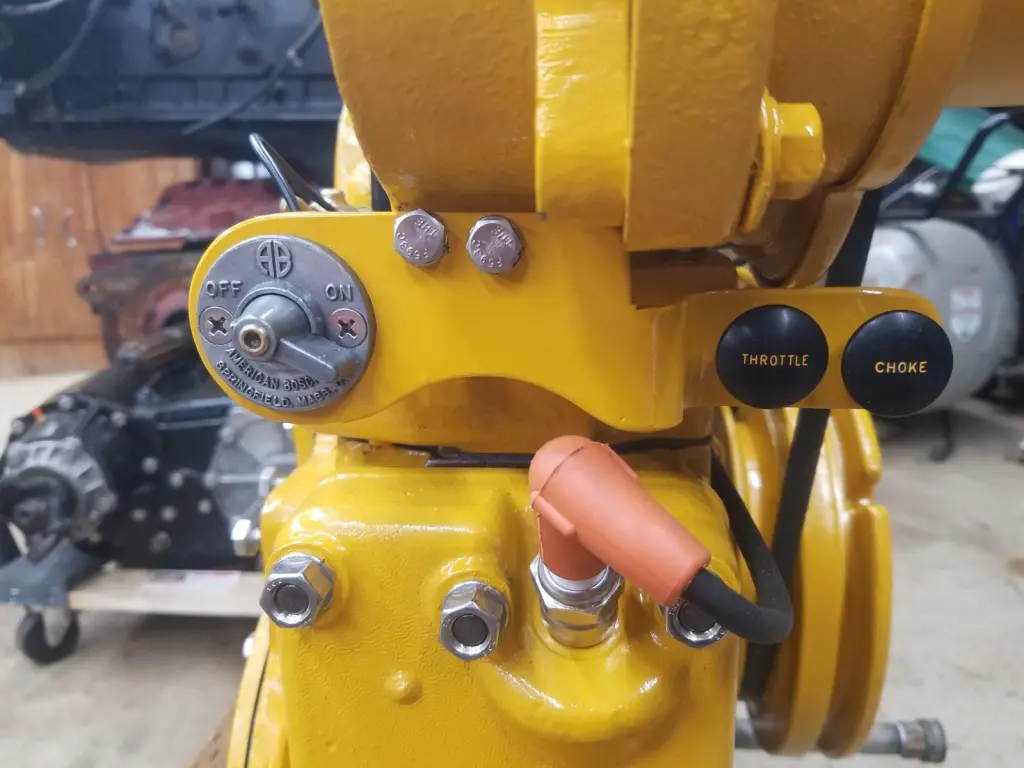
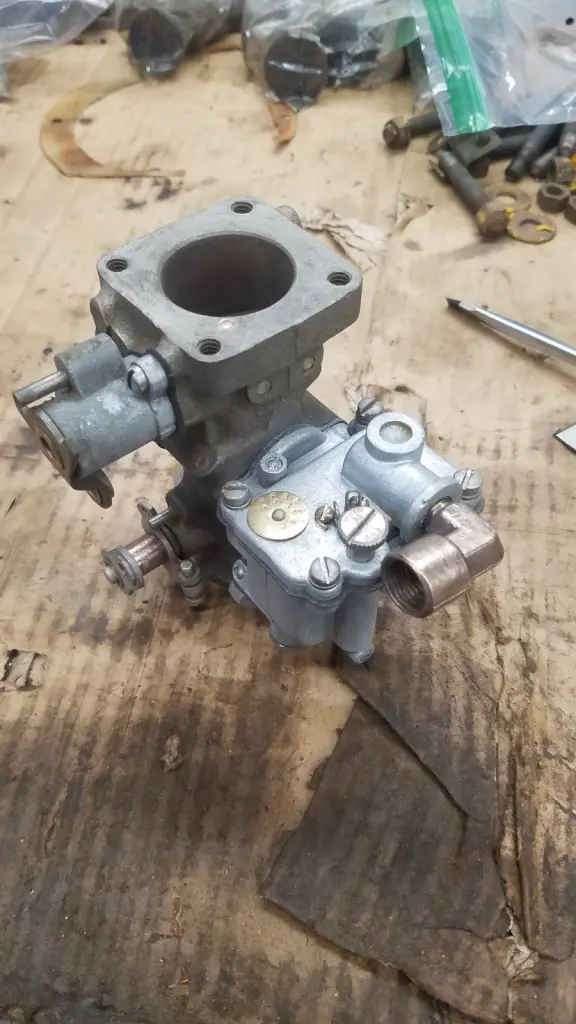
I fabricated a custom magneto switch and choke/throttle mount. And the factory electric start warranted a custom aluminum spacer on the oil fill cup, so I could maintain a one piece oil fill breather to carb intake. All in all, I'd say it turned out fair to midland.
I fabricated a custom magneto switch and choke/throttle mount. And the factory electric start warranted a custom aluminum spacer on the oil fill cup, so I could maintain a one piece oil fill breather to carb intake. All in all, I'd say it turned out fair to midland.
"i reject your reality and substitute my own" - adam savage. i suspect my final words maybe "well shit, that didnt work"
instead of perfection some times we just have to accept practicality
heres a tip if you want nuts that wont seize on on manifolds due to the heat use brass nuts or a dab of copper or nickel anti-seize on both threads it will also allow you to get them properly tight at the specified tension without binding and they will undo later if required. a dab of graphite grease works well too (don't use graphite containing material on stainless it will attack it)
remember stainless steel is weaker than high tensile steel. most cat fasteners were grade5 or grade8 high tensile steel stainless may break. yes cat stuff was over engineered for a lot of things.
otherwise looks nice. hope it always starts first time every time.
Looks good Skoop. I just rebuilt mine in the past year and your pictures reminds me a lot of mine, except I wasn't as thorough with the painting as you were.
The Mr Hayes you refer to would be droptube I believe.
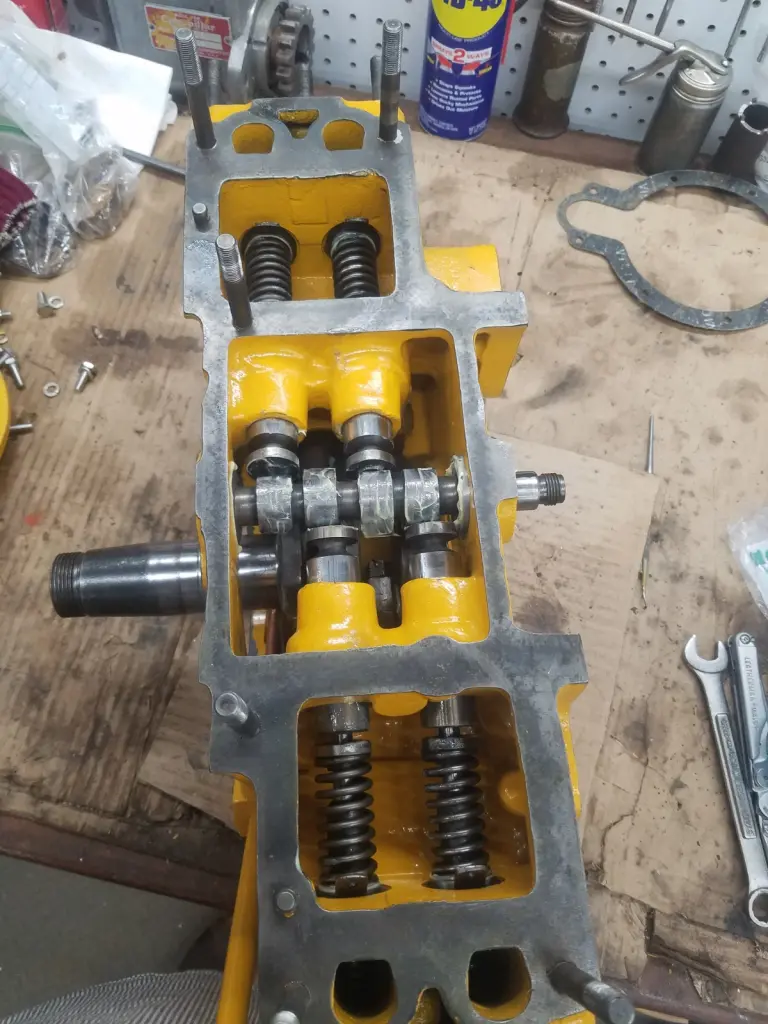
Well done Skoop, it's satisfying to get it all put back together (even if you have to take some of it apart again to fix those followers...). What approach did you use to provide friction on the choke and throttle controls to stop them moving? The OEM bracket has a spring and two nubs that bear on the choke/throttle shafts. I made the mistake of lubing and shining mine now the throttle walks its way to in. I'll have to take it off and clean it and maybe put a cross-hatch pattern on it so it holds


Our channel highlights machines from the earliest Holt and Best track-type tractors, equipment from the start of Caterpillar in 1925, up to units built in the mid-1960s.
Chapter Fifteen
| Placerville, CAChapter Two
| Stradsett, Nr Downham Market. Norfolk PE33 9HA UKChapter Two
| Faulkner Farm, West Drove, Wisbech, Cambridgeshire, PE14 7DP, UK
Antique Caterpillar
Machinery Owners Club
1115 Madison St NE # 1117
Salem, OR 97301
Terms & Privacy
Website developed by
AdCo
"I also joined a year ago. had been on here a couple of times as a non-member and found the info very helpful so I got a one year subscription (not very expensive at all) to try it out. I really like all the resources on here so I just got a three year. I think its a very small price for what you can get out of this site."
-Jason N