are you sure you got all the bolts out? I forgot what the count is--someone should come along with the number
are you sure you got all the bolts out? I forgot what the count is--someone should come along with the number
are you sure you got all the bolts out? I forgot what the count is--someone should come along with the number
Hi dpendzic.
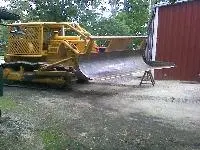
I'm pretty sure I removed all the nuts and cap bolts. 3 under the right cylinder head, 3 under the left cylinder head in an L shape configuration, and 1 longer cap bolt and 1 shorter cap bolt between the pony and diesel engines. by my count it's 6 nuts and 2 cap bolts, 8 in all.
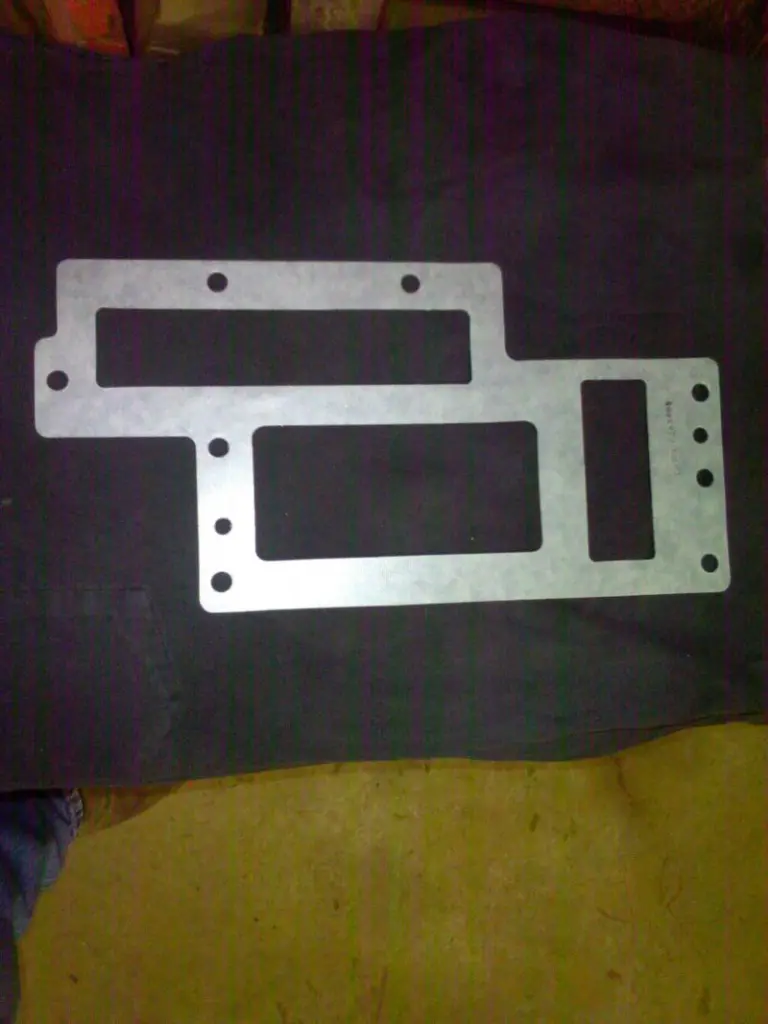
Yes your right, just keep lightly nudging it with a pry bar, it should come loose. This is the base gasket. Small holes are for the dowels.
Thanks for adding the picture. yup i'll keep nudging it till I hear a magic solution.
Success! gave it some more serious umph and it broke free. Thank you gentlemen for your advice. I thought it better to ask than risk more trouble. Cheers.
Good choice Dan 👍
The best utility tool ever made is a standard hive tool. Mann lake supply in Minnesota sells a good strong one.. Spring steel, can sharpen edges to razor sharp. Best pry bar ever for this type problem. Great gasket scraper also. I cant be without 2 of them.


Our channel highlights machines from the earliest Holt and Best track-type tractors, equipment from the start of Caterpillar in 1925, up to units built in the mid-1960s.
Chapter Two
| Highacres Farm, Dewey Lane, Brackenfield, Derbyshire DE55 6DB, UKChapter Nineteen
| 2 Winkleigh Rd, Exeter TAS 7275
Antique Caterpillar
Machinery Owners Club
1115 Madison St NE # 1117
Salem, OR 97301
Terms & Privacy
Website developed by
AdCo
"I also joined a year ago. had been on here a couple of times as a non-member and found the info very helpful so I got a one year subscription (not very expensive at all) to try it out. I really like all the resources on here so I just got a three year. I think its a very small price for what you can get out of this site."
-Jason N