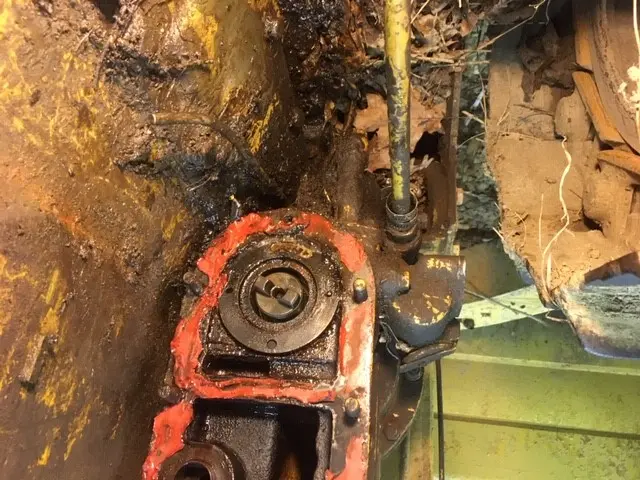
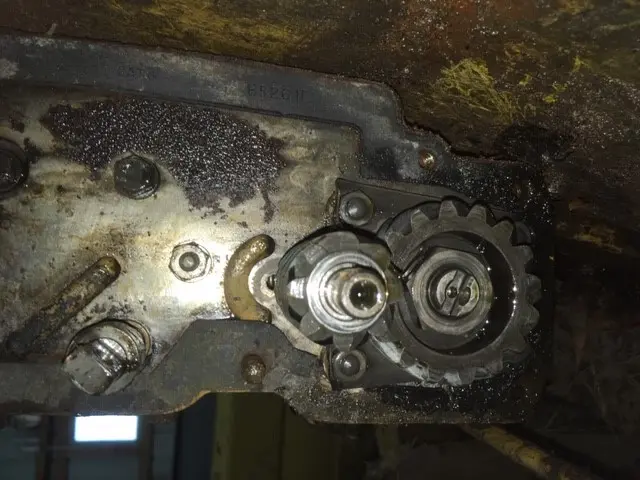
Take note there are two identical o-rings sealing the fuel gallery of the injection pump housing. One is on the ferrule between filter tower and IP housing and the other is on a plug blocking the rear/governor end of the gallery.
I dont think the D4400's had a plug between the pump housing and the governor.
yup 9B1332 plug
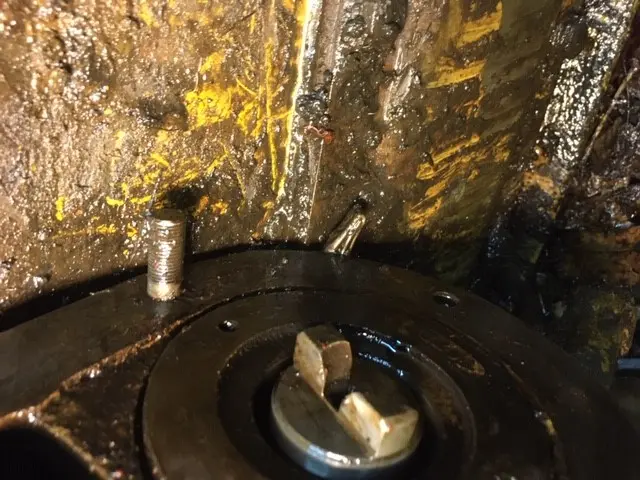
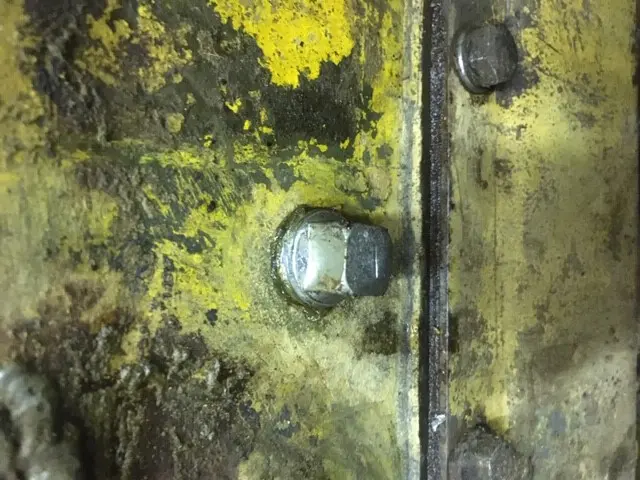
Any thoughts on that tang rear lower right against engine block. There has been work there before so hard to say with what I found back there.
Thanks!
Bernie
Hi Bernie,
quite likely a wedge used to try and align the 1/2" drive 9/16" socket and a nut to the lower stud there--found odd tools in that location behind the fuel filter and injection pump before when working on these things.
Cat came out with a 3/8" drive 9/16" -- possibly P/No 8H 8564 -- a close coupled uni-joint socket that got in there really well. Prior to that it was a real fight to get the nuts started and tightened especially when I only had 1/2" drive gear.
Cheers,
Eddie B.
Hi EDB-
Ha! I’ll probably leave as it appears to be stainless-not a bit of rust and clears the housings, although how could there be with all the caked diesel and soot back there. It explains why someone left the two lowers off on the block side. I’m sure glad I went ahead and got into it. Getting ready to start pulling together a parts order list. Big help!
Bernie
I found it quite easy to undo that nut in the back by using a 1/4" drive long extension(s) with wobble ends. The nut itself undoes easily so the 1/4 handles it no problem. If it is a bit tighter, you can always use an adaptor and put a 3/8 ratchet on it
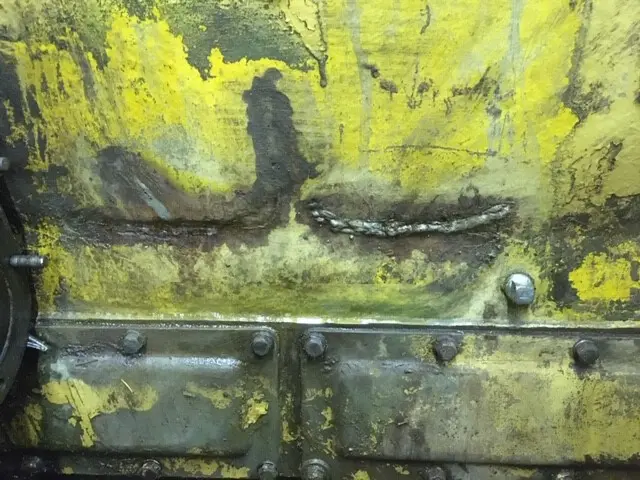
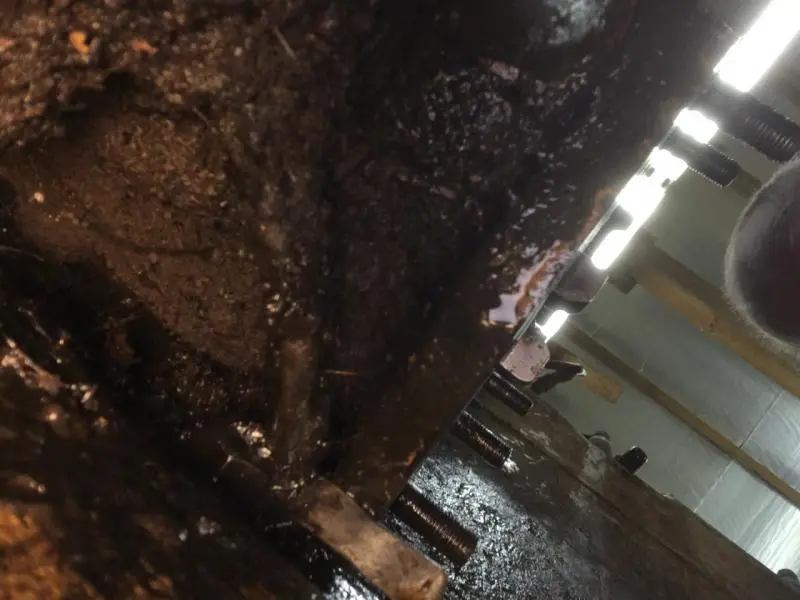
After cleaning off the grit and grime it looks like at some point something went through the block and repaired with welds. One other find was a plug that looked tapped into the side that was severely boogered up. I replaced it with what you see.
Behind the blind hole there is a fiber type coating on the backside of the blind hole. I think if I would have kept scraping at it, it would have gone all the way through.
Any thoughts on what it may have been for and if it had anything to do with the repair welds on the same side?
[attachment=56809]leftblock1.jpg[/attachment][attachment=56810]leftblock2.jpg[/attachment]


Our channel highlights machines from the earliest Holt and Best track-type tractors, equipment from the start of Caterpillar in 1925, up to units built in the mid-1960s.
Chapter Two
| Faulkner Farm, West Drove, Wisbech, Cambridgeshire, PE14 7DP, UKChapter Nineteen
| Cnr Hiller Lane and Ballarat Road, Hamilton, Vic, 3300Chapter Two
| Pitt Farm, Little Paxton, St Neots, Cambridgeshire, PE19 6HD, UKChapter Fifteen
| Historic Santa Margarita Ranch, 20000 El Camino Real, Santa Margarita, CA 93453, USA
Antique Caterpillar
Machinery Owners Club
1115 Madison St NE # 1117
Salem, OR 97301
Terms & Privacy
Website developed by
AdCo
"I also joined a year ago. had been on here a couple of times as a non-member and found the info very helpful so I got a one year subscription (not very expensive at all) to try it out. I really like all the resources on here so I just got a three year. I think its a very small price for what you can get out of this site."
-Jason N