Hey mike, Glad to see u made it. I believe if it came that way from factory i'd leave it. I'm not a machinist and barley a mechanic. Were there any shims for liner protrusion under the liner lips? 22 years ago when i did liners on my d4 i member removing and getting new shims with my regal liners. The id of the new shim maynot reach that deeper cut. Good luck, hope u get ur question answered.
.webp)
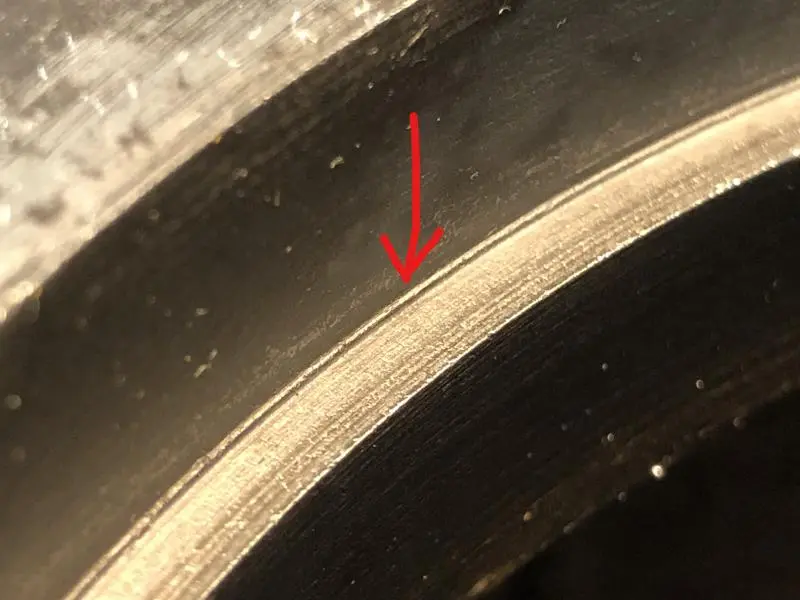
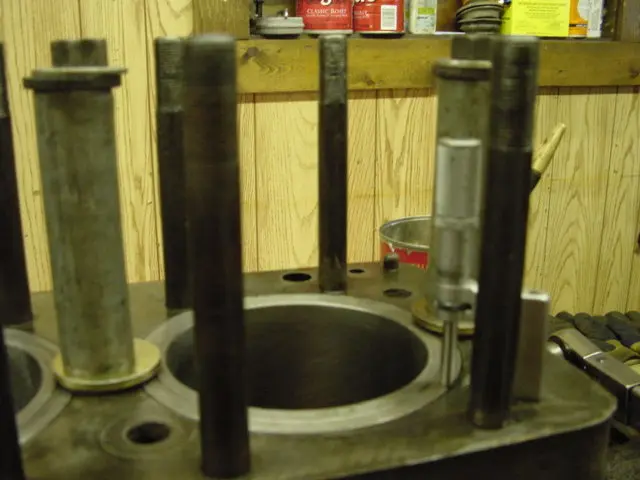
If I'm following you correctly there should not be a step in the counter bore. Wondering if that's the result of liner movement. Not clear what your showing in the picture with the arrow. I'm also wondering if the counter bore has been machined oversize and does not match the liner step diameter.

"Those liners have been dancin like cat on a hot tin roof, if ya ask me!"
Thanks for the replies!
Mike, you don't give yourself enough credit!
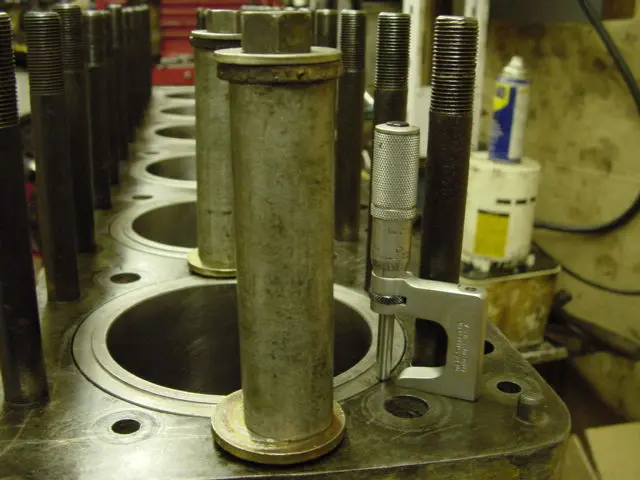
Yes, there were shims under the liner lip. My parts book calls them "gaskets", part No. 2B6463. The old ones are a solid copper ring and measure right at .030" thick. I measured the lip on the old liners and they are right at .500". This would give the old liners .005" protrusion over the deck as the depth of the counter-bore is .525".
When I realized that #3 and #4 liners were junk I went ahead and ordered two liners and the associated gaskets / seals. I measured the new gaskets / shims and they also come in at .030" and they are steel, not copper. The new liners also have a .500" lip.
Mike, did you have the counter-bores re machined on your D4?
Where do I find specs for liner protrusion?
Up until now I have been using the "Servicemen's Reference Book" form No. FE031226-02. This does not go into much detail concerning liner replacement, it pretty much says just pop em out and pop new ones in with new gaskets and seals. Is there a master service manual for this engine I can purchase?
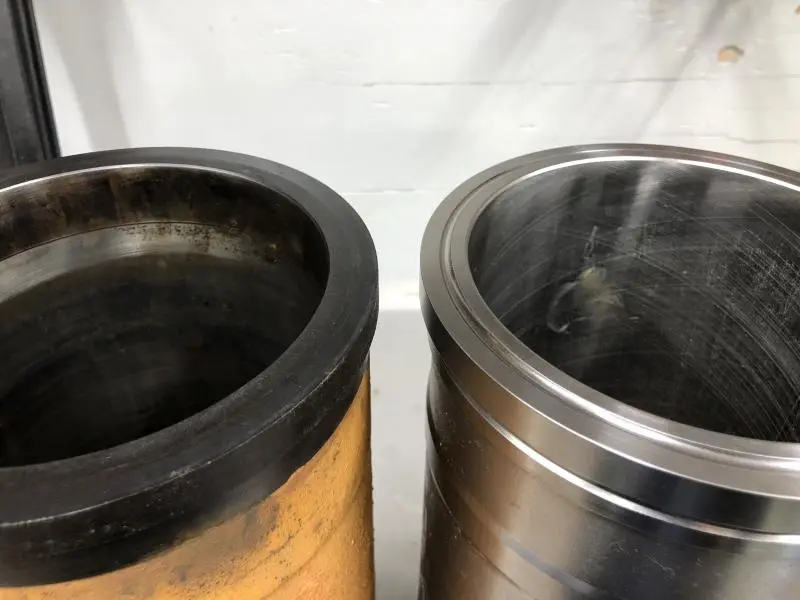
Sorry if the previous picture was unclear. The arrow is pointing to the "step" that I am seeing in the counter-bore.
I agree that it appears the old liners were bouncing around in there. What surprises me is that all the measurements are all the same cylinder to cylinder. All .525" deep.
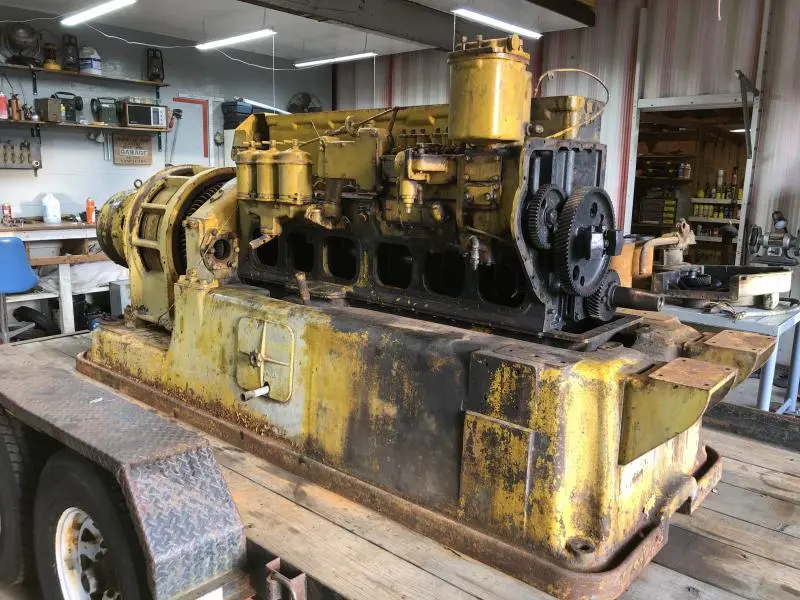
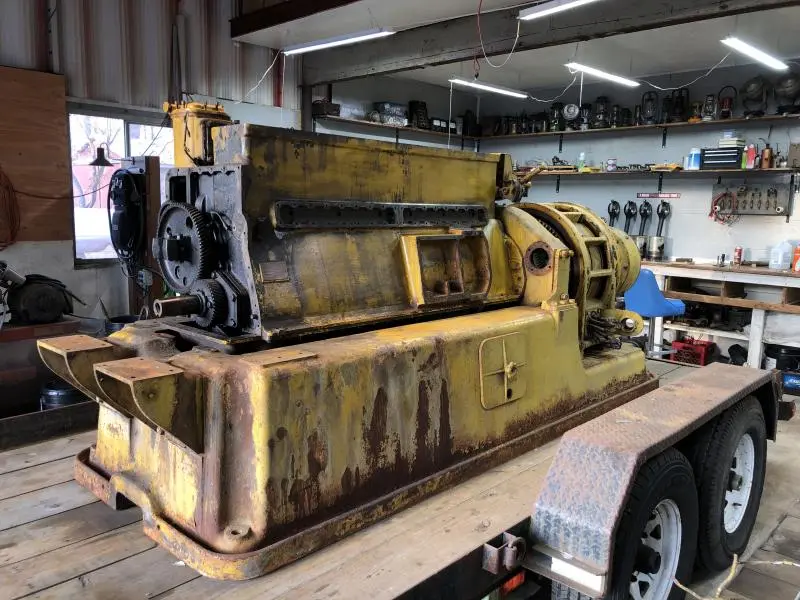
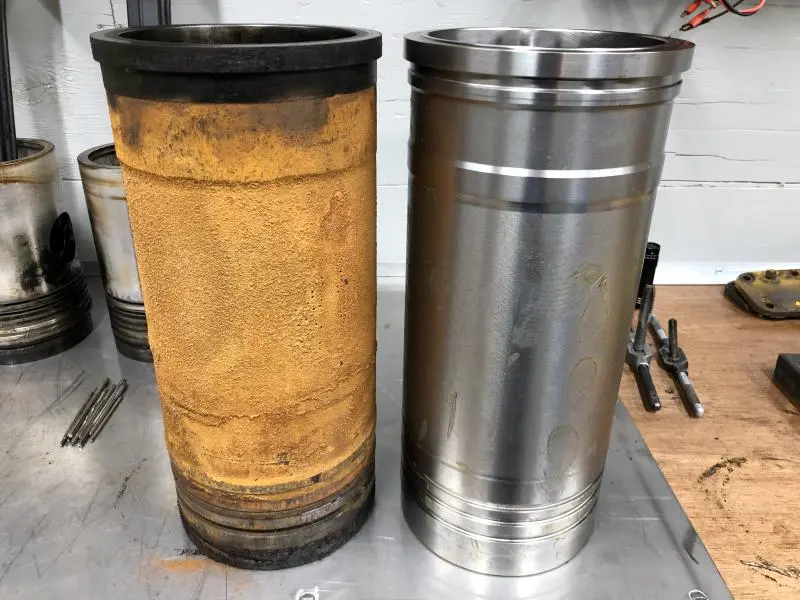
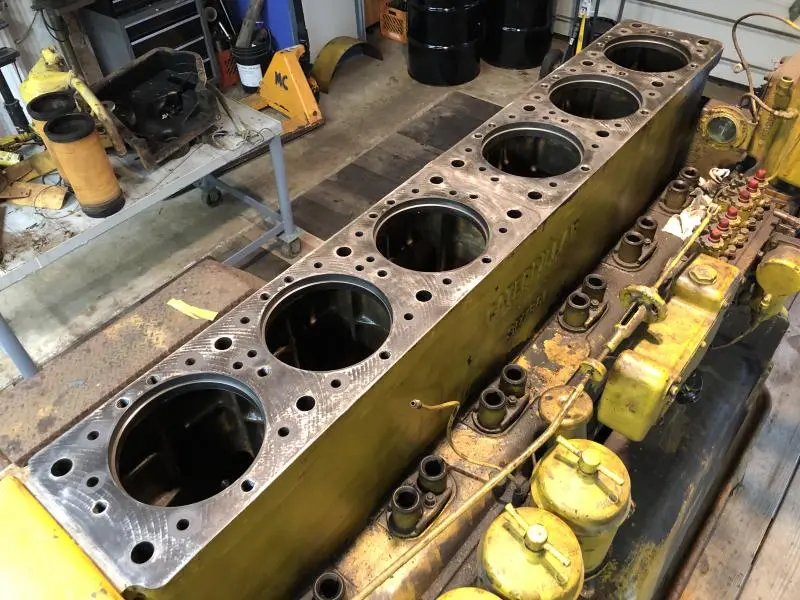
I have attached a couple pictures of the old and new liners. The old liners have a "flat top" while the new liners have a contoured top which matches the style of liner in the image Old Magnet posted.
This week I will go ahead and set one of the new liners in the block with the new shim / gasket and measure the protrusion.
Latest specs for 5-3/4" bore liners is a projection of 0.006 +/-0.002". The maximum difference in height of liners next to each other is 0.001". The maximum difference between high and low measurements made at four places around each liner is 0.001". Measurements to be made with the liners held down using head studs and nuts torqued to 50 ft. lbs. Maximum depth of counter bore is 0.553"
Check with Cat as to whether or not to use a "filler band" that goes in the groove just below the flange.
Thank you Old Magnet, that info is very useful!
How do I go about holding the liner down for the projection measurement? Do I need a fixture of sorts that will apply even pressure around the circumference of the liner lip? Which studs do I use, the 5/8” or the 7/8”, or a combination of both?
I will call Foley Cat after the holiday and see if I can speak with someone regarding the filler bands.
Some references.....
Fantastic info! Thank you again Old Magnet!
Looks like I will have to spend some time checking each counter bore with a new liner.
Another question if I may, what is the spec for flatness of the cylinder block deck?
I would like to check this before I start setting liners. At this time I have all of the head studs removed so it should be easy enough to check with a 36" straight edge.
I don't know of an actual spec but so long is there is little to no daylight under a straight edge should be fine.


Our channel highlights machines from the earliest Holt and Best track-type tractors, equipment from the start of Caterpillar in 1925, up to units built in the mid-1960s.
Chapter Nineteen
| Wheatlands Warracknabeal Agricultural Museum 34 Henty Highway, Warracknabeal 3393Chapter Nineteen
| 1234 Carngham - Lake Goldsmith Road Lake Goldsmith VIC 3373Chapter Two
| Folds Farm, Godshillwood, Fordingbridge, Hampshire, SP6 2LU
Antique Caterpillar
Machinery Owners Club
1115 Madison St NE # 1117
Salem, OR 97301
Terms & Privacy
Website developed by
AdCo
"I also joined a year ago. had been on here a couple of times as a non-member and found the info very helpful so I got a one year subscription (not very expensive at all) to try it out. I really like all the resources on here so I just got a three year. I think its a very small price for what you can get out of this site."
-Jason N