Bruce,
Please try and keep photo'ing and posting the project!
I am sure that there are many people who will benefit from the documenting of this project!
Thanks Again!
Jeff
Yes keep posting, perhaps this may also be considered for a possible magazine submission? I personally know several members that do not use computers that would enjoy some more technical content in the club magazine.
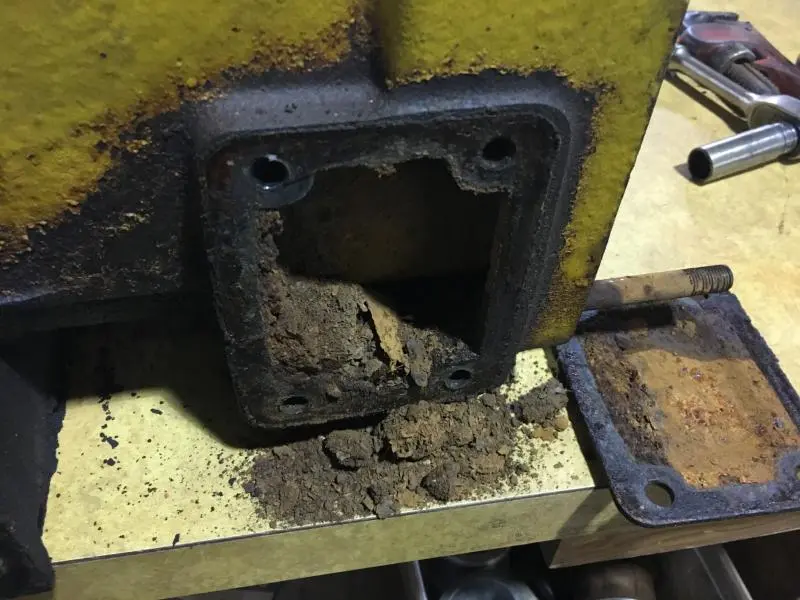
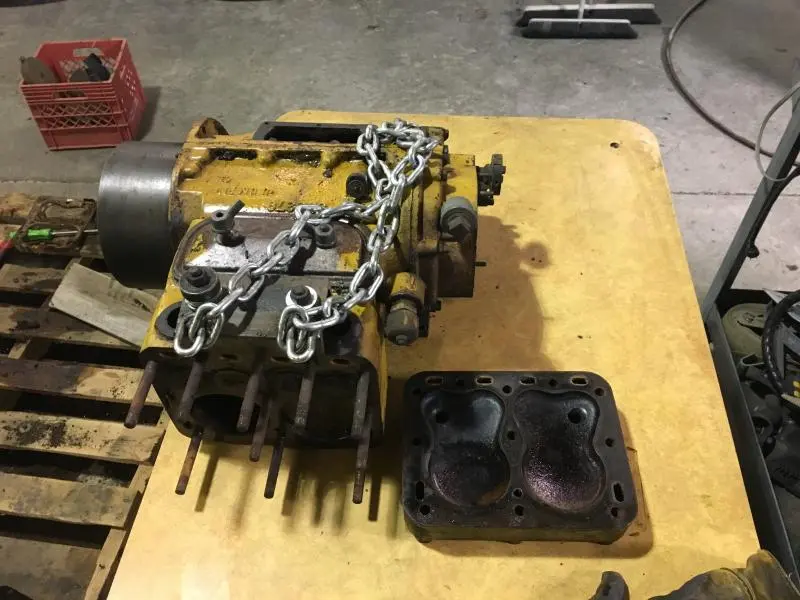
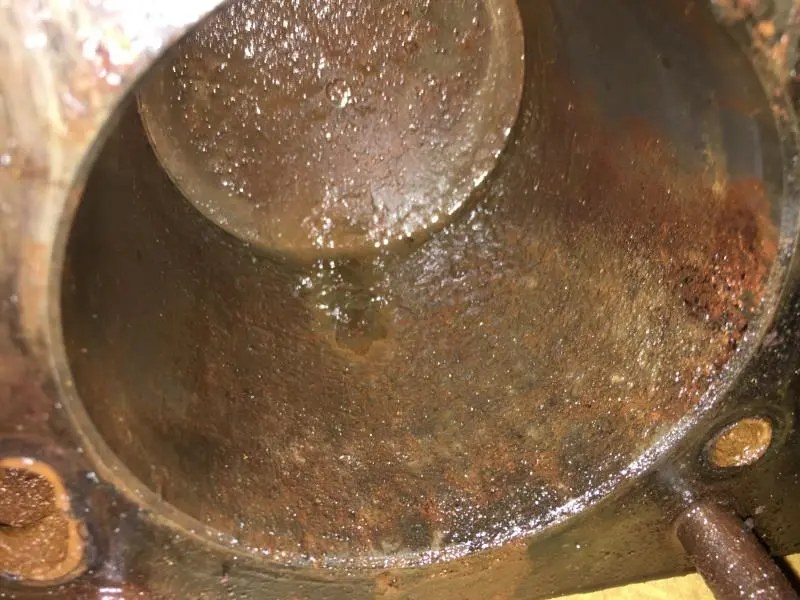
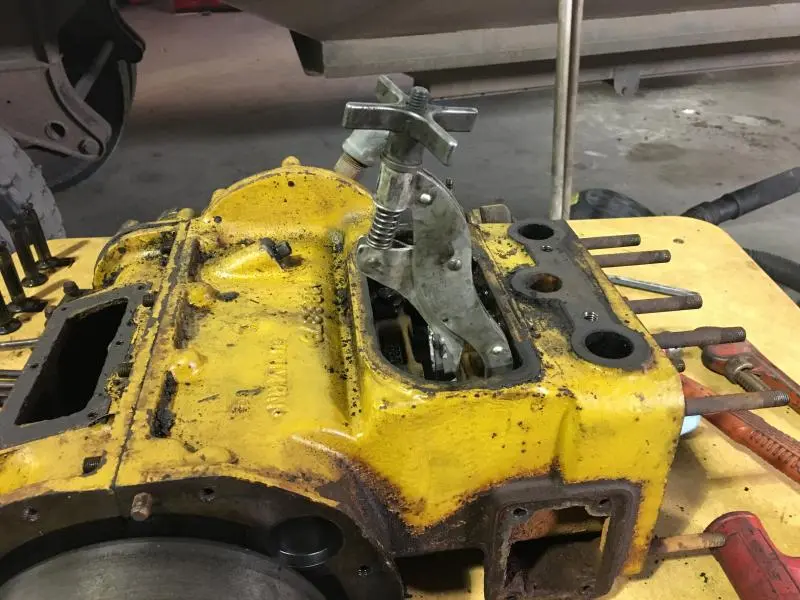
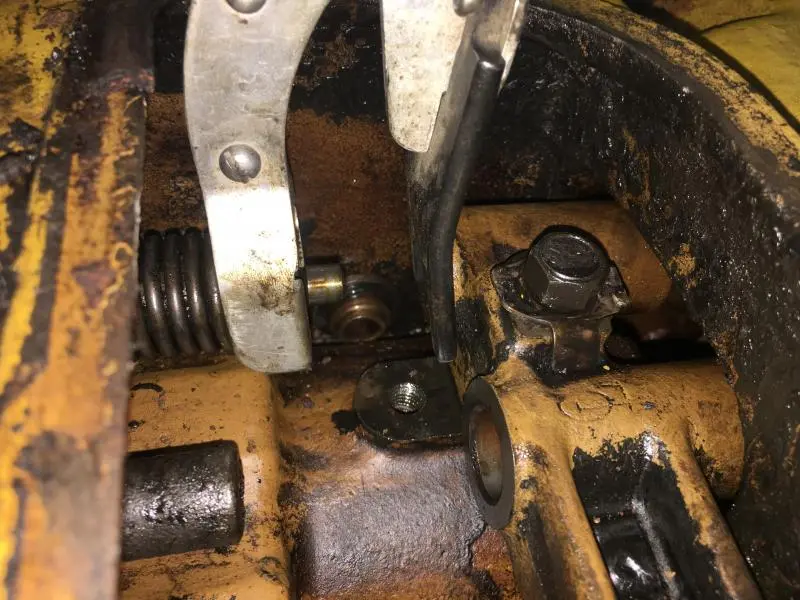
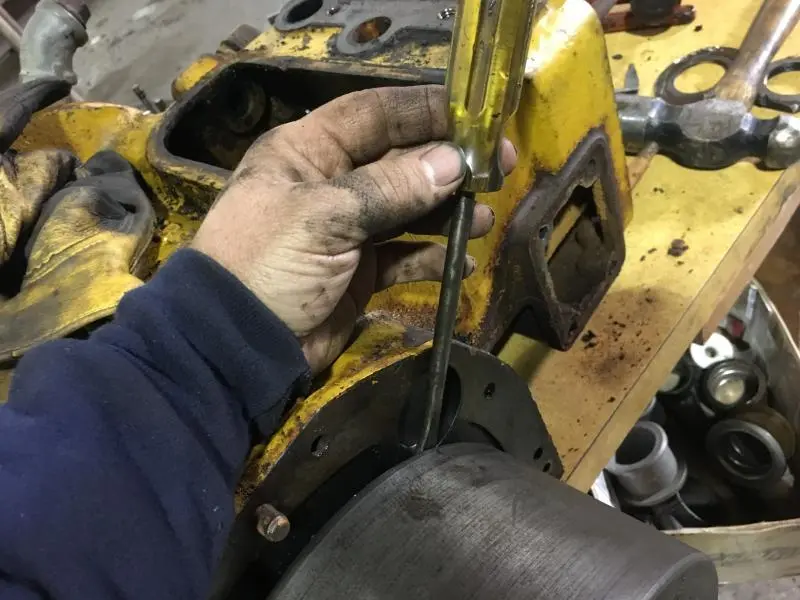
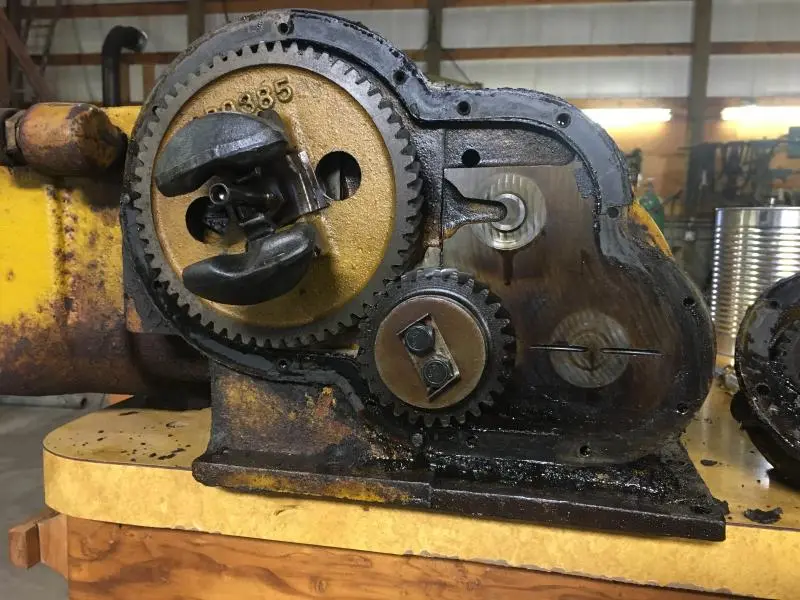
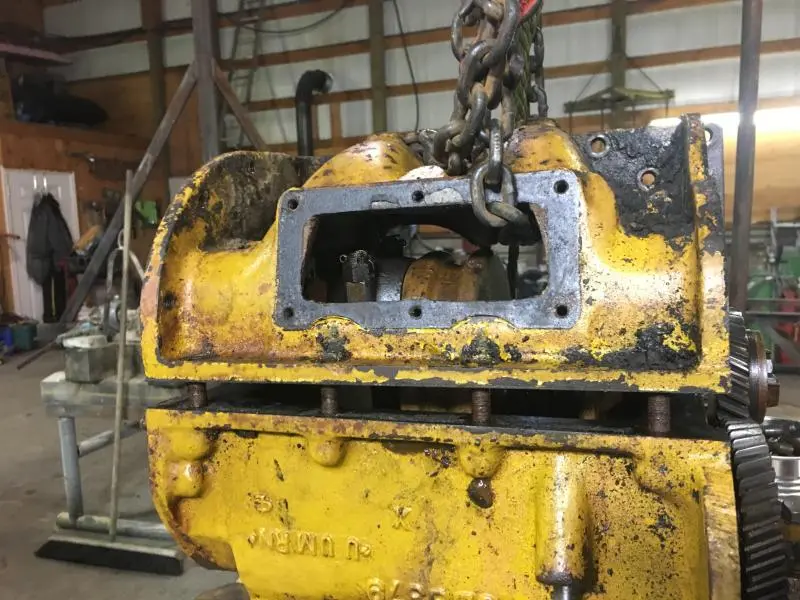
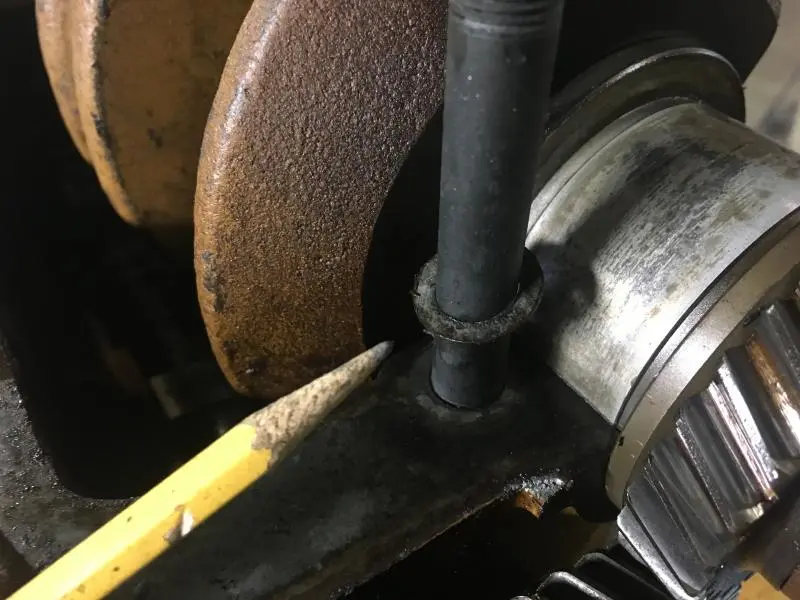
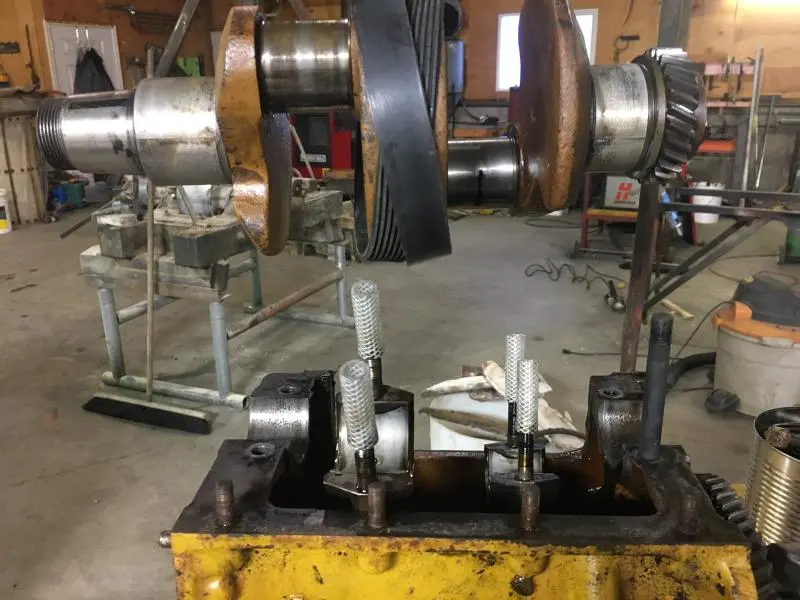
Bruce, thanks for sharing the repair journey, if you can, try and pressure test that cooling system because the old RD6 pilot motors seem to be notorious for weeping water from behind the valve push rods, I have one here that does it and heard others complain about it too, over the years I've tried small stainless steel patches attached with JB Weld in that area on numerous occasions as a repair only to find water still accumulating in the sump over time, the water jacket appears porous to me.
Good luck
Mike
Over the years as more of our customers moved to digital photos and acquired photoshop we found that when they submitted photos to us we most often had to ask for the original file.
The larger photos allow the publisher to crop the photo for best interest and optimum presentation.
If you feel the need to color correct, be sure to send the original photo along with the corrected one. Your computer displays in 3 “RGB” color and the print process is 4 “CMYK” color. What may look good on your screen can be pretty poor on press. Today’s press are much more forgiving and things usually come out OK.
Trust the prepress production team. They have a good eye.


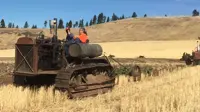
Our channel highlights machines from the earliest Holt and Best track-type tractors, equipment from the start of Caterpillar in 1925, up to units built in the mid-1960s.
Chapter Nineteen
| Wheatlands Warracknabeal Agricultural Museum 34 Henty Highway, Warracknabeal 3393Chapter Nineteen
| 1234 Carngham - Lake Goldsmith Road Lake Goldsmith VIC 3373Chapter Two
| Folds Farm, Godshillwood, Fordingbridge, Hampshire, SP6 2LU
Antique Caterpillar
Machinery Owners Club
1115 Madison St NE # 1117
Salem, OR 97301
Terms & Privacy
Website developed by
AdCo
"I also joined a year ago. had been on here a couple of times as a non-member and found the info very helpful so I got a one year subscription (not very expensive at all) to try it out. I really like all the resources on here so I just got a three year. I think its a very small price for what you can get out of this site."
-Jason N