looks good, here is what i have learned on doing the d6 9u known as THE HOOD. run the cat outside and drop the blade and c-frame off. then clean the under carriage as best you can because the dirt will give you problem later. if you can drive the cat round spinning the tracks to get the removable track pins lined up to be equal on both sides. (this means when you pop the tracks off the pins are in the same place so the tracks will go one way.) you want the split the tracks on the sprocket so allow for room in the shop for the tracks.
next get old magnet to give you the seal numbers so you can order the best on the market, don't cheap out here. it is a lot of work you are doing and to save $25.00 on a seal to have it leak 2 days after you finish the project is not good, LOL.
not sure what you have for lifting equipment but can you show a picture of that too????
http://kingofobsolete.ca/d6_9u_the_hood_webpage.htm
thansk
KoO
Published Author
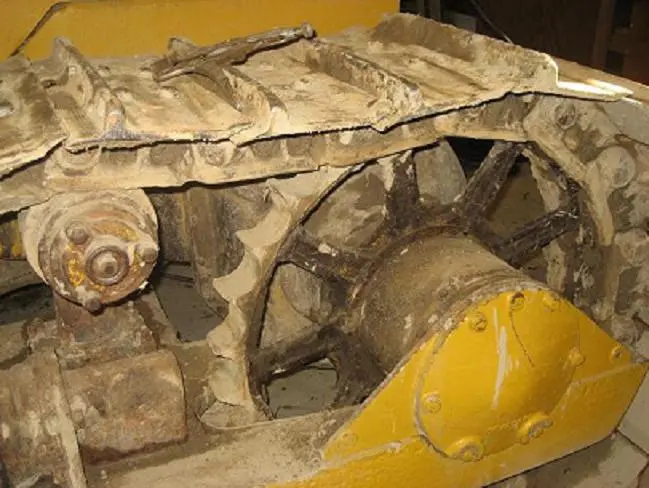
Old Magnet- Its not quite as bad as it looks in the picture, although it certainly isn't great. My manual says there is a maximum of 8 1/4 inches of adjustment, and mine is at 7 1/4. My original plan was to replace the chains and sprockets this winter along with the seals. However, having compared current pictures with ones from last winter, I really didn't add much wear this year with the little bit of use that it gets. So I am thinking I may wait another year and just replace the seals this winter- $ is always a big factor!! Also seal part numbers would be great, and I'm all for a long winded explanation if you get bored!!😄
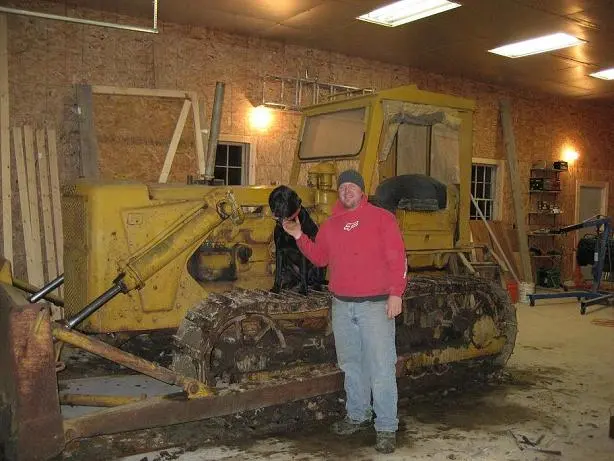
Koo- Don't have a whole lot of lifting equipment other than my engine hoist and hydralic jacks. I'm sure that will be a problem and I will have to resort to plan B. By the way, what is plan B? 🙄
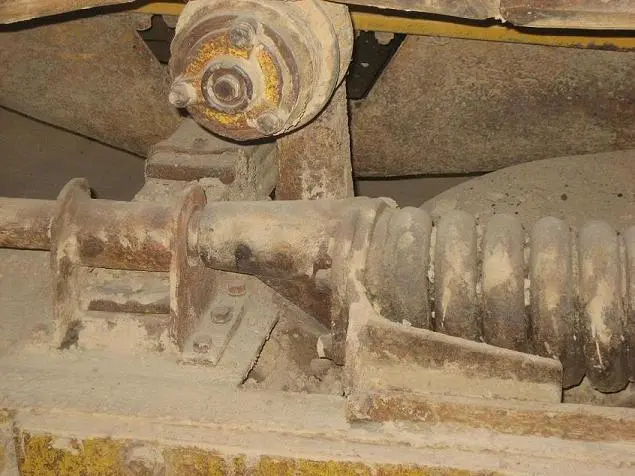
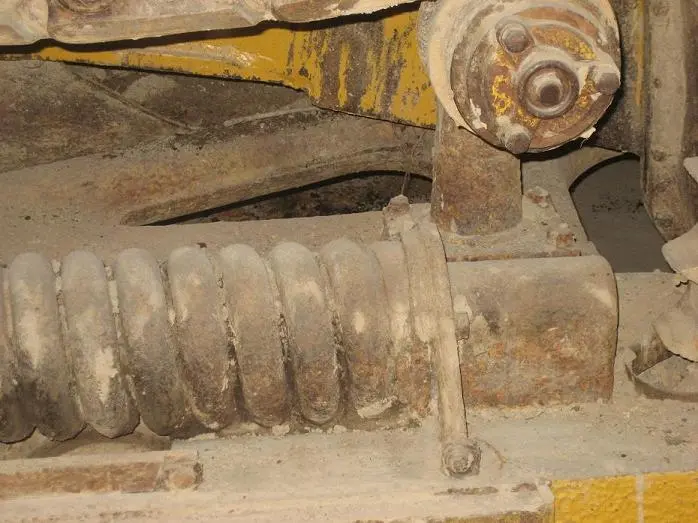
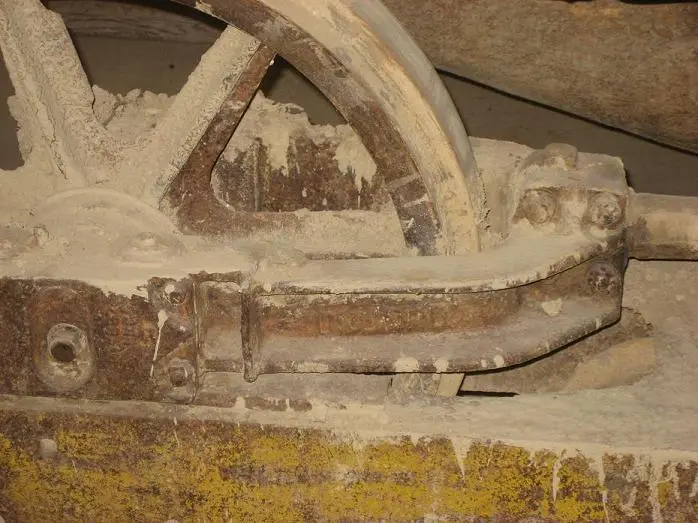
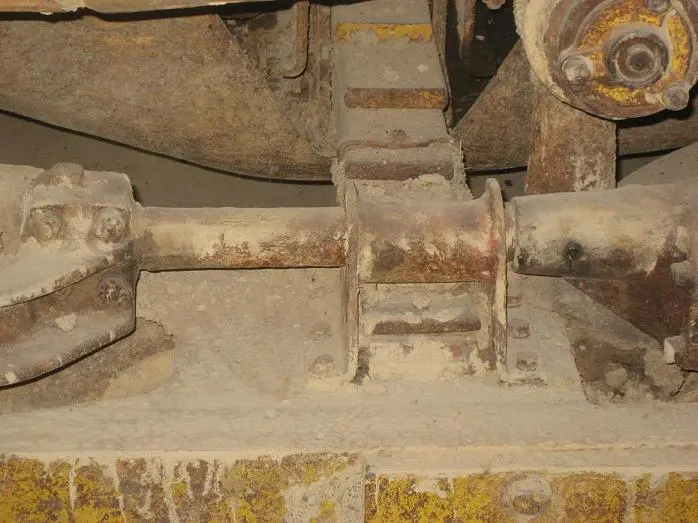
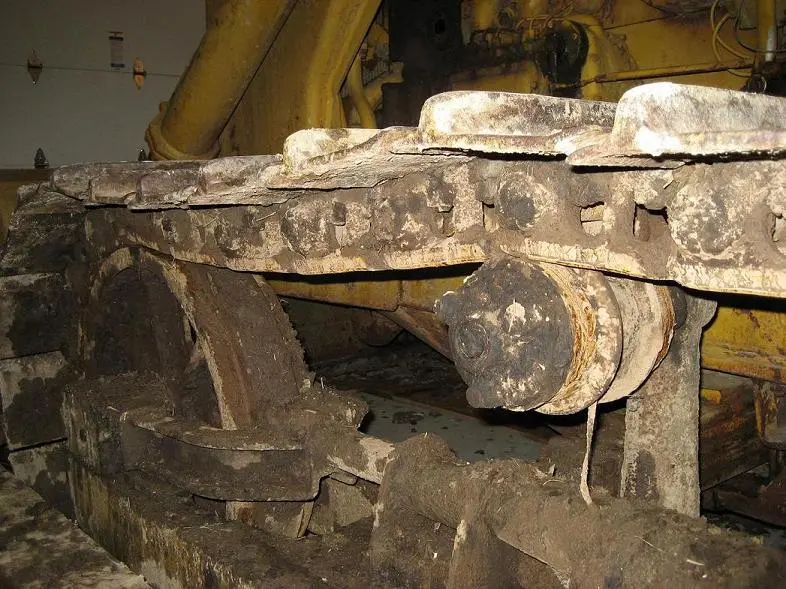
Here's a few more looks at the undercarriage and what I have to deal with. Any great ideas on how to best remove the track frame?
It,s not a big job once you have the track broke & if you let it under then the tractor needs to be jacked up away from it. Then the cap under the steering clutch that holds the diagnal brace gets removed & the the bolts on the outside if the final drive holding the track frame & drop it down away from the dowels & then you have to pull the frame side ways to get it away from the leaf cross spring & your in business as it should come out then.
Old Magnet,
Do you have a parts list of part numbers that I will need to change out these seals? Thanks.
Yes, I can provide parts numbers.
It would be best to get the sprocket pulled and see what style bellows seals are in there. Also would need tractor serial number to see what unit started out with but more than likely they will be of a later style.
Depending on what's in there and the condition of the bellows it may be possible to just change the seal surfaces themselves and flip the sealing surface washers over.
If the bellows units are damaged you may want to consider and shop for the later style dual-cone seal system upgrade as attached.
Thanks Oldmagnet. 9u5894 is the number. I have to start by splitting the tracks. It looks like my master pins are welded in. What do I do, just grind off the weld and hammer away?
And the fun begins😄 😄
First you will want to locate the master pin to a position low with the grouser blocked to where it is in a reasonable sledge hammering position....either at the front idle or sprocket.
What type master pin is it? some have a tapered plug in the end that needs to be pulled or some are just plain.
Grinding, torching, air-arcing and chiseling along with the necessary cussing are all fair techniques to removing the pin welds.
For the hammer technique it really helps to have some type of drive pin holder, the BFH you can swing and expect a good workout......first six whacks or so are just teasers. A little torch heat will definitely help with the process.
Some things to consider.....
Original pitch new D6 chain (6.75 in. pitch) is non-existent and for years the D6 has been converted to D5 chain (6.9 in. pitch) which requires the matching sprocket or weld on ring. (can also be had with bolt on segments)
I believe you can still find 6.75 in. weld on rings but if your thinking of replacing chain with other than used now is the time to be thinking conversion and dealing with the weld on ring when the sprocket is off. There is also the option of weld build up of your existing sprocket if your just looking for a little more life and want to deal with conversion later.


Our channel highlights machines from the earliest Holt and Best track-type tractors, equipment from the start of Caterpillar in 1925, up to units built in the mid-1960s.
Chapter Two
| Highacres Farm, Dewey Lane, Brackenfield, Derbyshire DE55 6DB, UKChapter Nineteen
| 2 Winkleigh Rd, Exeter TAS 7275
Antique Caterpillar
Machinery Owners Club
1115 Madison St NE # 1117
Salem, OR 97301
Terms & Privacy
Website developed by
AdCo
"I also joined a year ago. had been on here a couple of times as a non-member and found the info very helpful so I got a one year subscription (not very expensive at all) to try it out. I really like all the resources on here so I just got a three year. I think its a very small price for what you can get out of this site."
-Jason N