Hello KoO, the frog should be at least or little more distance than the opposite side of the bolt. [ bolt nut to taper of back of blade]
Oh and thanks for all the cold and snow this winter!! lol almost 88" this season! Had my D4 busy this winter!
rome/kg -- no problem on the cold weather. i can send you down some more if you like, lol.
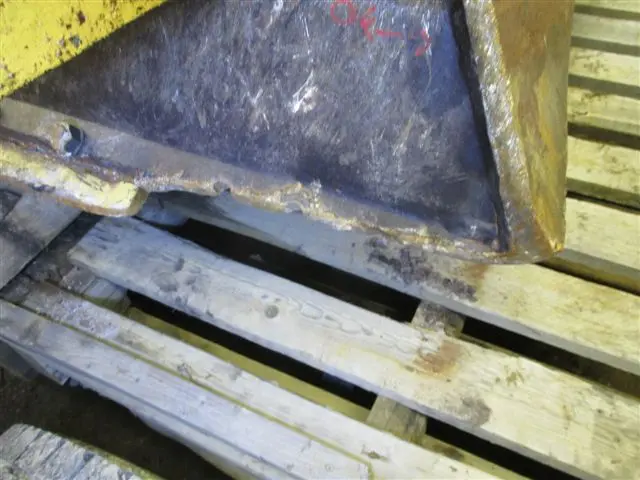
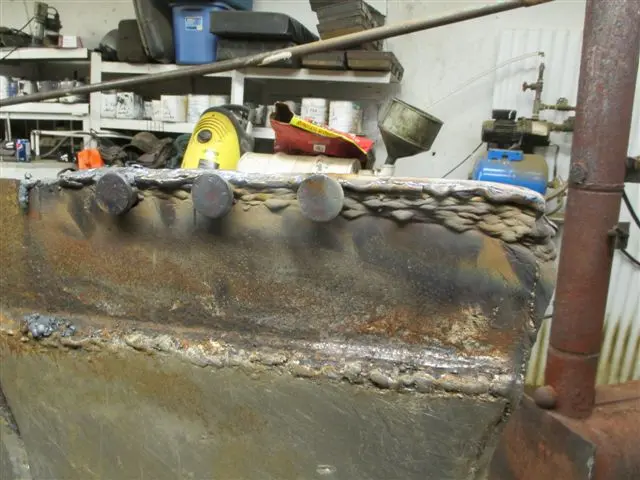
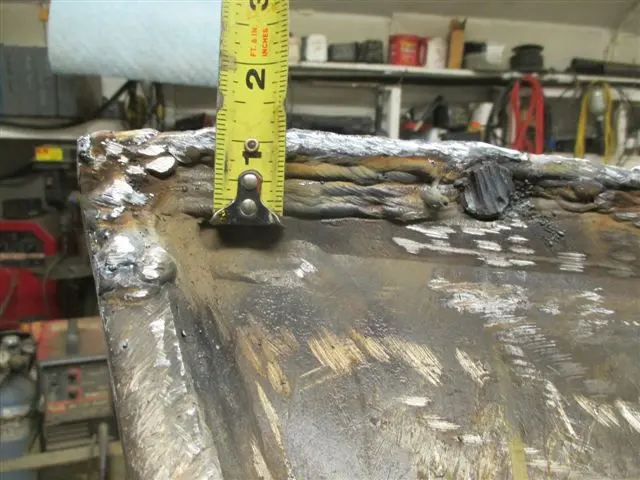
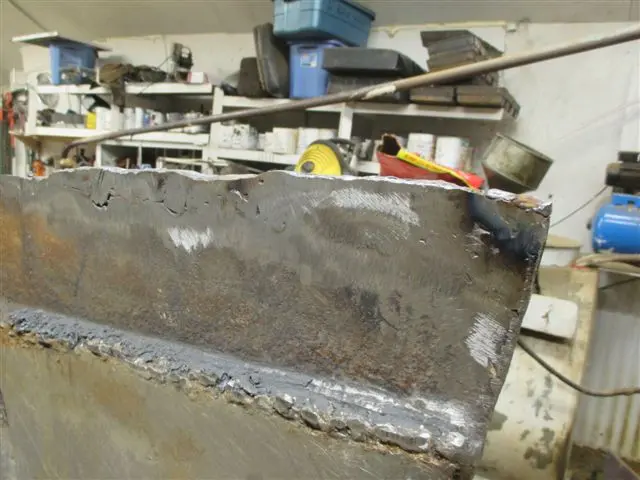
with the blade in my little shop, i was able to get the right side corner frog built up to what is is suppose to be. i just kept layering the 3/16 7018 lincoln excalibre rods over and over to get the height i need. i figured on starting on the lowest end first then the rest will be easy.
thansk
KoO
Published Author
wow that lost of build up. did the blade keep the heat dissipated as you where welding that. do you like jet rod(7024) or would that have bean too fluid of a puddle for that thin cross section? cus i got some really good build up rate with it in the past but then i was using 1/4' so i guess you get build up with that no matter rod you would be using and had a 400 amp welder just had to change out the stinger as they would get hot. lol keep up the good work
Now we know what you do to stay warm up there....
mog5858 -- thansk, i weld on one side then go to the middle of the blade to keep the heat even on the blade.
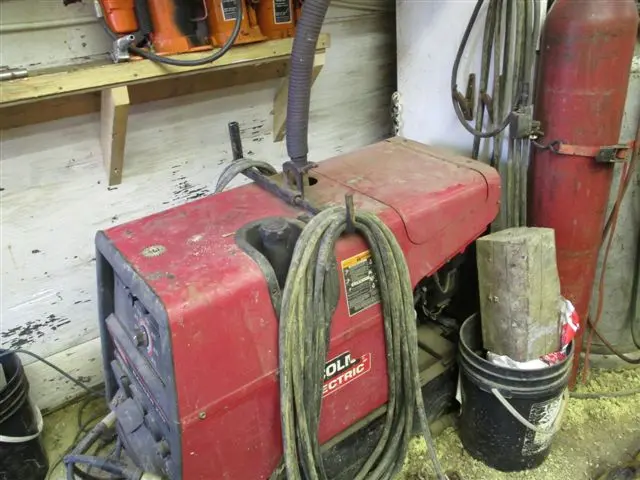
OM -- i also have one of my portable welders inside my shop with exhaust piped to the wood stove chimmey. one hour of welding and the shop is too hot and the people door is opened. with the exhaust fan working when i start welding th eshop has a nice breeze going through it.
thansk
KoO
Published Author
No more cold or snow !!!!!!!!!!!! lol thought maybe you would have "vee'd" a piece of steel and welded it in.
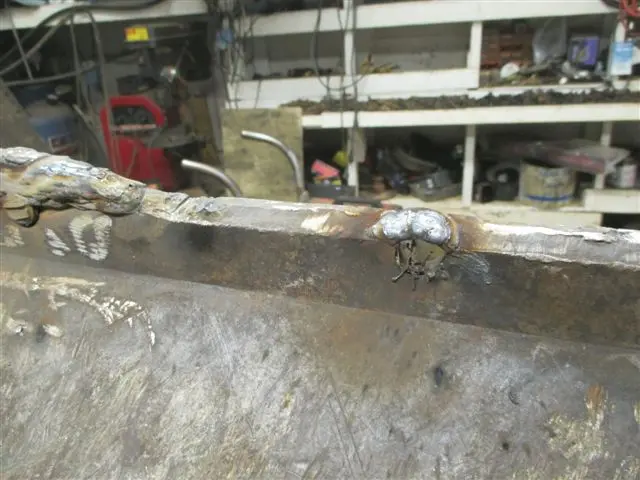
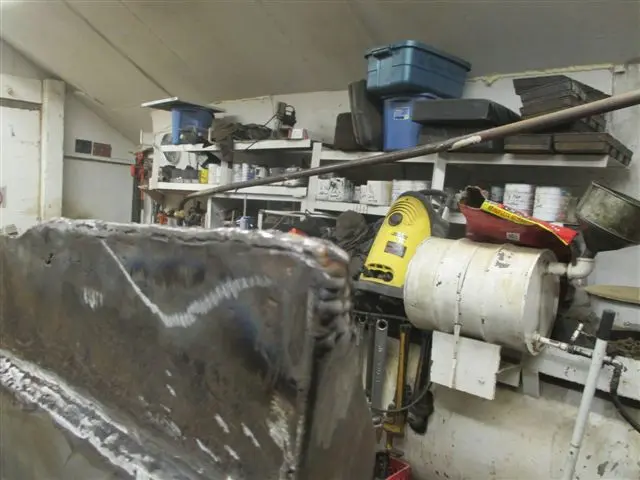
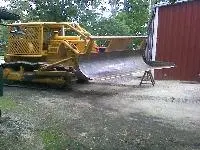
ROME/KG -- i thought of adding a piece of steel but i would waste a lot of time trying to get it to fit. since it is a 6 way blade only the corner edges are worn the most and the centre only need 1/2" of material. today i'm almost 1/2 way a cross the blade building it up. the left side corner will only need an inch of weld to bring it up. where the bolt holes are worn thin i used the mig to weld it up. then burn the big rod over top with no problems.
thansk
KoO
Published Author
Sounds like a plan! lol looks good. That operator better check his cutting edge life next time before he kills the frog again! lol


Our channel highlights machines from the earliest Holt and Best track-type tractors, equipment from the start of Caterpillar in 1925, up to units built in the mid-1960s.
Chapter Two
| Highacres Farm, Dewey Lane, Brackenfield, Derbyshire DE55 6DB, UKChapter Nineteen
| 2 Winkleigh Rd, Exeter TAS 7275
Antique Caterpillar
Machinery Owners Club
1115 Madison St NE # 1117
Salem, OR 97301
Terms & Privacy
Website developed by
AdCo
"I became a member recently because the wealth of knowledge here is priceless."
-Chris R